How to Improve 3D Print Quality: Troubleshooting from Filament to Hardware
We’ve all been there. A 14-hour print finally wraps up, and instead of a pristine cosplay prop or a precision-engineered bracket, you’re left with a stringy, warped, or scarred piece of plastic. Frustrating? Absolutely. But achieving flawless 3D print quality isn't dark magic—it's a systematic battle against physics.
Whether you're pushing a budget bed-slinger to its limits or upgrading to a high-speed CoreXY powerhouse, troubleshooting 3D prints follows a logical progression. You start with the fundamental physics of your materials, optimize your slicer's fluid dynamics, and eventually look to advanced hardware to bypass mechanical bottlenecks.
If you're tired of tweaking and want to get back to creating, this guide will walk you through exactly how to improve 3D print quality from the ground up.
Quick Answer: How Do You Improve 3D Print Quality?
For most users, improving print quality starts with a checklist of fundamentals:
- Dry wet filament to prevent stringing and bubbling.
- Calibrate nozzle temperature for proper layer bonding.
- Tune flow rate and retraction settings.
- Verify bed leveling and Z-offset.
- Reduce vibration by tightening belts and adjusting speed.
- Optimize cooling for bridges and overhangs.
- Perform routine maintenance on nozzles, belts, and motion systems.
Once these fundamentals are dialed in, advanced hardware features such as automatic flow calibration, input shaping, and high-rigidity motion systems can further improve dimensional consistency and surface finish.
Quick Diagnosis Table
Experiencing a specific failure? Use this quick-reference matrix to find your starting point.
|
Problem |
Likely Cause |
First Fix |
|
Stringing |
Retraction / Wet Filament / High Temp |
Increase retraction distance, lower temperature & dry filament |
|
Ringing/Ghosting |
Vibration / Inertia |
Reduce acceleration & jerk settings |
|
Layer Shifts |
Loose belts / Stepper motor skipping steps |
Check belt tension & motor current |
|
Warping |
Uneven cooling / Poor adhesion |
Clean bed, use enclosure, lower Z-offset |
|
Blobs & Zits |
Pressure mismatch / Z-seam |
Calibrate flow rate & adjust seam alignment |
|
Under-extrusion |
Clogged nozzle / Low temp / Extruder slipping |
Clean nozzle, dry filament & increase printing temperature |
If you're not sure where to start, check filament moisture, nozzle condition, and bed leveling first. These three factors account for a large percentage of common print quality issues.
Fix the Most Common 3D Print Quality Problems First
Before you start aggressively tweaking G-code or dismantling your extruder, look at the physical realities of your setup. The vast majority of "mysterious" print failures originate right here.
Check Your Filament Before Changing Any Settings
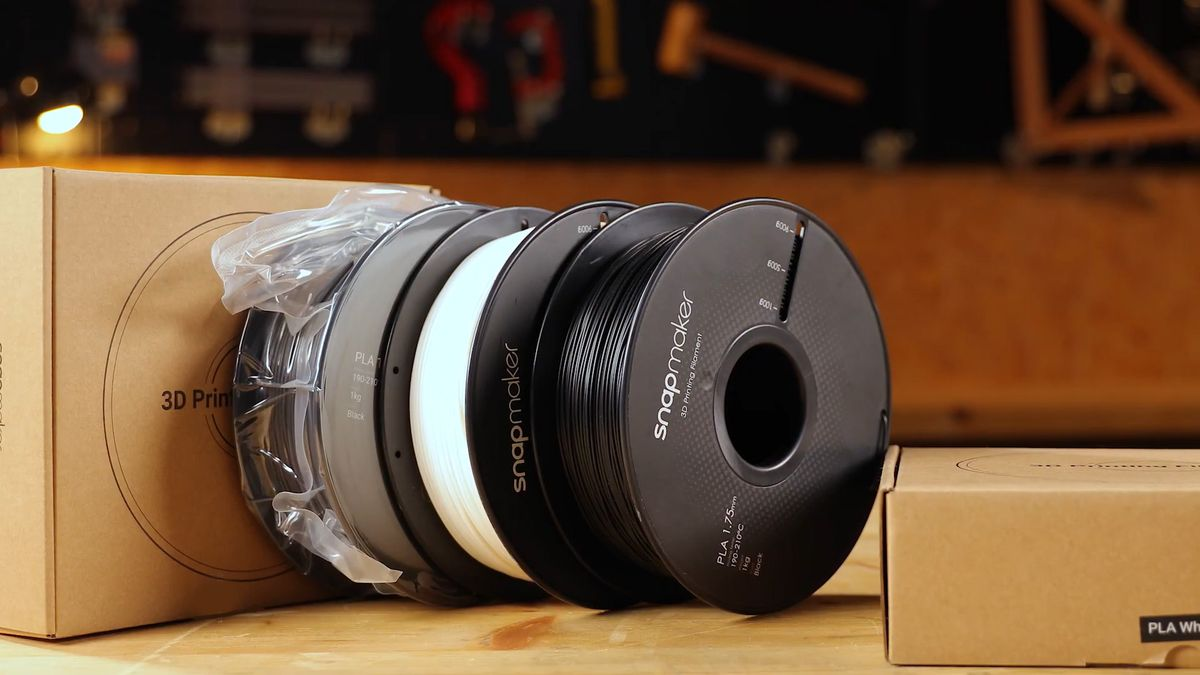
One of the most commonly overlooked causes of print defects is wet filament. Many common 3D printing materials like PETG, TPU, and even standard PLA are highly hygroscopic, meaning they absorb ambient moisture from the air. When that moisture hits a 392°F nozzle, it instantly boils, expanding into steam.
This micro-explosion disrupts the flow of plastic, leading to severe bubbling, brittle parts, and intense stringing caused by wet filament. If your retraction settings suddenly stop working, check your spool. Properly storing your filament to prevent moisture and using a dedicated filament dryer is step one. Filament drying isn't an optional luxury; for advanced polymers, it's mandatory.
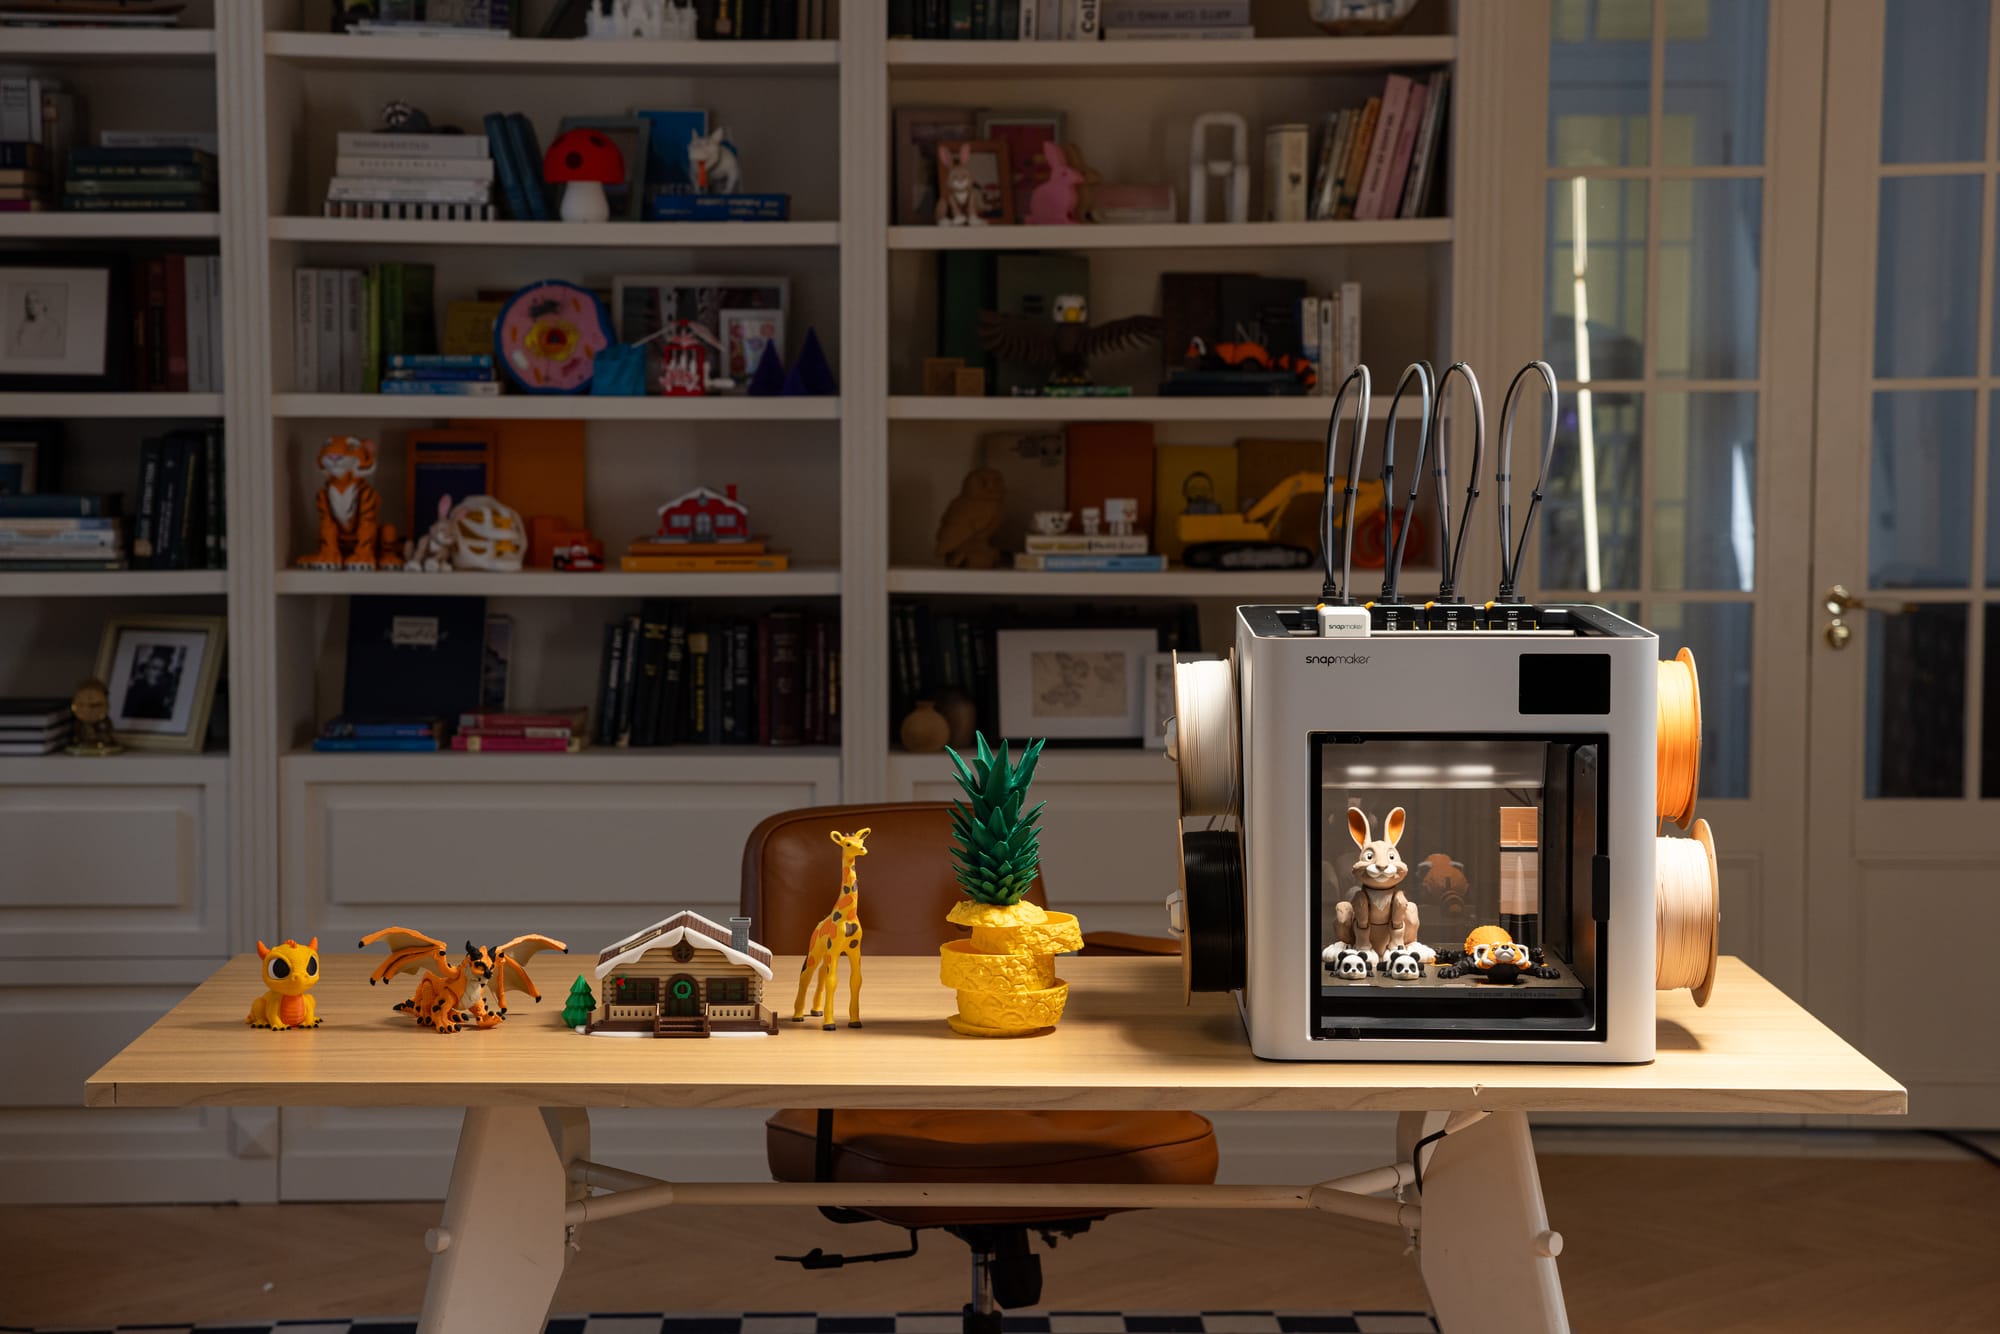
Even when dry, different spools have slight density variances. If you want to eliminate the guesswork of manual temperature and flow adjustments,leveraging a tightly integrated software ecosystem helps immensely. For instance, Snapmaker's slicing software includes highly tuned, lab-tested material profiles for standard filaments (like PLA, ABS, and PETG). Instead of guessing, you can simply select the recommended presets for printing temperature and flow parameters, the Snapmaker RFID filament ecosystem automates this entirely. When you load a Snapmaker smart spool, the machine instantly reads the exact lab-tested printing temperature, max volumetric speed, and flow dynamics, ensuring your baseline parameters are perfect before the nozzle even heats up.
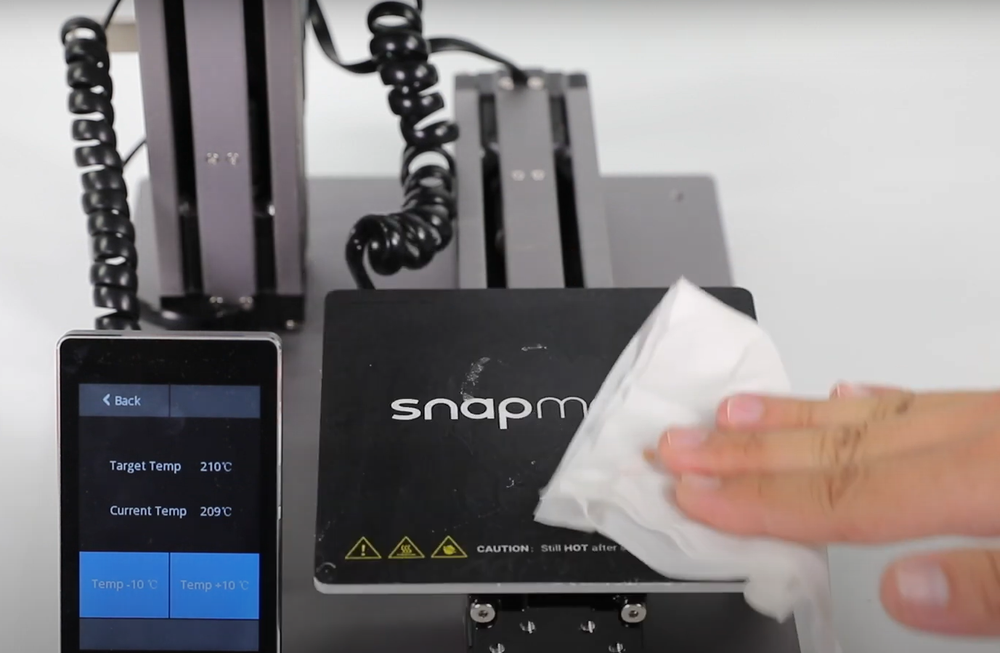
Nozzle Health and Correct Temperatures
A worn brass nozzle is the silent killer of dimensional accuracy. Over time, abrasive filaments (like glow-in-the-dark or carbon fiber) will widen the nozzle aperture, turning a precise 0.4mm hole into an irregular 0.6mm oval. This leads to inconsistent layer lines and under-extrusion. Swap your nozzle if you suspect heavy wear.
Once you have a clean nozzle and dry filament, print a Temperature Tower. This simple calibration model changes the hotend temperature every few layers, allowing you to visually identify the exact thermal sweet spot for optimal layer adhesion and minimal stringing.
Choosing the Right Layer Height
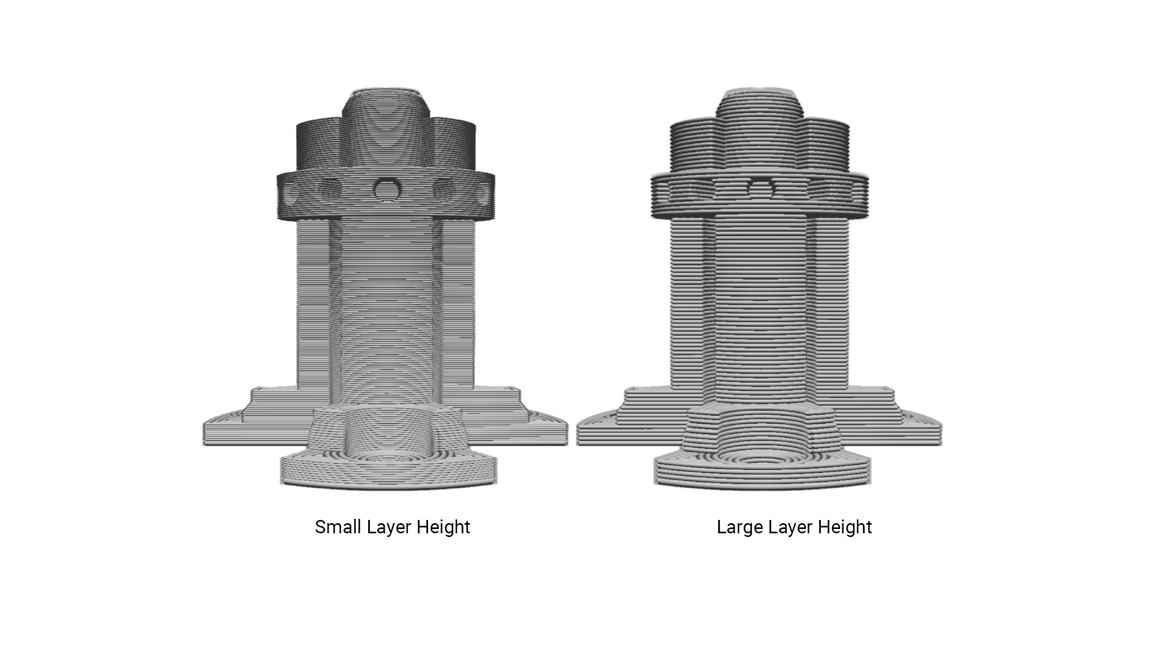
A frequent mistake is selecting a layer height that conflicts with your nozzle diameter. As a general rule, your layer height should sit between 25% and 75% of your nozzle diameter. For a standard 0.4mm nozzle, printing at a 0.2mm layer height offers the best balance of speed and structural integrity. Going too large (e.g., 0.35mm on a 0.4mm nozzle) prevents proper layer "squish," resulting in weak parts and highly visible, ugly layer lines. If you need finer details, drop to 0.12mm, but be prepared for longer print times.
How to Optimize Slicer Settings for Better 3D Print Quality
Once your hardware baseline is healthy, it's time to open your slicer. Software optimization is all about managing the fluid dynamics of molten plastic.
How to Fix Under-Extrusion and Over-Extrusion
If your top layers have visible gaps between the lines, you are experiencing under-extrusion. If your vertical walls are bulging and dimensional tolerances are too tight, you are over-extruding.

The traditional method to resolve this requires you to calibrate your flow rate (or Extrusion Multiplier). This involves slicing a hollow, single-wall calibration cube, printing it, and measuring the exact wall thickness with digital calipers. You then divide your expected line width (usually 0.4mm) by your actual measured width to get a new multiplier percentage, plugging that value back into your slicer.
How to Fix Blobs, Zits, and Z-Seam Imperfections
Molten plastic acts like a hydraulic spring. When your extruder motor pushes, there is a micro-second delay before plastic flows out. When the motor stops at the end of a perimeter, the built-up pressure continues to ooze, leaving ugly blobs or "zits" exactly where the layer changes (the Z-seam).
The manual workaround is to optimize your retraction speed and distance, and enable "Pressure Advance" (or Linear Advance) in your firmware. Tuning Pressure Advance manually means printing tedious calibration line patterns, inspecting them under light, measuring thicknesses, and doing the math yourself to find the right K-factor.
Modern machines like the Snapmaker U1 eliminate this tedious process entirely with Dynamic Flow Calibration. Utilizing a built-in high-sensitivity sensor, the U1 executes a rapid "YOLO" (You Only Look Once) test block, automatically calculating the exact K-factor to synchronize motor movement with polymer flow. It gives you perfect corners with zero manual tweaking.
How to Improve Bridging, Overhangs, and Surface Quality
Printing in mid-air (bridging) or achieving smooth shallow angles requires rapid thermodynamic control. To handle this in your slicer, ensure your part cooling fan is ramping up to 100% during bridges, and decrease your layer height to minimize the "staircase" effect on sloped geometries.

Rather than slowing down your entire print by globally reducing that layer height, modern slicers offer smarter solutions. For example, Snapmaker Orca features Adaptive Variable Layer Height. The software automatically analyzes your model, applying thick, fast layers to straight vertical walls, and aggressively compressing the layer height (down to 0.08mm) only on the steep curves. You get a flawlessly smooth top surface without inflating your total print time.
How to Fix First-Layer Problems and Warping
Dealing with first layer problems is a rite of passage, because if your first layer fails, the entire print fails. It is the literal foundation of print quality.
The standard fix for poor adhesion is scrubbing your PEI build plate with dish soap and dialing in the perfect Z-offset (the exact distance between the nozzle and the bed). Too high, and the plastic won't "squish" onto the plate; too low, and you'll clog the nozzle.
When printing high-temperature engineering materials like ABS or ASA, thermodynamics work against you. As the upper layers of the print cool, they shrink, acting like a lever that pulls the corners of your model right off the build plate. The traditional band-aids are applying messy glue sticks or printing massive "brims" that require heavy post-processing.
Warping is fundamentally caused by extreme temperature gradients. The Snapmaker Artisan tackles this at the hardware level with a Dual-Zone Heated Bed. It restricts extreme heat (up to 230°F) strictly to the inner 260x260mm zone where your model sits, preventing the massive thermal imbalances that cause edge lifting, all while saving energy.
How to Fix Ghosting and Ringing in 3D Prints
As you increase print speeds to save time, you run straight into Newton's laws of motion. Traditional Cartesian "bed-slinger" printers move the entire heavy build plate back and forth on the Y-axis. At high speeds, this massive inertia causes the machine to vibrate.
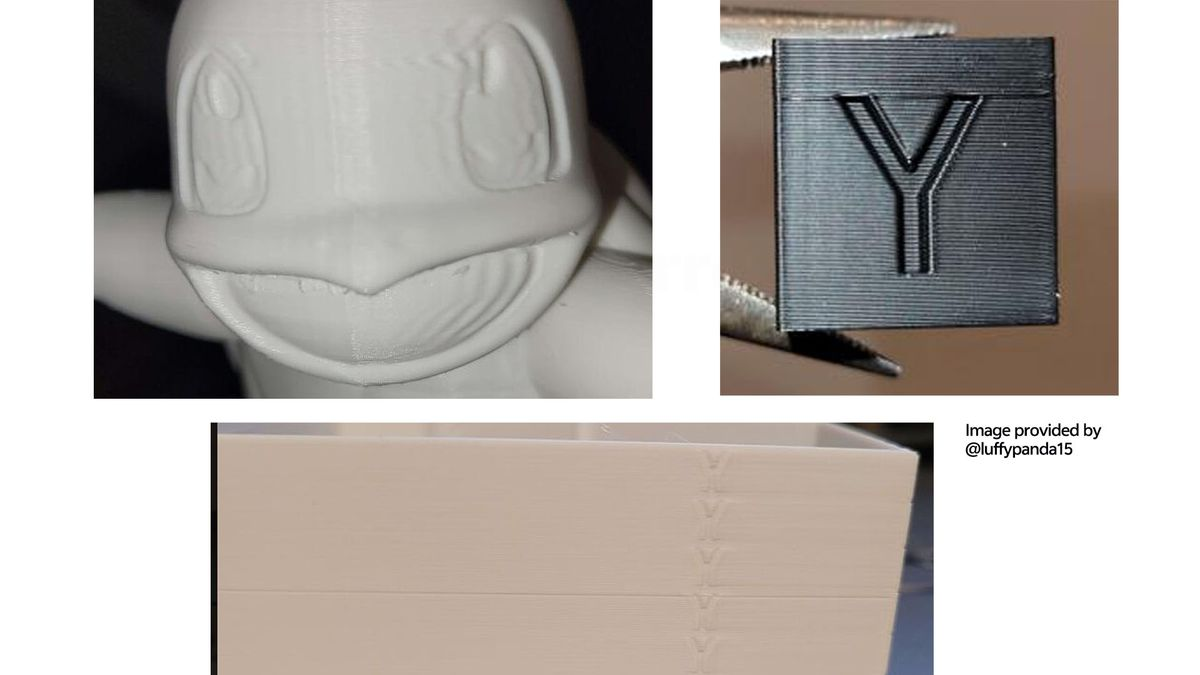
These vibrations translate into the plastic as "ringing" or "ghosting"—visible, wave-like echoes on the flat surfaces of your print, usually around sharp corners or text. The software-only fix is painful: you must drastically reduce your acceleration and jerk settings, sacrificing speed for quality.
To print fast and flawlessly, you need a superior kinematic architecture. The Snapmaker U1 utilizes a CoreXY motion system, decoupling heavy stepper motors from the toolhead to drastically reduce moving mass.
Furthermore, the U1 utilizes Input Shaping. An integrated accelerometer physically measures the resonance frequencies of the printer's axes. The Klipper-based firmware then pre-processes your G-code, injecting micro-delays that actively cancel out the physical vibrations. The result? Flawless, echo-free vertical walls at blistering accelerations up to 20,000 mm/s².
3D Printer Maintenance Tips for Better Print Quality
A highly tuned slicer profile can't fix a printer that is shaking itself apart. Routine maintenance is the secret to evergreen print quality. Check these components monthly:
- Belt Tension: Pluck your X and Y timing belts; they should produce a low, resonant twang. Loose belts lead to catastrophic layer shifting.
- Z-Axis Screws: Clean old, dust-caked grease off your lead screws and apply fresh PTFE lubricant to prevent Z-banding (horizontal lines on your print).
- Motion Guides: Check traditional V-wheels for flat spots or rubber dust. (Note: High-end machines like the Snapmaker Artisan replace these with industrial-grade CNC linear rails, largely eliminating this maintenance headache).
- Cooling Fans: Use compressed air to blow dust out of your part cooling fans. A choked fan will destroy your bridging quality.
How to Prevent Color Bleeding and Waste in Multi-Material Printing
Once you master single-color printing, the next frontier is multi-material fabrication (like mixing PLA with dissolvable PVA supports). However, popular single-nozzle systems that cut and pull different filaments through a shared hotend face severe physical limitations.
Sharing a melt zone leads to unavoidable color bleeding, stringing, and the generation of massive "purge towers" that waste huge amounts of expensive plastic.
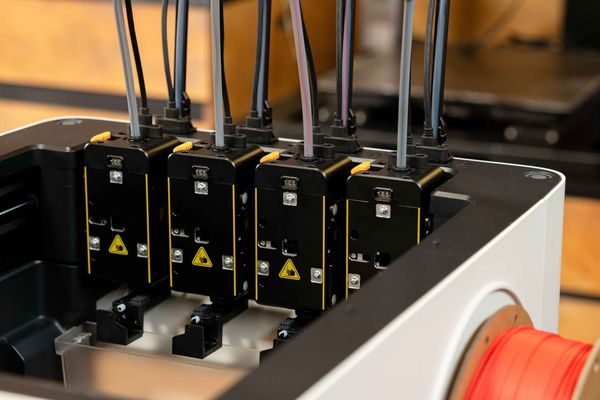
True multi-material quality requires physical isolation. Independent Dual Extruders (IDEX) or advanced tool-changing ecosystems like the SnapSwap™ system on the Snapmaker U1 give each material its own dedicated, pre-heated nozzle. Because there is no shared melt zone, there is zero cross-contamination. You get razor-sharp color transitions and flawless support interfaces while reducing plastic waste by up to 80%.
Frequently Asked Questions
Why is my 3D print rough instead of smooth?
Common causes include wet filament (which boils and pops), incorrect extrusion temperatures, poor part cooling on overhangs, and using a layer height that is too large for the model's geometry.
Does slowing down improve print quality?
Often, yes. Lower print speeds reduce mechanical vibration (ringing) and give molten plastic more time to bond properly with the previous layer and cool evenly.
What causes layer lines in 3D printing?
Layer lines are a natural, unavoidable result of FDM (Fused Deposition Modeling) technology. However, they become severely exaggerated when your layer height is too large, you have bent lead screws (Z-wobble), or your extrusion rate is inconsistent.
Can a worn nozzle affect print quality?
Absolutely. A worn nozzle loses its internal geometry. This alters the extrusion width, reduces dimensional accuracy, and creates inconsistent, messy surfaces. Brass nozzles should be replaced regularly.
Is CoreXY better for print quality?
Not automatically, but CoreXY systems generally allow for much higher printing speeds with significantly less vibration than traditional bed-slinger designs, allowing you to maintain high quality without sacrificing productivity.
Conclusion: Stop Tweaking, Start Creating
Optimizing your 3D print quality is an ongoing conversation with physics. By understanding the fundamentals—drying your filament, calibrating your slicer's fluid dynamics, and maintaining a rigid machine—you can push almost any 3D printer to produce excellent results.
However, as your ambitions grow, so does the value of your time. While manual troubleshooting is an essential rite of passage, upgrading to a highly integrated, sensor-driven hardware ecosystem like Snapmaker minimizes downtime. By offloading the heavy lifting of flow calibration, vibration compensation, and material isolation to the machine, you can stop tweaking parameters and get back to what matters: bringing your ideas into the real world.