What Is a Slicer in 3D Printing? The Ultimate Guide for Beginners

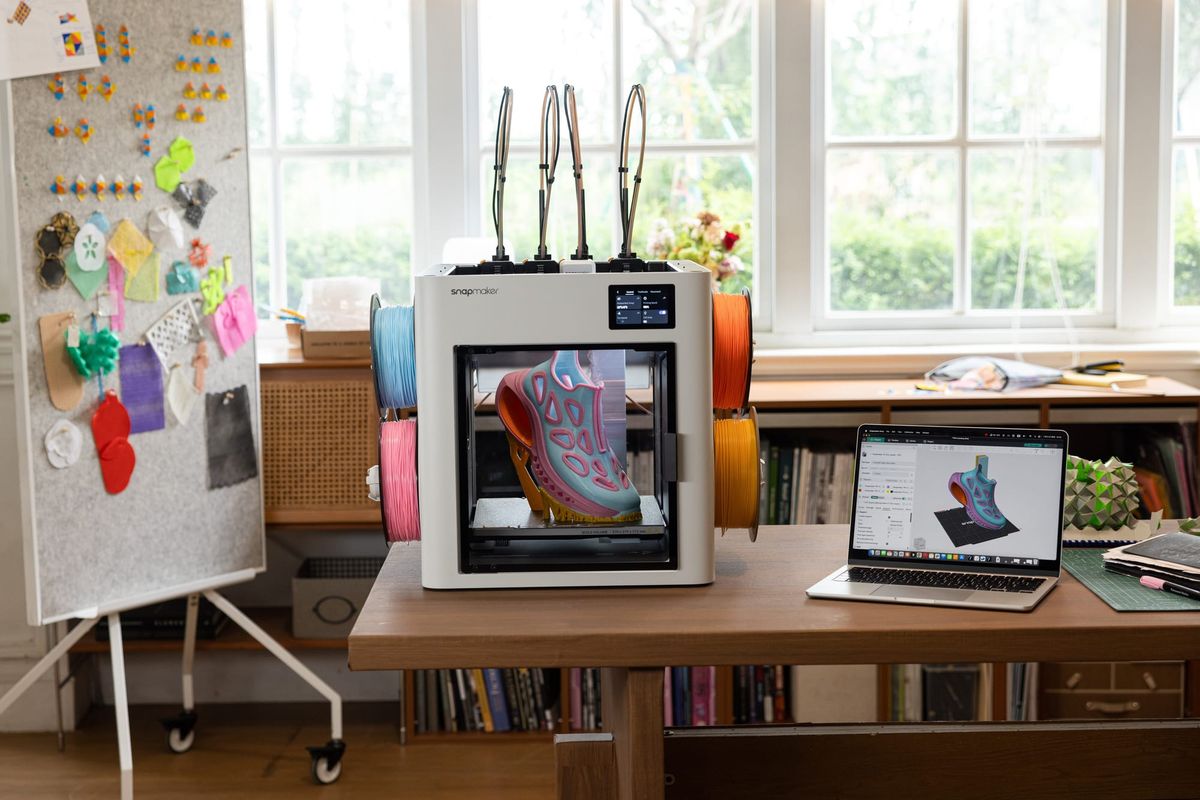
Diving into 3D printing can feel overwhelming at first. You download an exciting 3D design file, fire up your new printer, and immediately run into a wall of jargon: STLs, G-code, and "slicing." It can be frustrating to feel like you need an engineering degree just to print a simple desk toy.
Fortunately, the process is much simpler than it sounds. At the heart of this workflow is the 3D printer slicer—a piece of software that acts as the essential translator between your digital design and the physical machine. By understanding what a slicer is and mastering a few basic settings, you can take full control over the quality, strength, and speed of your 3D prints.
Key Takeaways
- The Essential Translator: A 3D slicer is the software bridge between your computer and your printer. It converts digital 3D shapes (like STL files) into G-code—the exact mechanical instructions your printer needs to lay down plastic layer by layer.
- Total Control Over Quality: Mastering basic slicer settings—such as layer height, infill density, and support structures—gives you complete control over how fast, detailed, and durable your final print will be.
- The "Full Spectrum" Illusion: Modern slicing innovations, like the Full Spectrum feature in Snapmaker Orca, allow you to print dozens of unique hues using just four partly translucent filaments by stacking microscopic, alternating layers of color.
- Hardware and Software Synergy: Pairing your printer with an ecosystem-tailored slicer (such as using Snapmaker Orca with the multi-toolhead Snapmaker U1) unlocks seamless multi-material printing, remote monitoring, and reduces the massive filament waste associated with traditional single-nozzle printers.
The Role of a 3D Printer Slicer
Think of your 3D printer as a highly obedient but completely blind builder. It knows how to move, heat up, and lay down melted plastic, but it has no idea what it is actually building. A slicer gives it the blueprint.
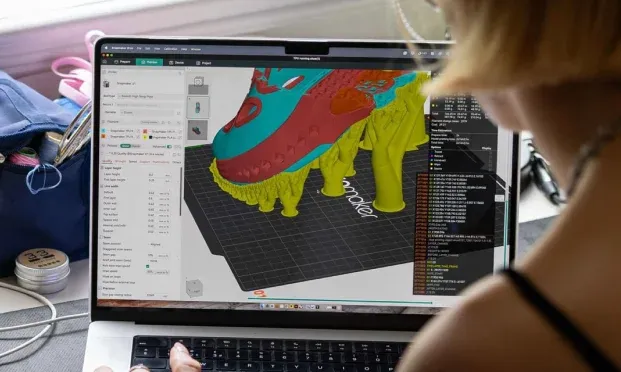
How Slicing Works: From 3D Model to G-Code
A digital 3D model (typically an .STL or .OBJ file) is just a hollow digital shell representing an object's shape. A 3D printer cannot read shapes; it can only read coordinates.
When you load your digital model into slicing software, the program literally "slices" that 3D object into hundreds or thousands of horizontal 2D layers. It then generates a complex script called G-code. This G-code is a list of exact numerical instructions that tells the printer precisely where to move the print head, how fast to travel, how much plastic to extrude, and what temperatures to maintain.
Why Can't a 3D Printer Print an STL File Directly?
Giving a 3D printer a raw STL file is like handing a book written in a foreign language to someone and asking them to read it aloud. The printer lacks the software to translate the 3D geometry into physical movements. The slicer performs this translation, converting the digital language of shapes into the mechanical language of motors and heating elements.
Essential Slicer Settings You Need to Know
Modern slicing software is designed to be user-friendly, often coming with built-in presets that allow you to start printing immediately. However, knowing how to adjust a few core settings will dramatically improve your results.
Layer Height and Resolution
Layer height determines the thickness of each individual slice of your model.
- Thicker layers (e.g., 0.28mm): Print much faster but leave visible "stair-step" lines on the surface of your model.
- Thinner layers (e.g., 0.12mm): Create incredibly smooth, highly detailed prints, but take significantly longer to finish.
Infill Density and Patterns
Unless you are printing something very small, 3D prints are rarely solid plastic. To save time and material, the inside of a print is filled with a geometric pattern (like a honeycomb or grid) known as infill.
- Infill Density: Measured in percentages. A 10% to 20% density is standard for display pieces, while 50% to 100% is used for functional, load-bearing parts.
- Infill Pattern: Different shapes offer different benefits. A "gyroid" pattern, for example, provides excellent strength in all directions.
Support Structures and Bed Adhesion
Melted plastic cannot be printed in mid-air. If your model has overhangs (like the outstretched arms of a character), the slicer will generate support structures—temporary towers of plastic that hold up those overhangs and are easily snapped off after the print finishes.
Additionally, slicers help your print stick to the build plate. You can enable brims (a flat, widened outline around the base of the print) or rafts (a thick layer of plastic printed underneath the model) to prevent the print from warping or failing to stick to the bed.
How to Slice a 3D Model: A Step-by-Step Overview
When you open a slicer for the first time, the workflow generally follows these four logical steps:
Step 1: Importing and Orienting Your Model
Drag and drop your STL or OBJ file onto the virtual build plate. The most crucial part of this step is orientation. You want to rotate the model so its flattest, most stable side is resting directly on the build plate. Good orientation minimizes the need for messy support structures and ensures a successful print.
Step 2: Configuring Material and Print Parameters
Tell the slicer what kind of filament you are using (e.g., PLA, PETG, or TPU). The software will automatically adjust the nozzle temperature, bed temperature, and print speeds to match the material. This is also where you adjust your layer height, infill, and supports.
Step 3: Slicing and Generating G-Code
Click the "Slice" button. The software will process your settings and generate a visual preview. Always review this preview layer-by-layer to ensure the supports look correct and there are no missing sections. The slicer will also provide a highly accurate estimate of how much filament the print will use and how long it will take.
Step 4: Sending the File to the Printer
Once you are satisfied, you will export the G-code. Traditionally, this means saving the file to a USB drive or SD card and plugging it directly into the printer. However, modern slicers allow you to send the G-code directly over your local Wi-Fi network.
What to Look for in 3D Slicing Software
As you choose a slicer, look for features that align with your hardware and your long-term 3D printing goals.
Intuitive Interface vs. Advanced Control
Beginners need software with clear, pre-tuned profiles that remove the guesswork from printing. However, as you grow more experienced, you will want software that doesn't hide its advanced settings, allowing you to tweak intricate details like acceleration controls, flow rates, and custom support painting.
Multi-Material and Multi-Color Capabilities
If you plan to utilize multi-material 3D printing, your slicer needs sophisticated algorithms. Advanced slicing software optimizes path planning to reduce wait times during toolhead switches and ensures materials interlock securely for a structurally sound print.
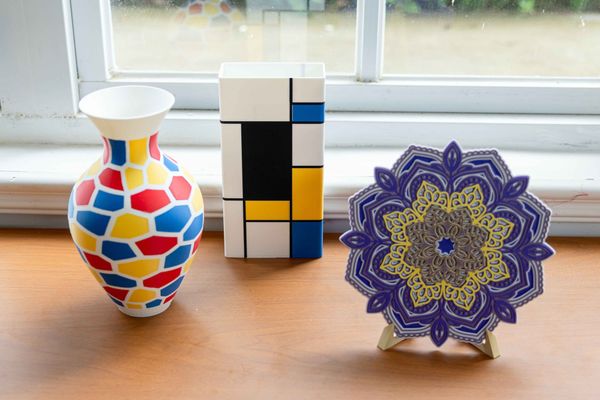
Additionally, modern slicing innovations are radically changing how we print with color. A prime example is the Full Spectrum feature (originally developed by community contributor Radu and now officially integrated into Snapmaker Orca). Full Spectrum allows users to explore richer, brilliantly blended colors utilizing just four filaments.
By automatically stacking incredibly thin, alternating layers of primary colors along the Z-axis, the slicer leverages a color-dithering optical illusion. To the human eye, alternating 0.1mm micro-layers of blue and yellow visually blend into a vibrant green. The secret to this trick? You must use partly translucent filaments rather than standard opaque ones. The translucency allows light to bleed through the layers, smoothing out the contrast and hiding the "zebra stripes," unlocking dozens of unique hues without requiring complex hardware add-ons.
Built-in Printer Integration and Remote Monitoring
The best slicing experience happens when the software and hardware are deeply integrated. Being able to slice a model, send it over a WAN/LAN network, and monitor the print's progress—all directly within the slicer—saves you from constantly running back and forth to the machine.
Top Software Options for Your 3D Printing Setup
The 3D printing community thrives on reliable, powerful software. Here are the top directions you can take depending on your hardware:
Ecosystem-Specific Software
For users operating within specific hardware ecosystems, utilizing dedicated software provides the most seamless and optimized experience. For example, Snapmaker Orca is a cutting-edge slicing software built upon the powerful Orca Slicer engine, finely tuned specifically to integrate with Snapmaker 3D printers.
Using an ecosystem-tailored slicer means you unlock features explicitly designed for your machine's architecture. In the case of advanced tool-changing systems like the Snapmaker U1, Snapmaker Orca handles multi-toolhead printing effortlessly—which is vital, as constantly swapping filaments on a traditional single-nozzle printer significantly increases print time and material waste. Starting with V2.3.3, it natively supports the Full Spectrum feature, empowering you to print 7-to-12 color models using just four spools loaded into the printer. It also includes robust remote monitoring so you can track your prints from anywhere.
A well-rounded ecosystem accommodates every creative workflow:
- Snapmaker Orca: The optimized, high-performance slicer crafted for modern 3D printers like the U1.
- Snapmaker App: For managing models, referencing manuals, and executing remote control right from your smartphone.
- Snapmaker Luban: The legacy 3-in-1 software designed for users leveraging 3D printing alongside laser engraving and CNC carving.
- 3rd-Party Software: Open-source flexibility ensuring your hardware plays nicely with other universal tools.
Popular 3rd-Party Software Options
Because the industry leans heavily into open-source standards, you can easily use universal software if you prefer. Ultimaker Cura is highly recommended for beginners due to its massive user base and simple interface. PrusaSlicer and the standard Orca Slicer are favorites among enthusiasts for their advanced features, built-in calibration tools, and exceptional multi-material handling.
Frequently Asked Questions About 3D Printing Slicers
Is 3D slicing software free?
Yes, the vast majority of the most powerful and popular 3D slicing programs—including Snapmaker Orca, Ultimaker Cura, and PrusaSlicer—are completely free and open-source.
How long does it take to slice a 3D model?
The software calculation process usually takes only a few seconds to a minute on a modern computer, depending on the complexity of the 3D model. However, the actual printing time estimated by the slicer can range from a few minutes to several days.
What happens if I use the wrong slicer settings?
Using the wrong settings (like temperatures that are too low or missing support structures) usually results in a failed print. The print might not stick to the bed, overhangs may sag into "spaghetti" strings, or the object could be too weak and snap. Fortunately, you can simply adjust the settings in your slicer and try again.