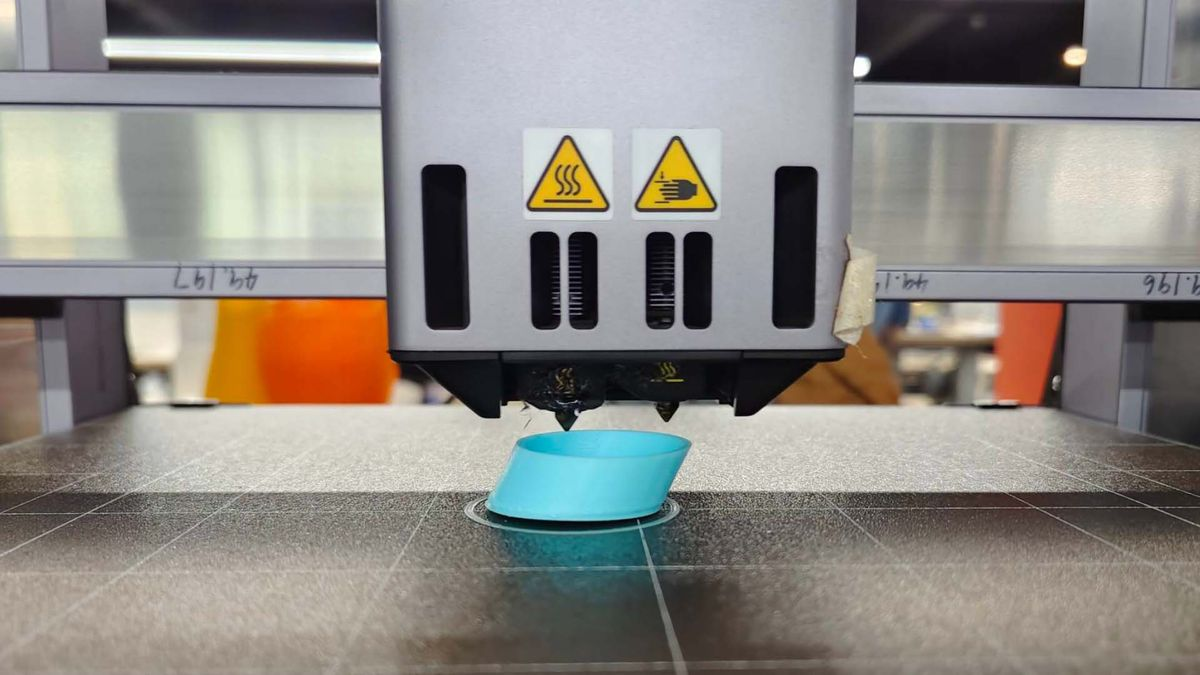
3D Printer Lubricant Guide: What to Use for Rails, Lead Screws, and Bearings
It is 2:00 AM. You are ten hours into a highly detailed print, and the house is dead silent. Then, out of nowhere, you hear it: a dry, high-pitched squeak coming from your printer’s gantry.
If you are like most makers, your immediate instinct might be to grab a standard can of WD-40 and give the rails a spray to quiet things down. Before you do, put the can down. Standard WD-40 may temporarily silence the noise, but over time it can wash away factory grease and accelerate wear inside precision rails.
3D printers are dynamic mechanical systems. The fast, light-load movements of your X/Y-axis linear rails require a different approach than the slow, heavy rotation of your Z-axis lead screws. This guide will walk you through the signs your machine needs maintenance, the differences between oil and grease, and the proven lubricants that actually make sense for 3D printing.
Signs Your 3D Printer Needs Lubrication
Your printer will usually warn you of oil starvation before a component actually fails. Here are the most common physical symptoms:
Squeaking or Grinding Noises
A healthy printer has a smooth mechanical hum. If you start hearing sharp metallic chirping or dry rattling during rapid travel moves, your lubricants have likely evaporated or become contaminated.
The Gantry Feels Rough by Hand
Shut down your printer's power and gently push the print head or bed through its range of motion. It should move smoothly. If you feel any micro-stuttering or a distinct gritty resistance under your fingers, the bearing blocks are running dry or are packed with dust.
Vertical Layer Lines and Z-Banding
When Z-axis lead screws run dry, friction between the steel screw and the nut increases. This prevents the Z-axis from rising smoothly in precise steps. On your finished prints, this often manifests as inconsistent horizontal lines, ribbing, or Z-banding.
Increased Motor Heat
When rails and screws lose their lubricating film, the stepper motors have to fight more mechanical resistance. This extra workload forces the motors to draw more current, driving up their operating temperature.
Random Layer Shifts
If you are getting sudden layer shifts halfway through a print, it might not be a loose belt. When a dry linear guide hits a sticky spot, the static friction can briefly exceed the torque of your motor. The motor skips a step, and your print shifts offline.
Oil vs. Grease: Which Is Better?
Walk into any maker forum, and you will find an endless debate on whether to use liquid oil or thick grease. The answer depends entirely on the part you are lubricating.
3D Printer Oil
Oils, like synthetic lightweight oils, have excellent fluid mobility. If you drop a tiny bit of oil onto a rail, it will naturally seep past the rubber dust seals and coat the internal steel bearings. It offers almost zero starting resistance, making it great for lightweight, high-speed movement. The downside: Oils cannot fight gravity well. If applied to a vertical Z-axis lead screw, they will slowly run down the threads, demanding more frequent reapplication.
3D Printer Grease
Grease stays where you put it. It provides a thick, cushioning barrier that prevents metal-on-metal contact under heavy loads—like Z-axis lead screws. It also lasts significantly longer between maintenance cycles. The downside: Grease is sticky. It tends to attract airborne dust, filament strands, and plastic micro-shavings over time.
The Verdict: For X/Y-axis linear guides and smooth rods, a light grease or synthetic oil is ideal. For heavy, slow-moving Z-axis lead screws, a robust synthetic grease is better.
Best Lubricants for 3D Printers: 4 Proven Options
To save you from getting lost in the hardware store, here are four benchmark lubricants widely trusted by the 3D printing community.
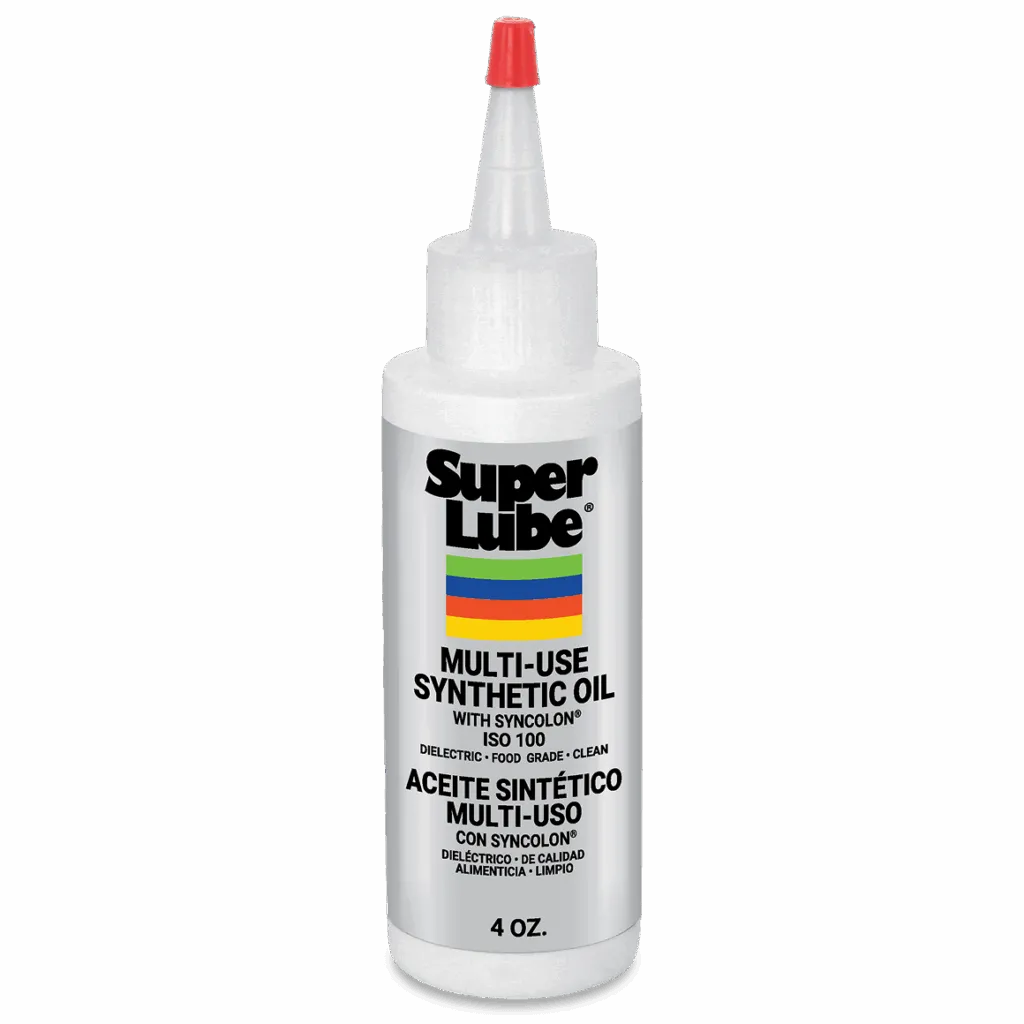
1. Super Lube 21030 (Synthetic Grease with PTFE)
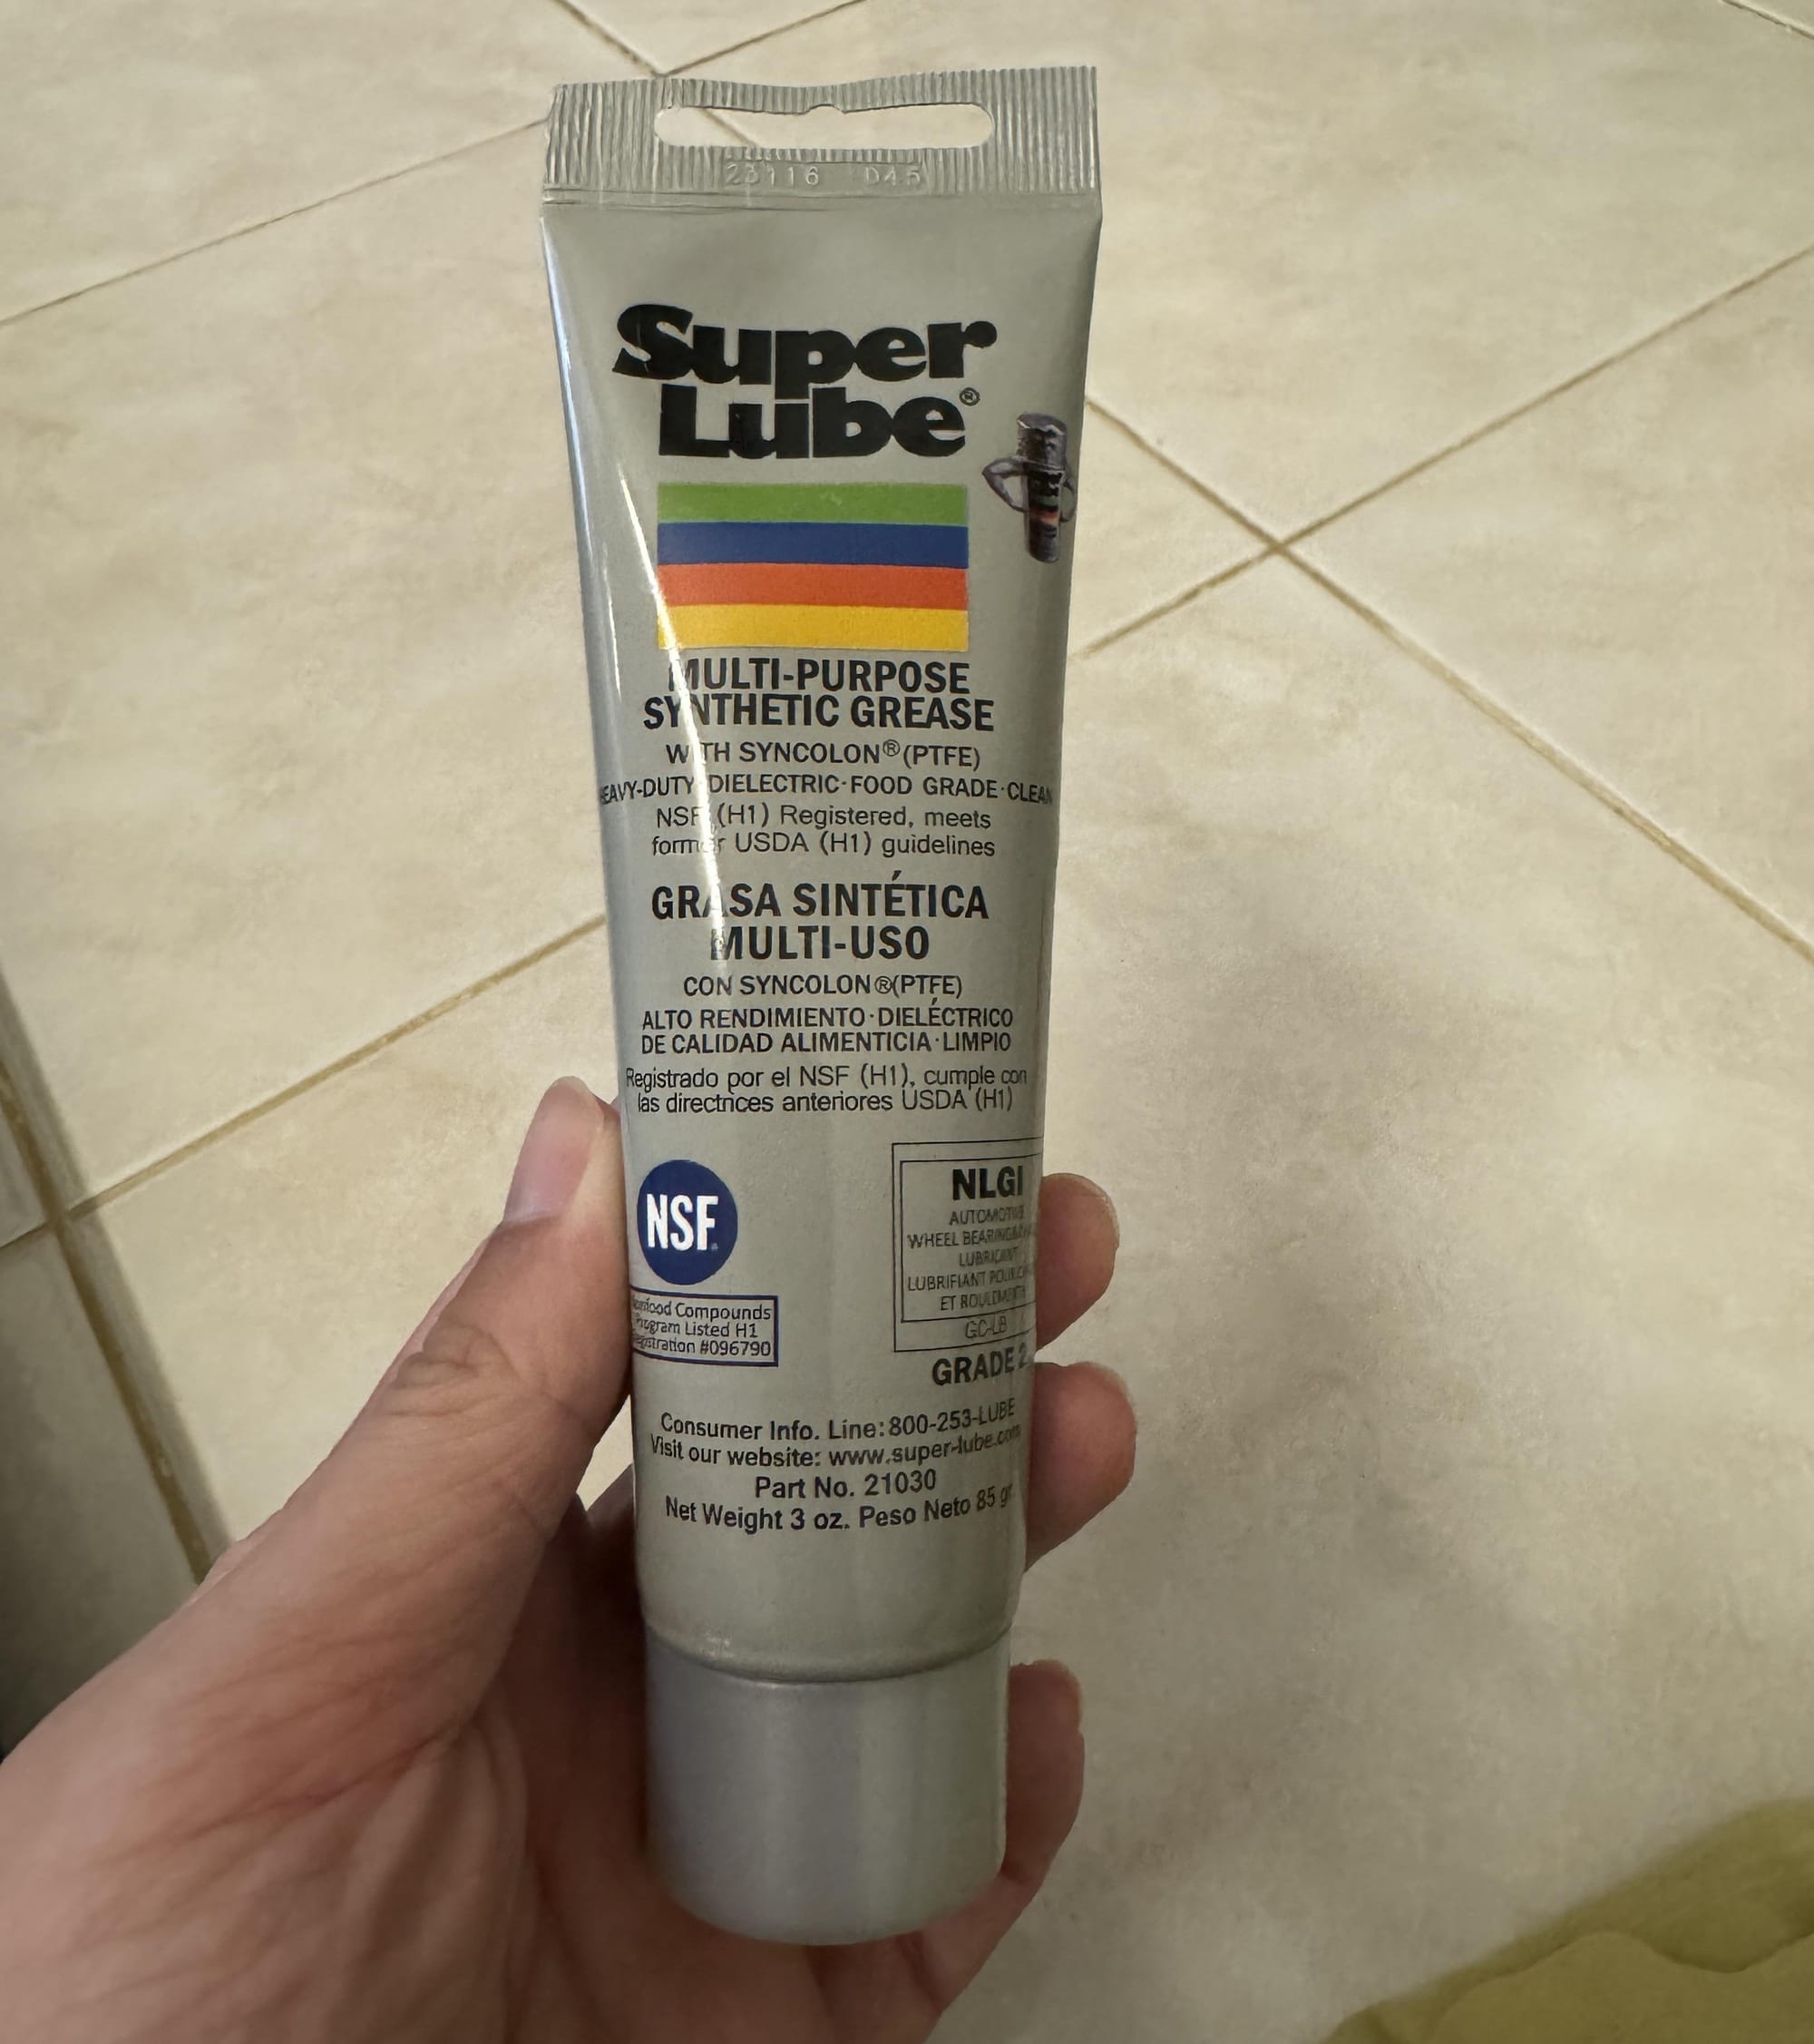
If you ask the community for a single recommendation, most will point to Super Lube 21030. It uses a synthetic base oil suspended with micro-fine PTFE (Teflon) particles. Under the heavy vertical loads of Z-axis lead screws, it creates a slippery, long-lasting barrier. It is chemically stable and safe on plastic POM nuts. Note: On very small linear rails, PTFE grease can sometimes feel less smooth over time as particles accumulate inside the tight clearances of the carriage.
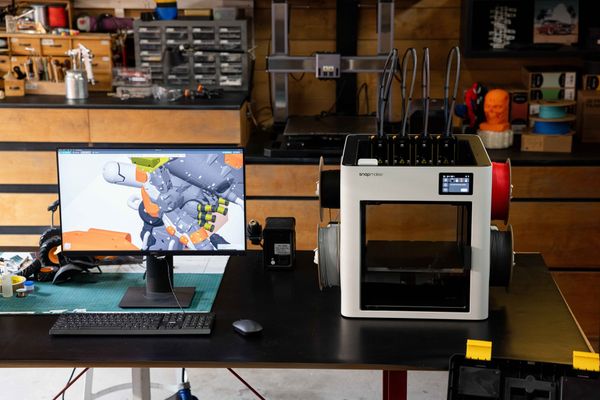
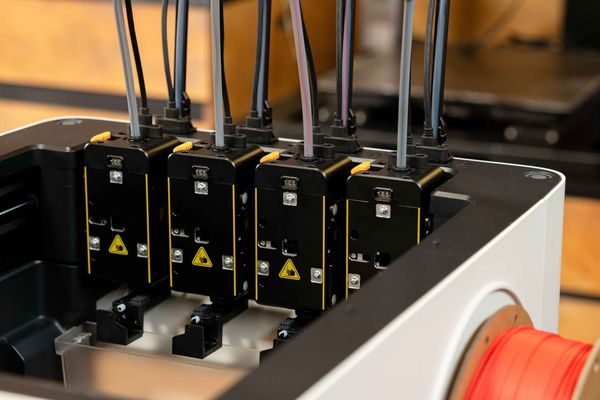
2. Snapmaker Authorized Rail Grease (Tengke PS2)
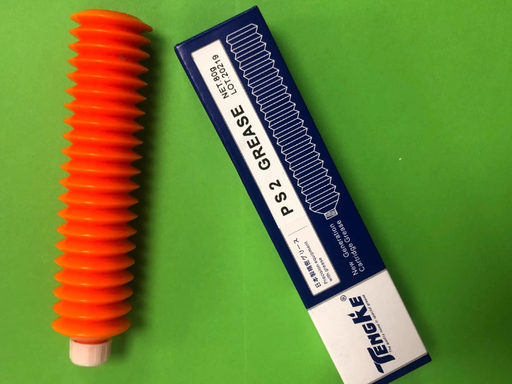
Engineered for high-precision, high-speed linear guide rails, this is the grease of choice for premium modular machines like the Snapmaker series. It does away with solid PTFE additives, relying instead on a highly refined lithium-soap thickener. It is designed to remain highly fluid even in cold workshops, ensuring high-speed travel moves stay smooth without adding resistance to the motors.
3. Permatex 80345 White Lithium Grease
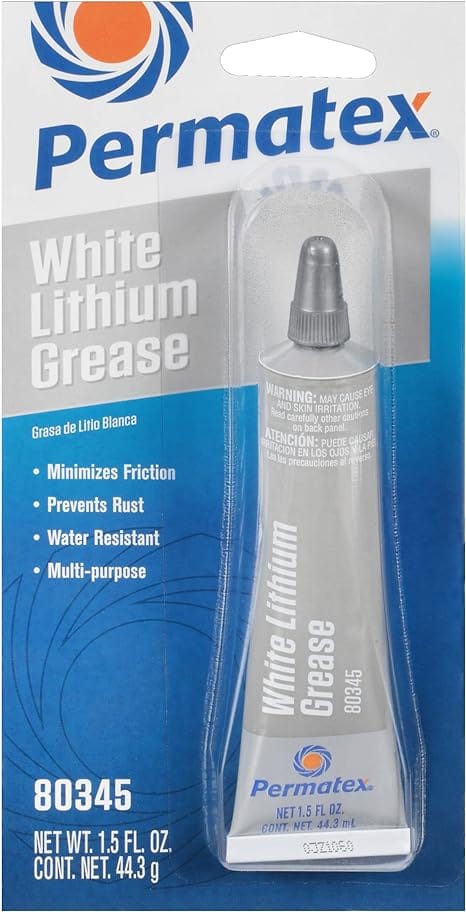
For an affordable and easily accessible option, white lithium grease is a classic metal-on-metal workhorse. It is highly resistant to heat and water, making it reliable for heavy-duty modules. As a bonus, the bright white color makes it easy to visually inspect your gantry and see exactly where the grease has turned grey and needs to be cleaned.
4. Super Lube 51004 (Synthetic Lightweight Oil)
If your printer utilizes smooth chrome rods with linear ball bearing sleeves (like classic LM8UU bearings), thick grease is often too viscous. Super Lube 51004 is a pure, low-viscosity synthetic oil. You can simply drop a few drops onto the dry rod right next to the bearing block, and capillary action will pull the fluid into the internal ball tracks without requiring disassembly.
The Myth of WD-40
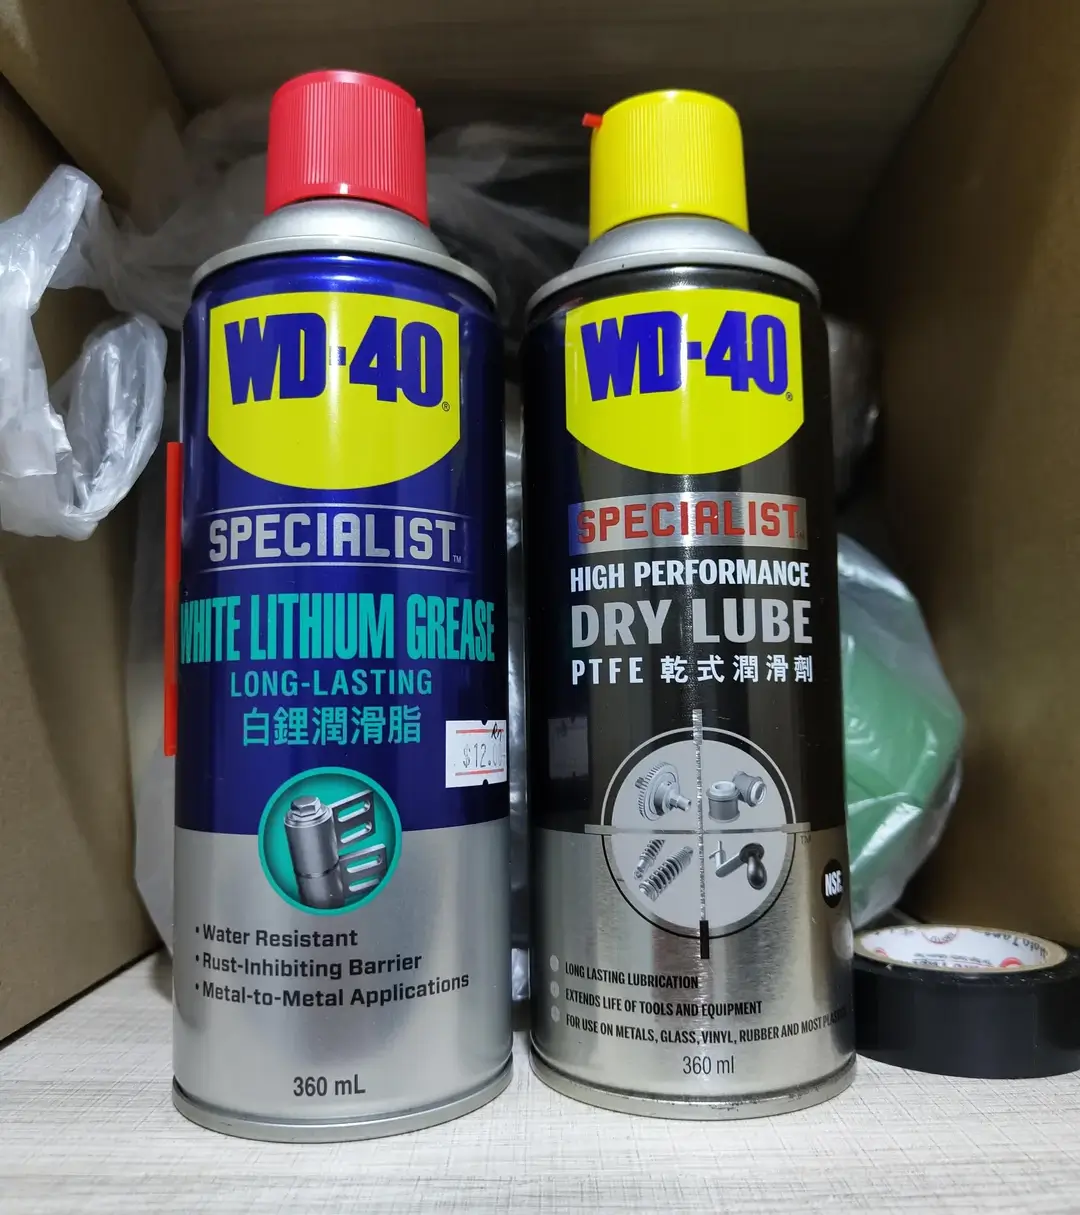
Almost every experienced maker has had to tell a beginner: “Do not put standard WD-40 on your 3D printer.” The "WD" stands for Water Displacement. It is a highly volatile, light solvent carrier mixed with a tiny amount of rust-inhibiting oil. When you spray it onto a squeaking rail, it works for a short time. However, the solvent actively dissolves and flushes out the high-quality grease that the factory sealed inside your bearing block.
Once the carrier solvents evaporate, WD-40 leaves behind a thin residue that attracts dust and wears out quickly under constant motion. The carriage is left running with insufficient lubrication.
Other Lubricants to Avoid:
- Vegetable/Cooking Oils: These oils have terrible oxidative stability. Within weeks, they will undergo a chemical polymerization process, turning into a hard, sticky varnish.
- Vaseline (Petroleum Jelly): Vaseline has a very low melting point. As soon as your heated bed gets up to temperature, it can liquefy and run off.
How Often Should You Lubricate a 3D Printer?
How often you need to clean and oil your machine depends on how hard you run it. A solid baseline for regular maintenance is every 3 months.
However, calendar days matter less than actual wear and tear. You should perform maintenance immediately if you hit any of these specific triggers:
- The 100km Milestone: If you run print farms or high-speed machines, your linear guides cover vast distances. Plan to clean and re-lubricate when your travel distance reaches roughly 100 kilometers. Because the X and Y axes handle the bulk of the rapid movement during a print, they will naturally require more frequent lubrication than the Z-axis.
- Visual Degradation: Pay attention to the color of your grease. If the original grease on your X/Y linear bearings or Z-axis lead screw turns from clear or white to a dirty gray or black paste, it is time to clean it. This happens much faster in dusty environments, or if you print ABS/ASA, where vapor residue breaks down lubricants.
- Physical Symptoms: Never wait for a scheduled maintenance day if the hardware is struggling. If a slider block gets stuck, or if the rails start making abnormal noises during a print, stop and perform a maintenance cycle immediately.
Basic Maintenance Protocol
Applying too much grease often causes more problems than applying too little. Excess grease increases static starting resistance and attracts debris. Follow this simple protocol:
Step 1: Deep Cleaning
Never apply fresh grease on top of dirty grease. Shut down your printer. Take a high-quality, lint-free wipe soaked in 99% Isopropyl Alcohol (IPA) and wipe down the threads of your Z-axis lead screw and the flat surfaces of your linear rails. Keep wiping until the cloth comes away clean.
Step 2: Application
Now that the surfaces are clean, rebuild the lubricating film. For Z-Axis lead screws, place a small, pea-sized dab of grease onto the lower threads. For X/Y linear rails with lube ports, slowly inject a tiny amount (roughly 0.1mL) of light grease. If there are no ports, apply a very thin layer onto the steel tracks using a swab.
Step 3: Distribution
With the printer turned off, slowly push the print head and bed back and forth through their full range of motion 20 to 30 times. This forces the internal bearings to spread the grease evenly. Finally, take a clean wipe and thoroughly remove any excess grease that has accumulated at the ends of the gantry. A properly maintained rail should look mostly dry to the naked eye.
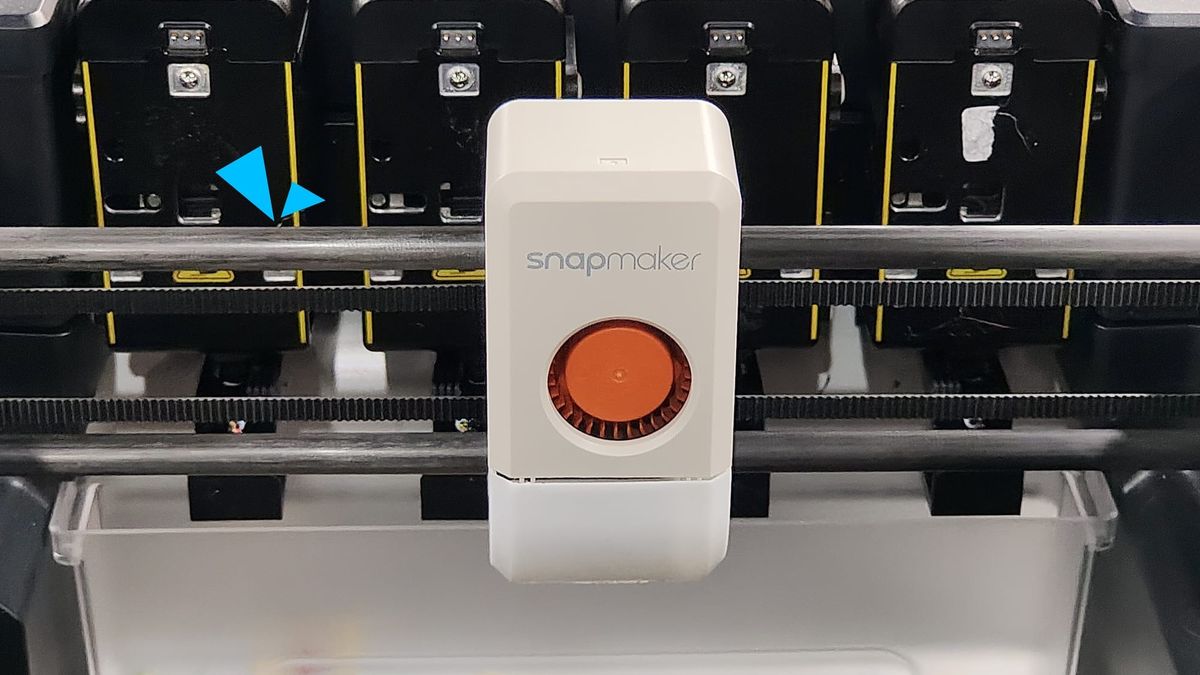
A Note on Snapmaker Rails and Grease Compatibility

For owners of premium modular machines like the Snapmaker U1, the heavy-duty linear modules are protected by stainless steel bands or rigid metal covers.
A common misconception is that the outside of these steel bands needs lubrication. The external protective steel bands must remain absolutely dry. If you apply grease to the exterior, it serves no lubricating purpose. Instead, it will instantly trap flying wood chips and dust, which can eventually creep under the band and damage the internal components.
Grease Compatibility
If you lubricate the internal rails, be mindful of grease compatibility. Incompatible grease thickeners can separate, harden, or lose effectiveness over time if they are mixed inside a slide block.
Before applying a new brand of lubricant, always test it. Take a small dab of the old grease from your machine and mix it 1:1 with the new grease on a clean surface. Let it sit for a few minutes. If the mixture remains smooth and uniform, it is safe to use. However, if the mixture develops gritty clumps or separates, the greases are incompatible. This means you must completely strip and degrease the rails before applying the new lubricant to avoid damaging your machine.
To avoid this, always consult your manufacturer's manual. For example, the official Snapmaker maintenance guidelines recommend a balanced setup: TENGKE GREASE PS2 for the high-acceleration X/Y modules, and NIKI FG 107M for Z-axis pressure. Sourcing these factory-tested lubricants takes the guesswork out of maintenance and ensures they won't react poorly with each other or the factory seals.
Conclusion
At the end of the day, high-quality 3D printing relies on tight physical tolerances. The difference between a reliable machine and a frustrating one often comes down to basic upkeep.
"Most hobby printers do not fail because the rails are poorly made. They fail because maintenance only happens after something starts squeaking."
Do not wait for your gantry to grind or shift. Incorporate a manual push test into your routine, keep your rails clean, and apply the right lubricant sparingly. A little bit of proactive maintenance will keep your printer running quietly and precisely for years.