3D Printed Organization Guide: Gridfinity, Multiboard, HSW, OpenGrid, and Skadis
If you bought a 3D printer, there is a 100% chance you've looked at your chaotic desk, overflowing tool drawers, or messy workshop walls and thought: "I can print a solution for this." But then you browse through community repositories, and decision paralysis sets in. Do you print Gridfinity? Multiboard? Honeycomb? What about OpenGrid or Skadis?
Committing to an organization ecosystem is a significant investment. Choosing the wrong one can cost you kilograms of wasted filament, hundreds of hours of print time, and real frustration. This guide goes deeper than most — covering not just what each system is, but actual dimensions, failure modes, print settings, wall mounting, and how to combine systems intelligently.
The 3D Printed Storage Systems Compared
A white 3D-printed rectangular storage bin featuring an internal structural lattice; A 3D-printed Skadis-style pegboard panel
Are you organizing horizontally (drawers, desktops) or vertically (walls)?
- Horizontal: Go to Gridfinity. Stop reading the wall sections.
- Vertical, heavy tools: Multiboard or OpenGrid.
- Vertical, light/aesthetic: HSW or Skadis.
- Both: Read on. A hybrid approach is the community consensus, and the math actually works out cleanly.
Quick Comparison
| System | Primary Use | Key Advantage | Main Drawback | Est. Filament (2x4 baseplate) |
| Gridfinity | Horizontal | Massive ecosystem | Filament-hungry | ~80–120g |
| Multiboard | Vertical (walls) | Extreme weight capacity | Complex; restrictive license | ~200–300g per panel |
| OpenGrid | Vertical + Horizontal | Open-source; Gridfinity-compatible | Newer, smaller ecosystem | ~60–100g |
| HSW | Vertical (walls) | Beautiful; material-efficient | Flexes under heavy load | ~80–130g |
| Skadis | Vertical (walls) | Buys the board, only prints hooks | Needs IKEA nearby | ~5–20g (hooks only) |
The Drawer King: What is Gridfinity?
Created by Zach Freedman and released as fully open-source, Gridfinity is the undisputed standard for horizontal organization.
How It Works
Everything is built on a 42mm base grid. You print baseplates that sit in drawers or on desktops, then print bins that slot into the grid using gravity, optional magnets, or a friction fit. Bins stack, subdivide, and mix freely across the entire ecosystem.
The Dimensions You Actually Need to Know
This is where most guides stop short. Gridfinity has two critical height variants for baseplates:
- Standard baseplate (7mm profile): The original spec. Works with all bins. Use this as your default.
- Lite/low-profile baseplate (4.75mm profile): For very shallow drawers. Less secure without magnets.
For bins, the spec has 0.5mm of horizontal clearance per grid unit baked in — so a 1x1 bin prints at 41.5mm, not 42mm. If you are generating custom bins, most web generators handle this automatically, but if you are modeling from scratch, missing this tolerance is the most common reason bins feel wrong.
Magnet spec: Most baseplates use 6mm diameter × 2mm height neodymium magnets. Bins use matching magnets in the base. You need 4 per baseplate cell if you go the magnet route. For a 2×4 baseplate, that's 32 magnets — factor that into your cost before committing to the full magnet approach. The community-developed "Clickfinity" baseplate variant uses a mechanical snap instead, eliminating the magnet cost entirely.
Ecosystem Depth
The Gridfinity ecosystem is genuinely enormous. Key resources:
- Gridfinity Rebuilt in OpenSCAD (GitHub) — the community-maintained parametric generator
- Gridfinity Web Generator — browser-based, no software install required
- Fusion 360 Gridfinity Plugin — for designing irregular or L-shaped bins that fit non-standard drawers
Failure Modes
- PLA warping in hot drawers: If your workshop gets above ~40°C in summer (direct sun through windows, near a car, etc.), PLA baseplates can soften and deform under the weight of full bins. Switch to PETG for workshop drawers.
- Magnet pull-out: Magnets glued with CA glue can work loose over time if the bond wasn't clean. Superglue + accelerator, or use the snap-fit Clickfinity variant.
- Bin lip cracking: Very thin-walled bins (0.4mm walls, minimal perimeters) crack under repeated tool insertion. Use at least 2–3 perimeters and avoid walls thinner than 1.2mm on functional bins.
Print Settings for Gridfinity
| Setting | Baseplates | Bins |
| Layer height | 0.2mm | 0.2mm |
| Infill | 15–20% (grid or gyroid) | 15% is fine for most bins |
| Perimeters/walls | 3 | 3–4 |
| Material | PLA (desk), PETG (workshop) | PLA for light use, PETG for tools |
| Supports | None needed | None needed for standard bins |
Tip: Gyroid infill uses slightly more material than grid but adds multi-directional rigidity. For baseplates that will hold heavy items, the trade-off is worth it.
Filament Reality Check
A standard 2×4 Gridfinity baseplate runs ~80–100g of filament depending on infill. A full desk drawer's worth (say, 4×10) will cost you ~350–500g before you've printed a single bin. Plan your filament budget accordingly — this is not a weekend project, it's a months-long build.
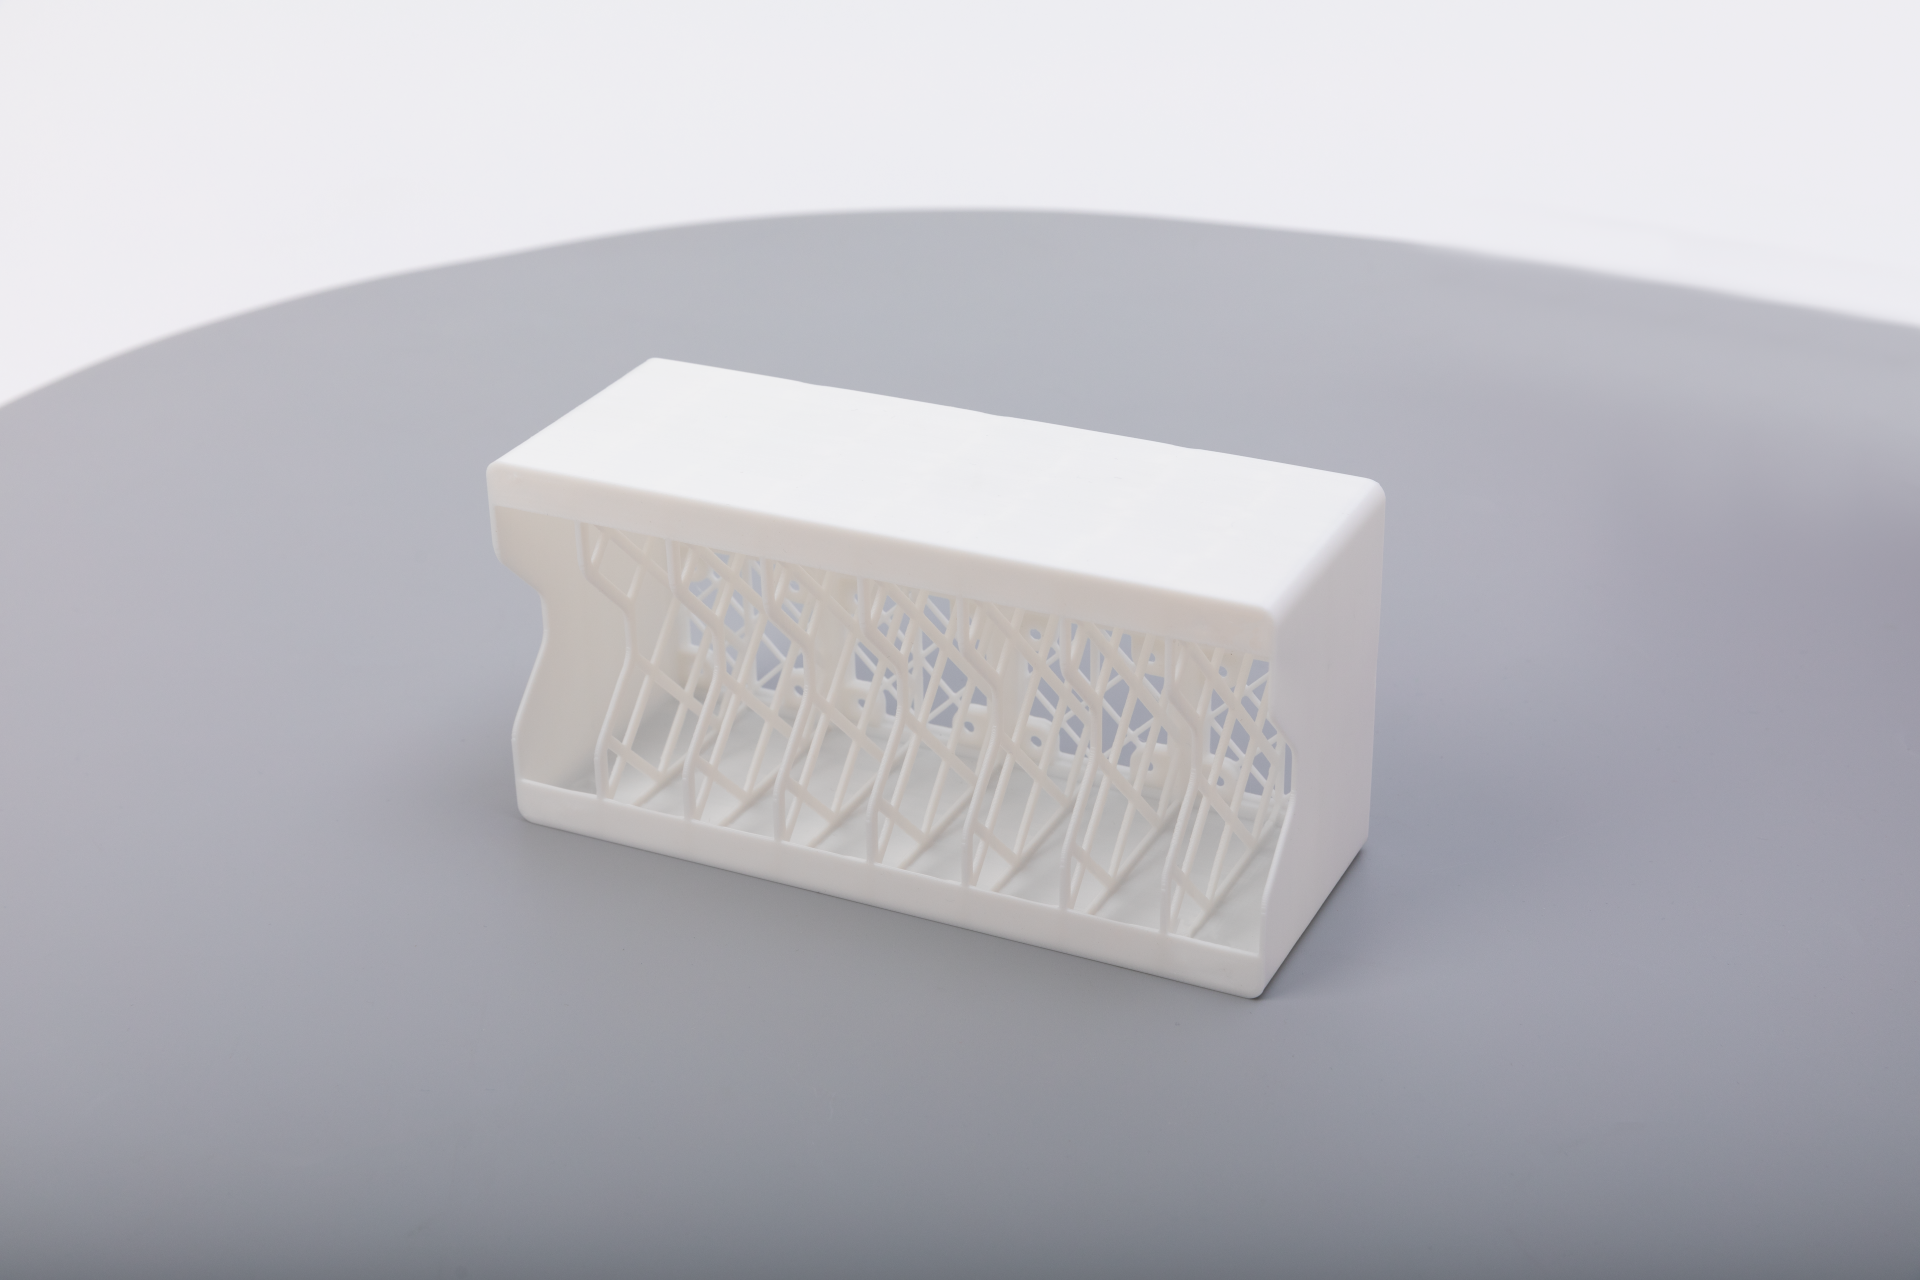
The Wall Giant: What is Multiboard?
Designed by Keep Making, Multiboard is the most engineered of the wall systems — and the most divisive.
How It Works
Multiboard uses a combination of push-fit snaps, 25mm large-hole threading, and small indexing pegs. Panels connect to each other and to the wall. Notably, it can accept standard metal pegboard hooks, which immediately gives you access to hundreds of existing accessories.
Weight Capacity
This is where Multiboard earns its reputation. Community stress tests have shown individual hooks holding 10–15kg when properly mounted into studs. No printed wall system comes close. If you are hanging heavy power tools — drills, sanders, a heat gun — Multiboard is the legitimate engineering choice.
The Licensing Problem
This is a real issue and should not be glossed over. Multiboard uses a custom non-commercial license that explicitly restricts community remixes and paid derivatives. In practice, this means many designers refuse to create accessories for it — why invest time in a system where your work is legally constrained? The Gridfinity and OpenGrid ecosystems have grown faster partly because creators can do anything with their designs. Before committing to Multiboard, understand you are accepting a smaller, slower-growing accessory library.
Failure Modes
- Snap fatigue: The push-fit snap connectors are clever, but repeated connection/disconnection cycles can cause micro-fractures, especially in PLA. If you plan to reconfigure your wall frequently, print snaps in PETG.
- Print time underestimation: A single 11×11 Multiboard panel takes 8–14 hours depending on your printer and settings. A full workshop wall is dozens of panels. Budget print time in weeks, not days.
- Complexity paralysis: The number of distinct part types (small pegs, large pegs, snap connectors, thread inserts, panel variations) overwhelms many users. Print a single small panel and one accessory before committing.
Wall Mounting (The Part Most Guides Skip)
Multiboard panels mount to the wall via screw holes integrated into the panel design. Critical rules:
- Always hit studs for heavy loads. Drywall anchors are acceptable for light Skadis/HSW panels holding craft supplies, but not for Multiboard carrying drills. Stud spacing in most homes is 400mm or 600mm — design your panel layout around this.
- For concrete/masonry walls: Use M5 or M6 concrete anchors. PLA will compress under overtightening; use PETG panels and add a washer.
- French cleat alternative: Many community members mount a wooden French cleat to the studs and attach Multiboard panels to the cleat. This lets you reposition whole sections without re-drilling walls.
Print Settings for Multiboard
| Setting | Panels | Hooks/Accessories |
| Layer height | 0.2mm | 0.15–0.2mm |
| Infill | 25–35% | 30–40% |
| Perimeters/walls | 4–5 | 4 |
| Material | PETG minimum (not PLA) | PETG or ABS/ASA |
| Supports | Minimal, check per model | Check per model |
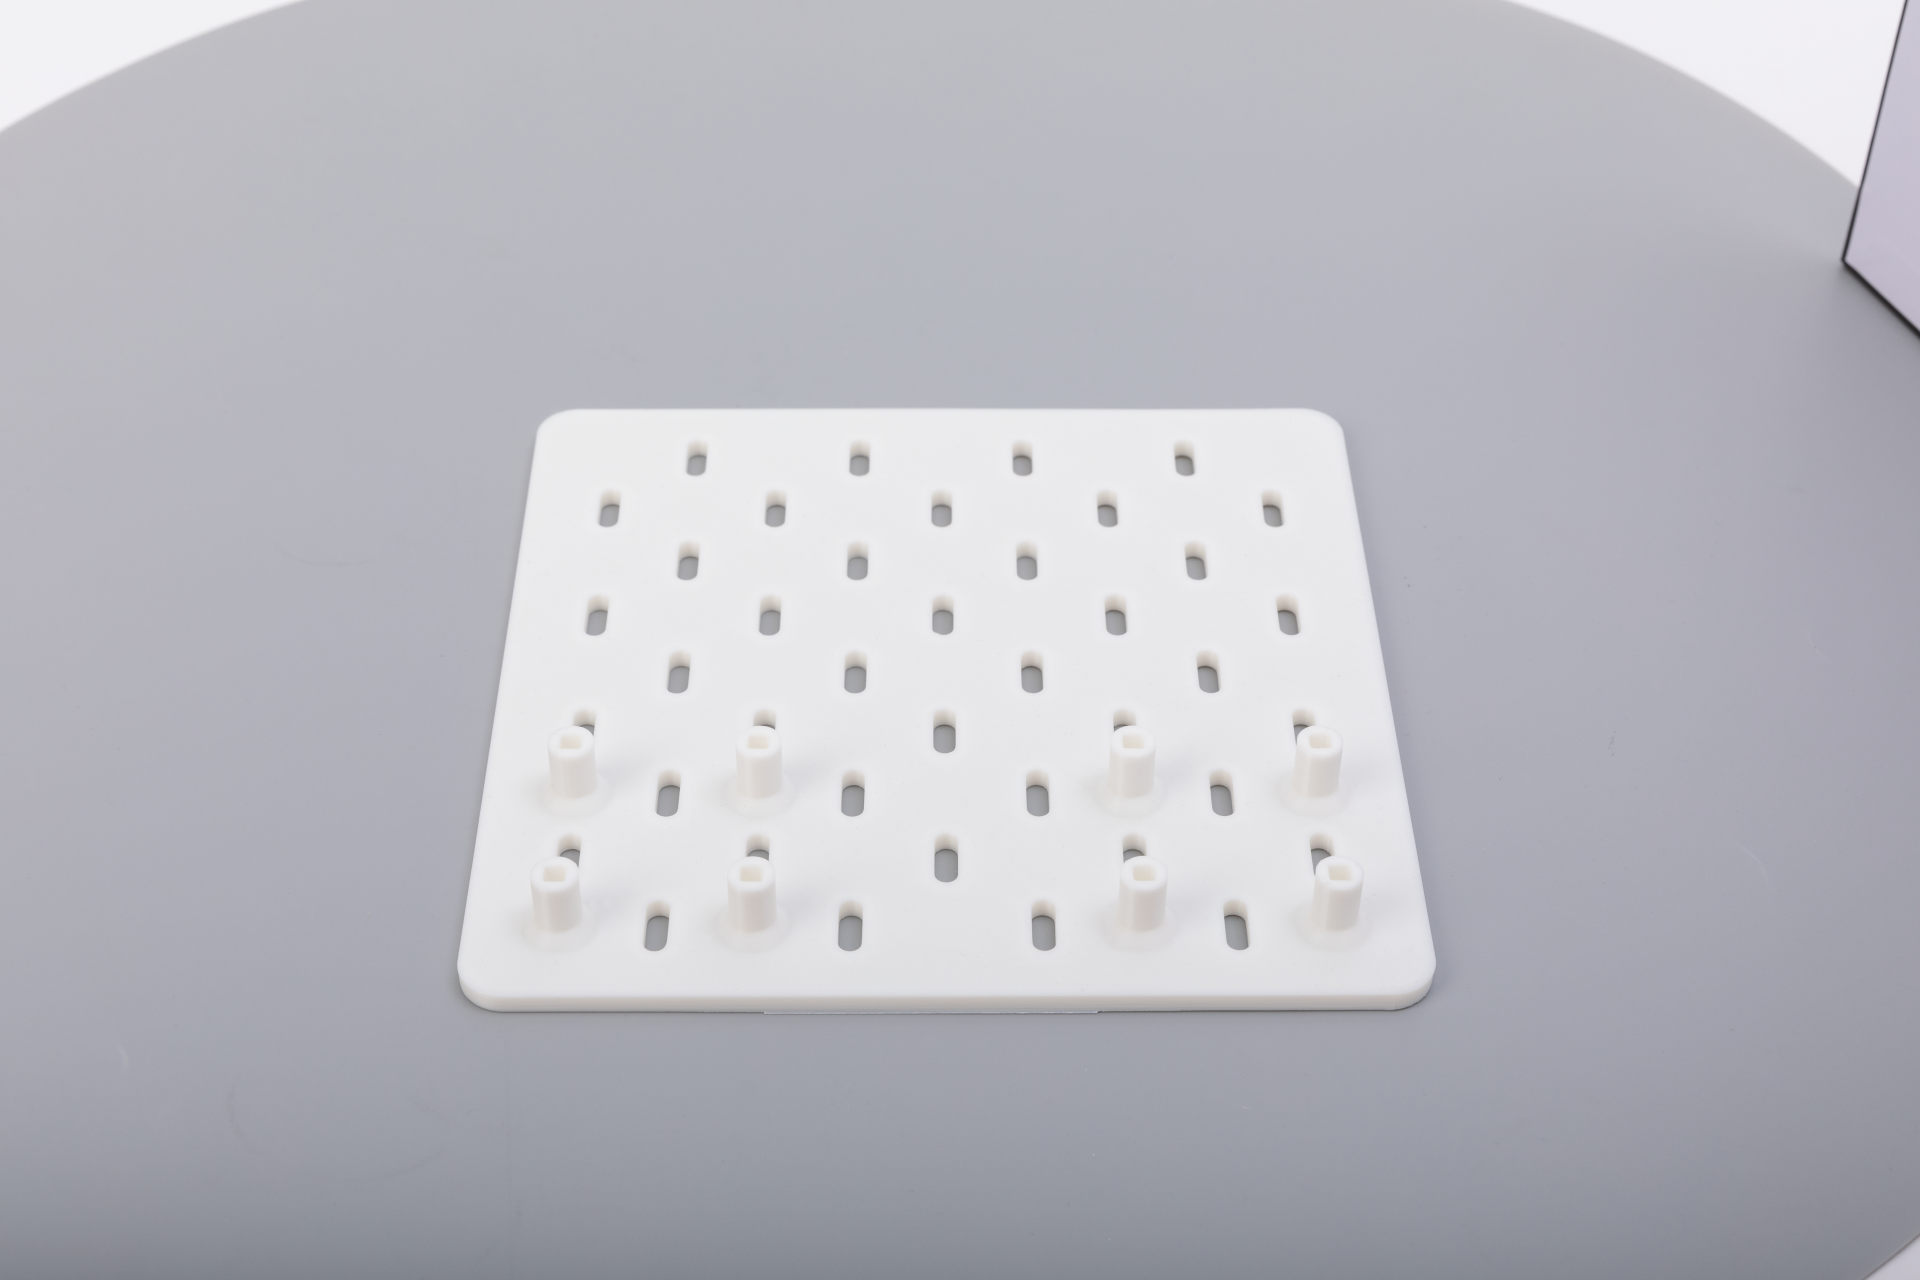
The Open-Source Contender: What is OpenGrid?
OpenGrid is the fastest-growing alternative to Multiboard, and arguably the most technically interesting system on this list.
How It Works
OpenGrid uses a 28mm base grid with integrated snap channels. Three key strengths separate it from Multiboard:
- Fully open-source under a permissive license — anyone can remix, sell, or build on it
- The Gridfinity math works out perfectly: 3 OpenGrid units = 84mm; 2 Gridfinity units = 84mm. The two systems align on a shared 84mm super-grid, meaning you can mix them on the same wall without adapter plates.
- "Lite" variants exist for low-stress areas — thinner, faster to print, using 30–40% less filament than standard panels
Weight Capacity vs. Multiboard
OpenGrid is lighter-duty than Multiboard by design. Community tests suggest standard hooks hold 3–6kg comfortably. The "heavy" variant pushes this higher, but if you need to hang a 5kg rotary hammer, Multiboard is still the correct answer. For most hand tools, drill bits, and workshop accessories, OpenGrid is more than sufficient.
The Hybrid Layout in Practice
Here is how the 84mm super-grid actually helps you plan a real workshop wall. Say your pegboard space is 840mm wide:
- That's exactly 10 OpenGrid squares (10 × 84mm = 840mm)
- Which is also exactly 20 Gridfinity squares (20 × 42mm = 840mm)
- You can mount OpenGrid panels on the wall for tool hooks, and place a Gridfinity baseplate shelf below — everything aligns to the same grid reference without any fudging.
Failure Modes
- Snaps can be tight on first print: OpenGrid snap channels are tolerance-sensitive. If your printer runs slightly over-extruded, snaps won't engage. Run a single test tile first and dial in your extrusion multiplier.
- Smaller ecosystem: There are fewer pre-designed tool holders than Gridfinity or Multiboard. You may need to design custom holders for specific tools — which is easy with the OpenSCAD library, but requires some skill.
Print Settings for OpenGrid
| Setting | Panels | Hooks |
| Layer height | 0.2mm | 0.15–0.2mm |
| Infill | 20–25% (standard), 15% (lite) | 25–30% |
| Perimeters/walls | 3–4 | 4 |
| Material | PETG for walls | PETG or ABS |
The Aesthetic Choice: What is Honeycomb Storage Wall (HSW)?
HSW was one of the first major 3D-printable wall grids, and it remains uniquely well-suited to certain spaces.
How It Works
Hexagonal tiles slot together to form a continuous grid. Hooks, bins, and holders slide into the hex slots. The hexagonal geometry distributes load across the panel more evenly than rectangular grids — in theory. In practice, without rigid wall anchoring, large HSW panels flex more than Multiboard or OpenGrid under point loads.
Where HSW Still Wins
- Aesthetics: In craft rooms, offices, bathroom walls, or any space where you want the wall itself to look designed, HSW is unmatched. The honeycomb pattern is genuinely striking in two-color prints.
- Material efficiency: The hex geometry uses less material than solid rectangular panels of equivalent coverage. A comparable wall area in HSW runs ~20–30% lighter than Multiboard.
- Light loads: For craft supplies, scissors, markers, small jars — HSW handles these comfortably and looks great doing it.
Where HSW Falls Short
- Heavy tools: Without stud anchoring at multiple points, large panels flex under concentrated loads. Don't hang a drill here unless the panel is very well mounted.
- Accessory lock-in: HSW accessories are not compatible with any other system. Your hooks only work on your hex panels. This is a minor issue for a dedicated craft wall but matters if you want flexibility.
- Gradual ecosystem decline: Community activity on HSW has visibly slowed as OpenGrid has grown. New accessories are still released, but the pace has dropped. This is worth weighing for long-term investment.
Print Settings for HSW
| Setting | Panels | Inserts/Hooks |
| Layer height | 0.2mm | 0.2mm |
| Infill | 15–20% | 20–30% |
| Perimeters/walls | 3 | 3–4 |
| Material | PLA for craft rooms, PETG for workshops | PLA is fine for light hooks |
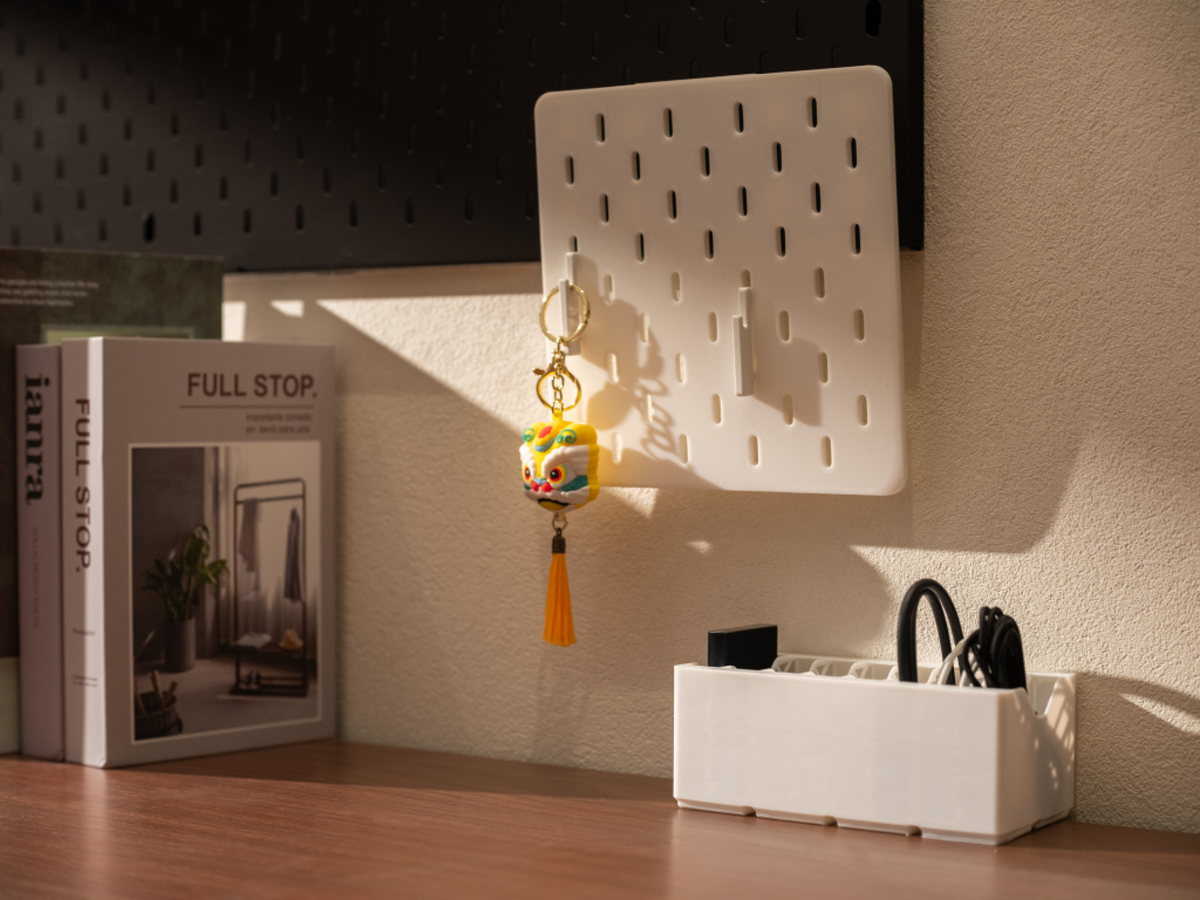
The Hybrid Option: IKEA Skadis
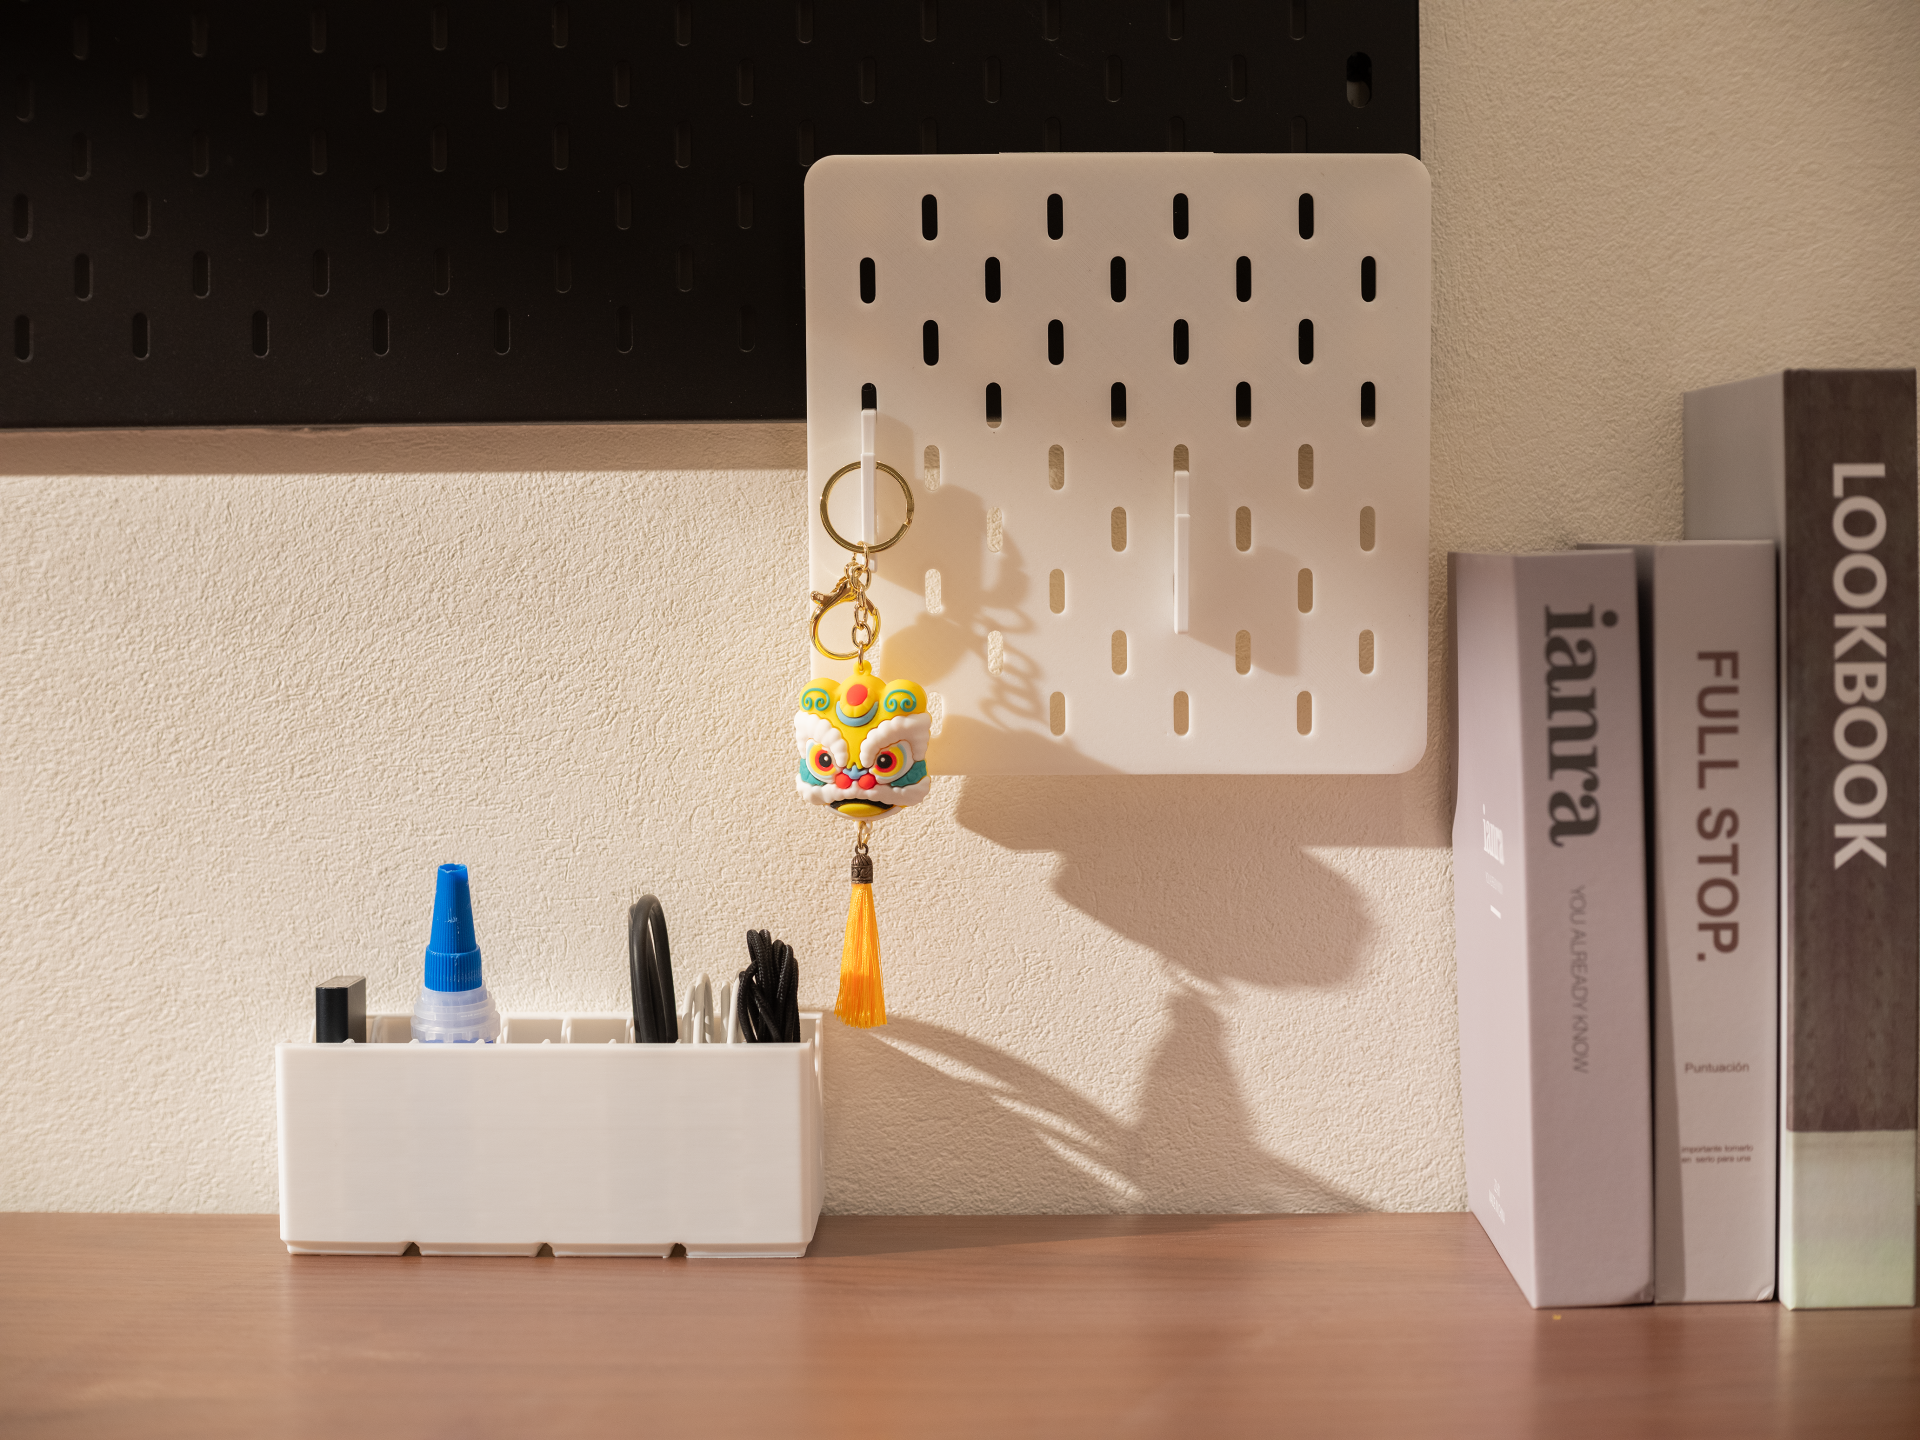
Skadis is IKEA's commercial pegboard — a wood-composite panel with a distinctive slotted pill-hole pattern, available in several sizes. The 3D printing community has turned it into a hybrid system: buy the board, print the accessories.
Why This Is Smarter Than It Sounds
A single 11×11 OpenGrid or Multiboard panel takes 8–14 hours of print time and uses 150–250g of filament. A Skadis 56×56cm board costs under $20, is structurally rigid, and takes zero print time. Your printer's time is better spent on the complex hooks, jigs, and bins that actually require customization — not on being a flat-panel factory.
The Catch(es)
- You need to live near an IKEA. Shipping the boards internationally approaches the cost of just printing panels.
- Printed Skadis hooks can be brittle. The peg-latch design puts stress on a small cross-section of plastic. Use PETG, not PLA, for any hook that will hold real weight. Print hooks at 40%+ infill with 4 perimeters.
- You can print Skadis panels — several parametric generators exist — but this defeats the primary advantage. Only print Skadis panels if you need a non-standard size IKEA doesn't sell.
Wall Mounting
Skadis uses a proprietary wall bracket system (sold separately at IKEA). For heavy loads, supplement with additional screws directly through the board into studs. The brackets alone are adequate for craft supplies but will eventually loosen under tool weight.
Printing Organization Systems: Settings, Materials, and Workflow
Material Selection by Load and Location
| Use Case | Recommended Material | Why |
| Drawer bins (home/office) | PLA | Cheap, easy, no thermal stress |
| Drawer bins (workshop/car) | PETG | Resists heat and humidity |
| Wall hooks (any system) | PETG minimum | PLA creeps under constant stress |
| Outdoor/garage walls | ASA or ABS | UV and moisture resistant |
| Flexible bin bases or grip inserts | TPU (95A) | Absorbs vibration, grips tools |
A note on PLA creep: PLA is a semi-crystalline polymer that slowly deforms under sustained load — even at room temperature. A hook supporting 500g in PLA may be fine for months, then gradually angle downward over a year. This is not a dramatic failure; it's a slow sag. For anything load-bearing and permanent, PETG is the safer default.
Multi-Color Printing: Functional, Not Just Decorative
Color-coding your organization system is not just aesthetic — it genuinely reduces the cognitive work of finding tools. Community approaches that work well:
- By metric/imperial: Red bins for metric, blue for imperial
- By tool category: Yellow for electrical, green for plumbing, gray for mechanical
- By urgency/frequency: Bright colors for daily-use items, neutral for occasional-use
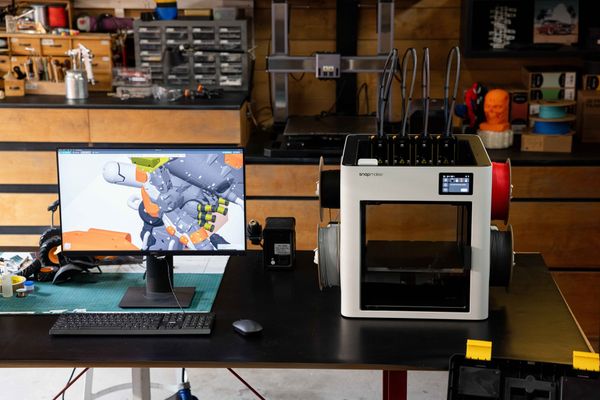
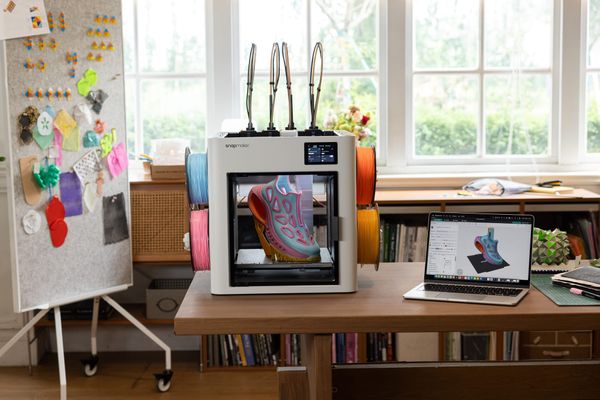
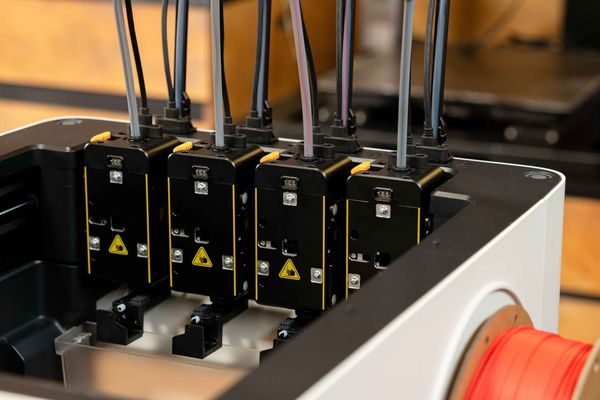
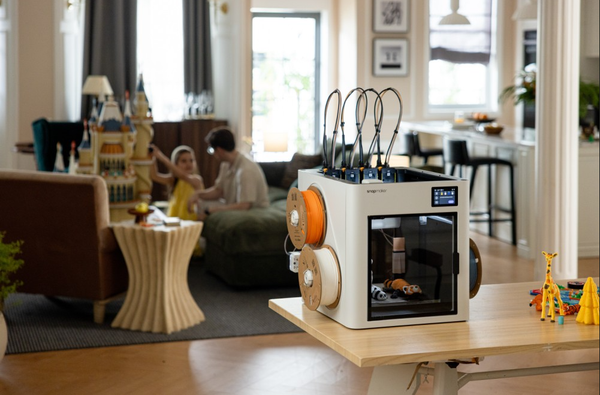
Historically, multi-color FDM printing wasted significant filament in purge towers during color changes. Modern toolchanger systems (like the Snapmaker U1's SnapSwap™ system with 4 independent toolheads) change this equation — tool swaps happen in ~5 seconds with no purge waste. You can print a PETG bin body in black with a TPU label insert in red in a single print, with no material wasted.
Speed Matter More Than You Think
Because storage panels are usually flat and repetitive, print speed is critical. The Snapmaker U1 is powered by a CoreXY system moving at 500mm/s, allowing you to churn out large batches of OpenGrid or Gridfinity baseplates in a fraction of the time it takes standard bedslingers.
Recommended First Prints Per System
Don't start with a full panel. Start here:
- Gridfinity: Print one 1×2 baseplate and three 1×1 bins of different heights. Test the tolerance, test the stack height, test magnet vs. friction fit.
- Multiboard: Print one 5×5 panel and two different hook types. Understand the snap mechanism before buying into the full wall.
- OpenGrid: Print a 3×3 standard panel and a Lite panel side by side. Compare weight, snap feel, and print time.
- HSW: Print a single 3-tile strip and a basic hook insert. See how the sliding mechanism feels before committing to a full panel.
- Skadis: Buy the smallest board available. Print one hook in PLA and one in PETG. See which holds better under your typical tool weight.
Decision Guide: Which System For You?
Work through these questions:
- What are you organizing?
- Drawers and desktops → Gridfinity
- Workshop walls with heavy power tools → Multiboard or OpenGrid
- Office/craft room walls → HSW or Skadis
- Both walls and drawers → OpenGrid + Gridfinity hybrid
- How much do you care about the open-source ecosystem?
- Don't mind licensing restrictions → Multiboard is acceptable
- Want full open-source freedom → OpenGrid, Gridfinity, or HSW
- How much time can you invest in printing panels?
- I want to minimize panel printing → Skadis (buy the board)
- I want to print everything → Any system works; size up your build plate if possible
- Will the wall hold tools over 5kg per hook?
- Yes → Multiboard (into studs)
- No → OpenGrid, HSW, or Skadis are all fine
- Do you want the two systems to share the same wall without awkward gaps?
- Yes → OpenGrid + Gridfinity (the 84mm super-grid alignment is not a coincidence; OpenGrid was partially designed with this compatibility in mind)
Start Hybrid, Expand Deliberately
The most experienced makers have converged on a similar approach: Gridfinity for all horizontal surfaces, OpenGrid for walls, with Skadis as a fast-start option while you print more panels.
The key insight is that none of these systems need to be exclusive. Your workshop can have a Multiboard section for heavy power tools, an OpenGrid section for hand tools, and Gridfinity bins on every shelf and drawer — and because the 84mm math aligns them all, it won't look chaotic.
The worst mistake is trying to do everything at once. Pick one surface, print the test pieces, live with them for two weeks, and then expand. The makers who build the best organized workshops do it incrementally, not in a single obsessive weekend.