How to Tell if Your 3D Printer Nozzle is Too Close to the Bed (And How to Fix It)
Hearing your print nozzle scrape against the build plate is one of the worst sounds in 3D printing. Not only does a nozzle that is too close to the bed guarantee a failed first layer, but it can also permanently damage your PEI sheet or clog your hotend.
If you are dealing with paper-thin first layers, scarred prints, or an extruder that won't stop clicking, your Z-offset or bed leveling is likely the culprit. Here is exactly how to diagnose the issue and step-by-step instructions to troubleshoot these common 3D printing problems so you can get back to printing.
5 Signs Your Nozzle Is Too Close to the Bed
Before you start changing settings, you need to confirm what is actually happening on the build plate. Look and listen for these five telltale symptoms of first layer problems:
1. The First Layer is Transparent or Paper-Thin
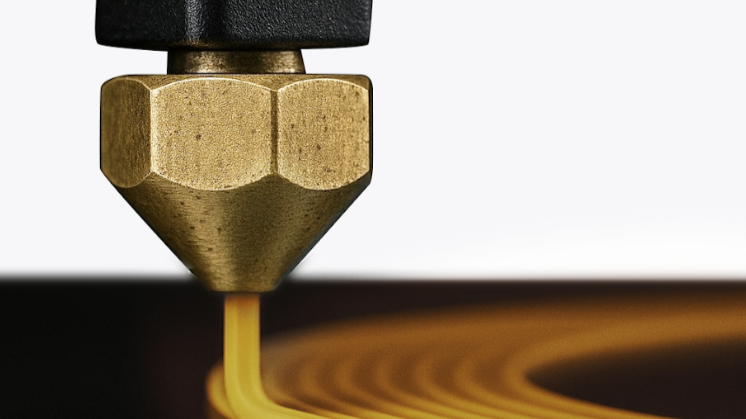
When the nozzle is pressed almost entirely against the bed, there is no room for the filament to extrude. The plastic gets smeared so thinly that you can see right through it, or nothing comes out at all (often called "air printing").
2. Ridges, Ripples, and "Plowing" (Scarring)
If the filament can extrude, the nozzle might drag through the lines it just laid down. This pushes the plastic to the sides, creating a rough, wavy texture that looks like a plowed field.
3. The Extruder is Clicking or Grinding
Because the filament has nowhere to go, pressure builds up in the hot end. Your extruder gears will start skipping against the filament, producing a distinct rhythmic "clicking" or "thumping" sound.
4. "Elephant's Foot" on the Base of the Print
A nozzle that is too close will over-squish the first few layers, causing them to bulge outward wider than the rest of the model. This creates an unsightly lip around the bottom of your print known as an "elephant's foot."
5. Prints Fusing Inseparably to the Build Plate (or Scraping)
If the nozzle is actively colliding with the bed, you will likely see physical scratches or coating damage on your heated bed surface. Even if it doesn't scratch, the extreme squish can force the plastic so deep into the texture of the build plate that the print becomes impossible to remove without damaging the bed or the part.
Nozzle Too Close vs. Nozzle Too High: The First Layer Test
It is easy to confuse a nozzle that is too close with one that is too far away. Run a simple first-layer test print and compare the results:
- Nozzle Too Close (Z-Offset Too Low): Lines are smeared together, rough to the touch, transparent, or causing the extruder to click.
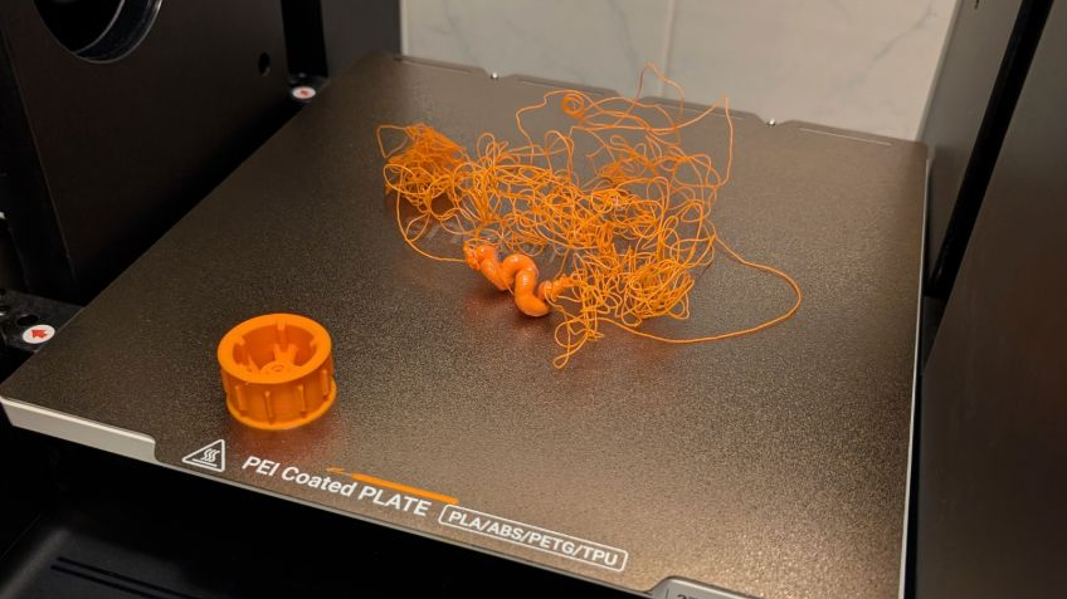
- Nozzle Too High (Z-Offset Too High): Lines are completely separate (rounded strings instead of flattened ribbons), the print easily peels off or moves during printing, or you end up with a tangled mess of "spaghetti." If you are struggling with layer height settings, raising the nozzle slightly is usually the first step to fix this.
Is It Too Close, or Is It Over-Extrusion?
Sometimes, pushing too much filament (over-extrusion) looks just like a nozzle that is too close, resulting in rough, scarred top layers.
How to tell the difference: If the rough, plowing texture only happens on the first layer but clears up by the third or fourth layer, your nozzle is too close to the bed. If the scarring continues throughout the entire print, your printer is over-extruding, and you need to calibrate your flow rate. Advanced machines handle this automatically with Pressure Advance calibration, but on older machines, you may need to tune this manually in your slicer.
How to Fix a Nozzle That Is Too Close
If you have confirmed your nozzle is scraping or squishing your prints, follow these steps to resolve the issue.
1. Clean the Nozzle and Check the Hotend Assembly
Before adjusting any software settings, ensure the hardware is sound.
- Clean the Nozzle: Filament residue hardened on the tip of the nozzle acts like an extension, artificially shortening the distance to the bed and causing scrapes. Heat the nozzle to your printing temperature and clean your 3D printer nozzle with a brass wire brush.

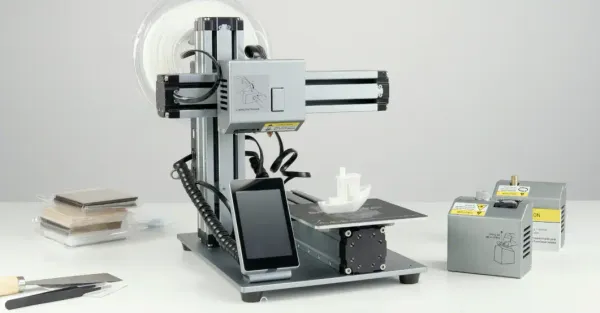
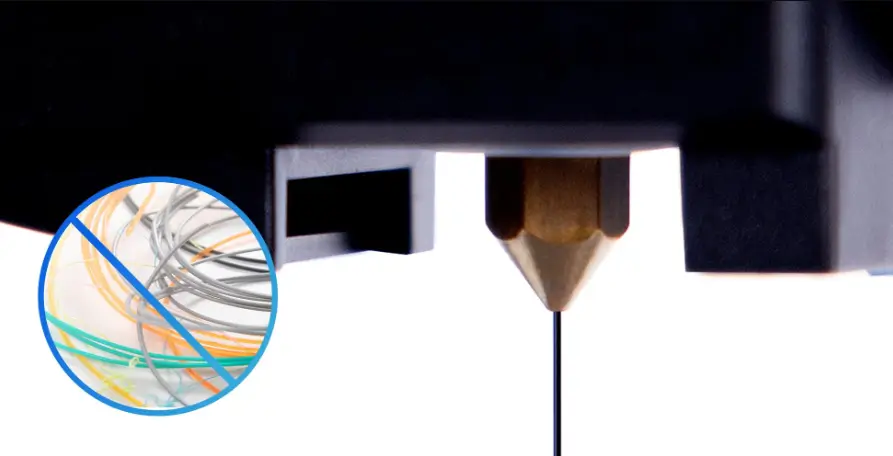
- Check for a Loose Hotend: Ensure your hot end is securely locked in place. For instance, if you are using an advanced system like the Snapmaker U1, verify that the SnapSwap™ toolhead is clicked firmly into its kinematic couplings. Gently shake the hot end assembly—if it wobbles up and down, it indicates the hot end or ceramic heater may be loose and needs reseating.
2. Clear and Re-Level the Print Bed
Debris under your flexible steel sheet or on top of the PEI surface can create localized high spots that the nozzle will crash into.
- Remove the build plate and take a moment to thoroughly clean your 3D printer bed.
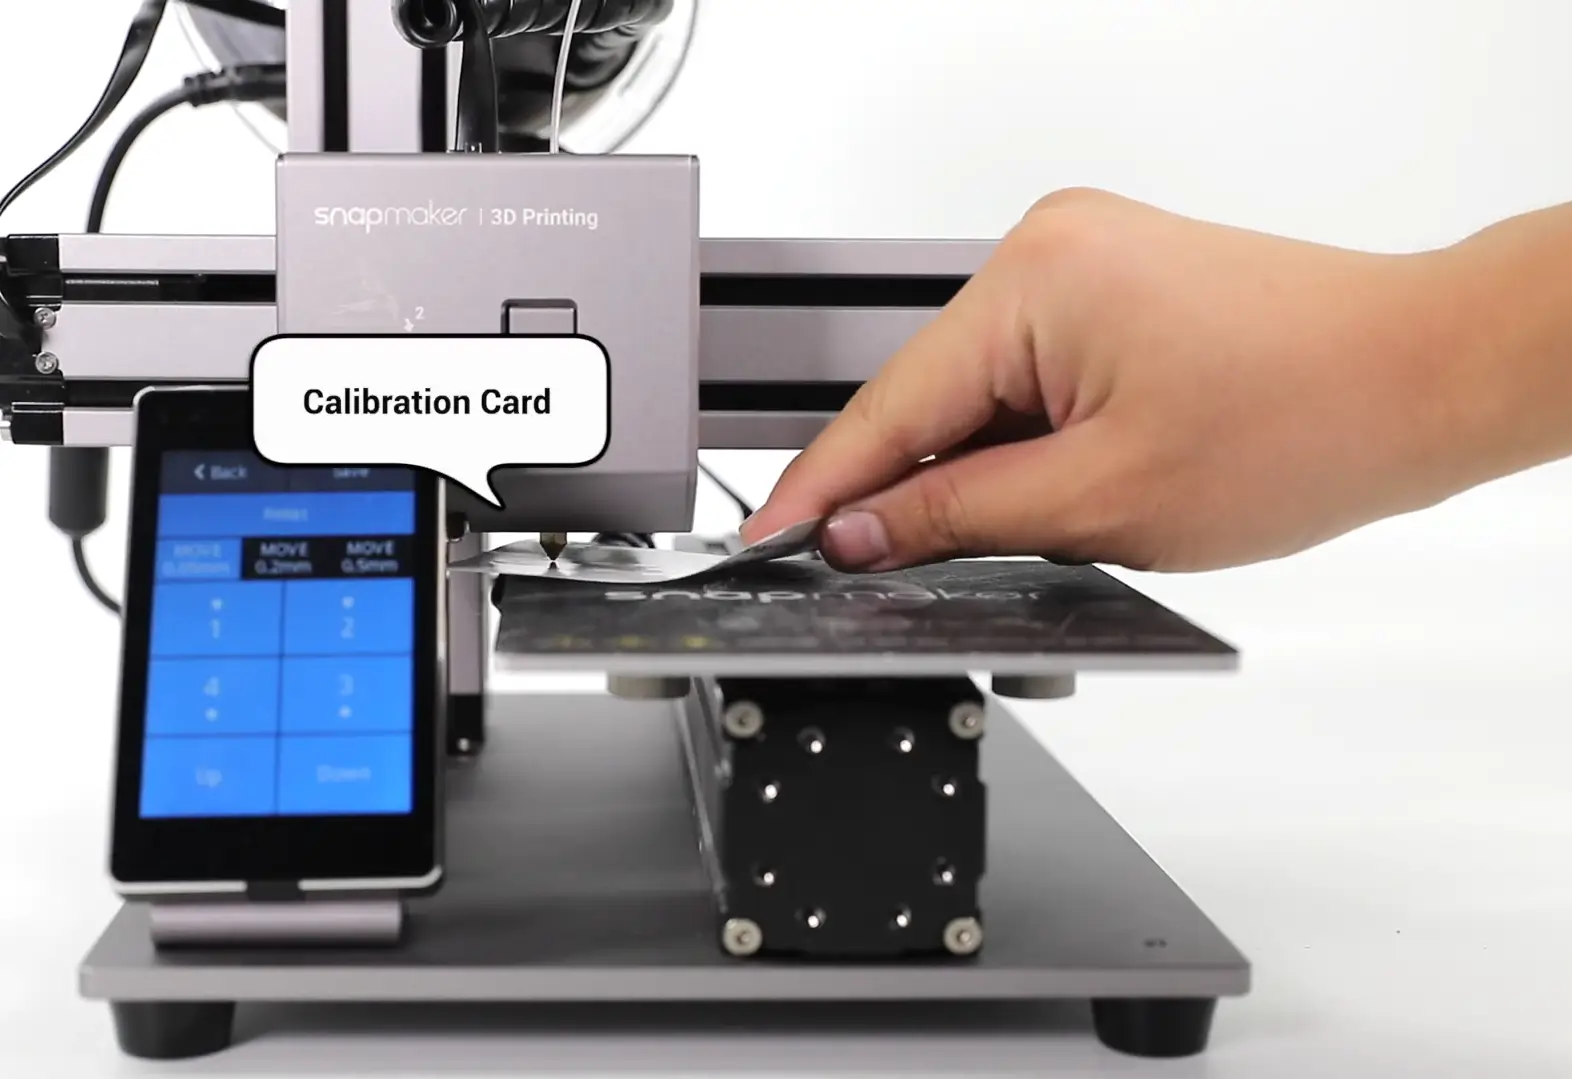
- Perform a manual bed leveling procedure, often using a standard sheet of A4 paper to gauge the friction between the nozzle and the bed at all four corners.
- Run Automatic Calibration: If your printer features automatic mesh bed leveling, run it after you have manually trammed the bed to create an accurate digital map of the bed's minor imperfections.
3. Adjust Your Z-Offset ("Z Offset Too Low")
If your bed is perfectly level but the entire first layer is still too squished, you need to raise your Z-offset. This tells the printer to move the nozzle slightly higher before it starts printing.
Expert Calibration Tip for Klipper Printers: If you are using a machine running Klipper firmware (like the Snapmaker U1), you can fine-tune your Z-offset directly via the web interface. According to the official Snapmaker U1 troubleshooting guide for nozzle scraping, you should access the Fluidd interface, open your printer.cfg file, and locate the z_offset parameter. Adjust this value in tiny, controlled increments of no more than 0.05mm at a time until the first layer prints perfectly smooth.
Frequently Asked Questions
How far away should the nozzle be from the bed?
Ideally, the nozzle should be about 0.1mm away from the print bed when resting at its zero position. This is roughly the thickness of a standard piece of A4 printer paper.
What should the nozzle and bed settings be for PLA?
For standard PLA, start with a nozzle temperature of 200°C and a heated bed temperature of 60°C. Keep in mind that printing far too hot can cause filament to ooze excessively, which can sometimes mimic the symptoms of a poorly leveled bed.