How to Dry 3D Printer Filament Safely

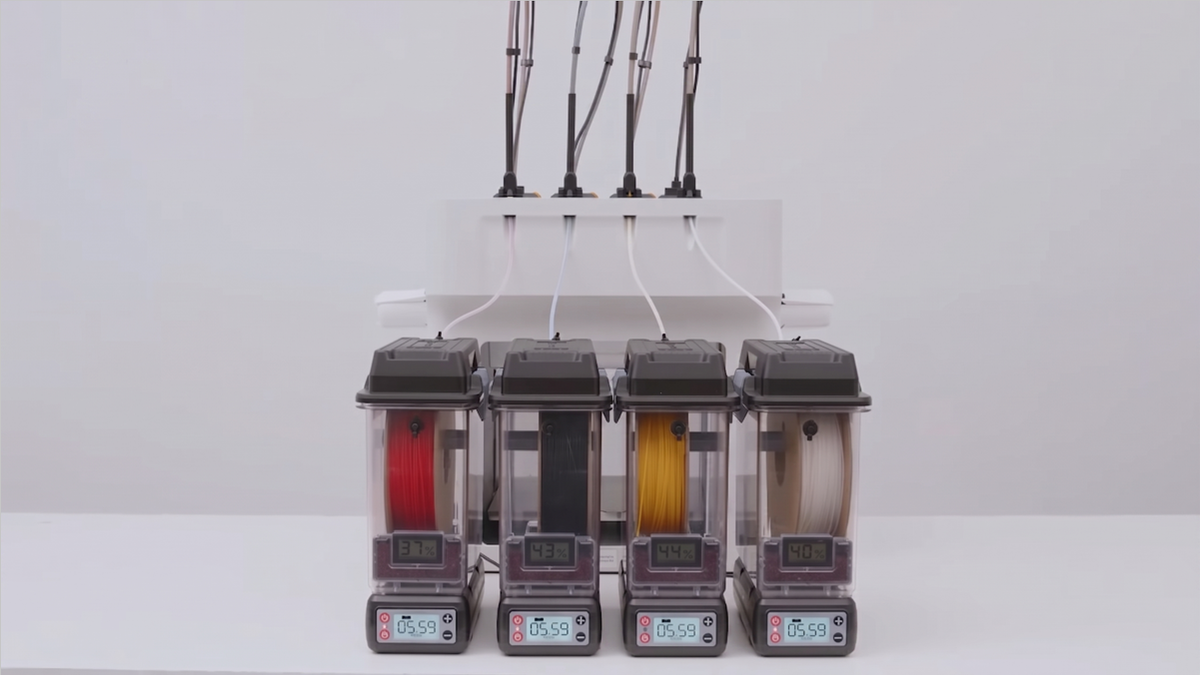
It can be incredibly frustrating when a perfectly dialed-in 3D printer suddenly starts producing messy, failed prints. Often, the culprit isn't a clogged nozzle or an unlevel bed, but rather the invisible enemy of 3D printing: moisture. Filaments are naturally hygroscopic, meaning they absorb water from the surrounding air.
Whether you are printing with standard PLA or highly sensitive flexible materials, drying your filament properly is mandatory for high-quality results. Here is everything you need to know about diagnosing wet filament, safely drying it, and avoiding catastrophic spool meltdowns.
Key Takeaways
- The Recommended Method: Using a dedicated filament dryer or a digital food dehydrator is the safest, most efficient way to remove moisture through controlled heat and active ventilation.
- Moisture Causes Failures: Trapped water turns to steam in the hot end, causing popping noises, severe stringing, and brittle prints.
- Climate Dependency: The need to dry filament is highly dependent on the region where you live. Makers in arid climates may never need to dry their standard PLA, while those in high-humidity areas may find their filament becomes wet in just a week.
- Heat Requires Ventilation: To effectively dry filament, you need both consistent low heat and proper ventilation to exhaust the humid air out of the drying chamber.
Does PLA Actually Need Drying?
If you spend any time on 3D printing forums, you will inevitably find a fierce debate over whether standard PLA even needs to be dried. Some users claim to leave spools on their desks for years without issue, while others experience severe stringing after just a week.
Both sides are technically correct, as filament degradation depends heavily on external factors:
- Your Local Climate: If you live in a dry, arid environment, PLA may never absorb enough moisture to affect print quality. However, in highly humid regions, a spool left out can absorb enough moisture to become brittle in as little as two weeks.
- Filament Age: Even if a filament printed perfectly when it was brand new, a spool that is 1.5 years old has had enough time to absorb ambient moisture and begin causing severe stringing or shrinking.
- Factory Moisture: Sometimes, brand-new, vacuum-sealed spools arrive wet directly from the factory due to the water-quenching process used during manufacturing.
The Signs of Wet Filament: Is Moisture Ruining Your Prints?
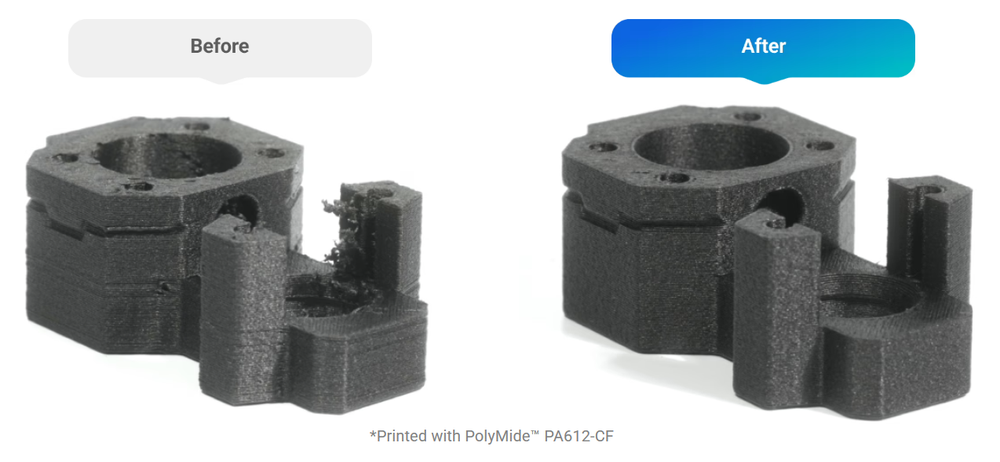
Before you start treating your filament, you need to verify if moisture is actually the problem. Water trapped inside the plastic turns into steam when it hits the hot end, leading to immediate printing artifacts. If you are struggling to troubleshoot common 3D printing problems, check for these signs.
What Does Wet Filament Sound and Look Like During a Print?
When wet filament enters the heated nozzle, the trapped moisture expands rapidly. Look and listen for these distinct warning signs:
- Popping and Hissing Sounds: You will hear tiny explosions coming from the nozzle as steam escapes.
- Excessive Stringing: Moisture reduces the viscosity of the melted plastic, causing it to ooze uncontrollably between travel movements.
- Bubbles and Bumps: The surface of your print will look textured, rough, or display tiny craters where steam bubbles have burst.
How Moisture Changes the Physical Filament Spool
You do not always need to start a print to identify wet filament. Moisture fundamentally changes the physical properties of the plastic on the spool. Try bending a piece of the raw filament. Dry filament will bend smoothly and eventually yield. If the filament snaps instantly with a brittle break, it is heavily saturated with moisture and requires drying.
The Safest and Most Effective Ways to Dry Filament
A common misconception is that heat alone will dry your plastic. However, if you apply heat without airflow in a sealed space, you only create a humid sauna that bakes the water right back into the spool. True drying requires both heat and ventilation.
Using a Dedicated 3D Printer Filament Dryer
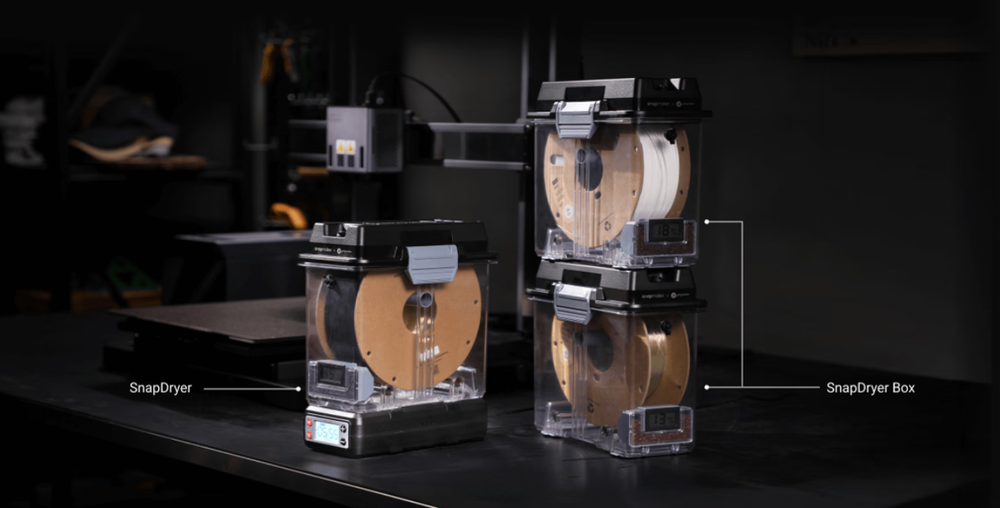
A dedicated filament dryer is the most reliable and convenient method for removing moisture. Unlike makeshift hacks, these devices are specifically engineered to provide a consistent temperature gradient from top to bottom. They actively pull humid air out of the chamber, preventing the moisture from settling back onto the plastic. Furthermore, they double as active dispensing stations, ensuring highly hygroscopic FDM 3D printing filaments don't reabsorb ambient moisture during long, multi-hour prints.
For a streamlined setup, a system like the SnapDryer allows you to dry and store filaments all in one device. It features a modular design where one dryer dock can handle multiple dry boxes, providing efficient drying and a reliable, moisture-proof seal. The SnapDryer supports most 3D printing materials including PLA, PETG, ABS, ASA, TPU, PA, PC, PVA, and Breakaway support for PLA. It works great with all common filament sizes, including 1.75mm and 2.85mm, though you should note that Snapmaker printers are compatible only with 1.75mm filament diameters.
Repurposing a Food Dehydrator for 3D Printing
If you need a highly efficient alternative, a standard food dehydrator works remarkably well. In fact, because food dehydrators are designed for rapid moisture extraction, they often have a better temperature range, better ventilation, and a more even temperature gradient than some entry-level filament dryers.
- Ensure the dehydrator's interior space is large enough to fit standard 1kg spools by clipping away the plastic webbing on the internal trays.
- Use a separate dehydrator exclusively for plastics; do not mix food and filament.
The Real Story Behind Drying Filament Without a Dedicated Dryer
When you need an immediate fix, community forums are full of alternative methods. However, you must carefully navigate these hacks to avoid destroying your filament.
The Heated Bed and Cardboard Box Method
If you do not have a dedicated dryer, you can turn your 3D printer into a makeshift drying chamber using the heated bed.
- Place your spool flat on the printer's heated bed.
- Set the bed temperature to the recommended drying setting for your specific filament, usually between 45°C and 60°C.
- Place a cardboard box upside down over the spool to trap the heat.
- Crucial Step: Cut a few small holes in the top and bottom edges of the box to allow the damp air to circulate and escape.
- Leave it running for a few hours.
Note on Safety: A common myth is that putting a cardboard box on a heated bed is a fire hazard. However, cardboard requires extremely high temperatures to ignite, while standard PLA has a glass transition temperature of around 60°C. You will ruin your filament long before the cardboard ever catches fire.
Why You Should Avoid Using a Standard Kitchen Oven
Drying filament in a traditional home oven is highly discouraged. Most older household ovens simply cannot hold temperatures low enough for delicate plastics like PLA. While you may set your oven to 50°C, the heating elements often spike massively to reach that average, which will permanently melt the spool together.
However, if you have a modern digital convection oven with a specific "dehydrate" function, you can safely set it to 50-60°C. It is highly recommended to stick a meat probe thermometer inside and set an alarm for 65°C just to ensure the oven does not spike and ruin the batch.
Temperature and Time Settings by Filament Type
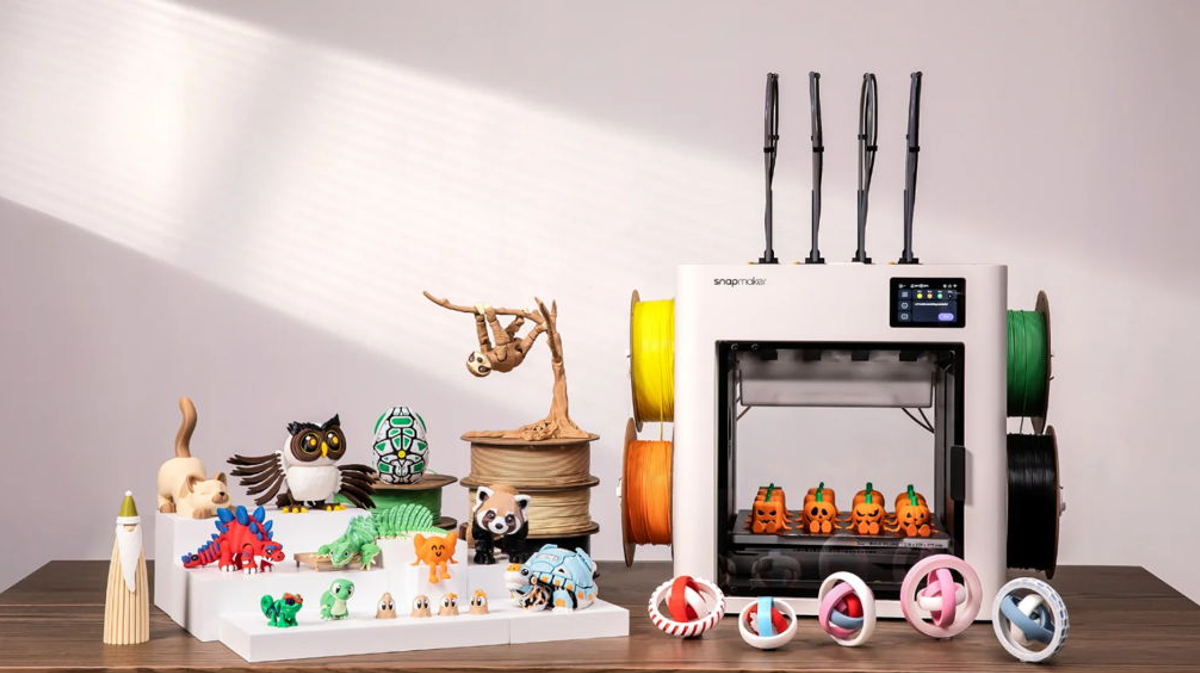
Exceeding a material's recommended drying temperature can cause irreversible damage. Always follow the precise thermal guidelines for your specific polymer.
Note: The precise temperature and time parameters below are based on official Snapmaker testing data to ensure optimal print quality and safety.
- Standard and Specialty PLAs (Silk, SnapSpeed, Matte): Standard PLA, alongside modified variants like Silk Dual-Color PLA, is moderately sensitive to moisture. While pre-drying is sometimes optional, it is heavily recommended for optimal aesthetic results. Dry these filaments at 55°C for 6 hours. For more context on thermal limits, review our guide on PLA 3D printing temperatures.
- PETG (e.g., PETG HF): PETG is significantly more hygroscopic than PLA and is prone to heavy PETG stringing when wet. While premium spools arrive pre-dried and vacuum-sealed, prolonged air exposure requires re-drying. Re-dry PETG at 65°C for 6 hours to restore optimal layer adhesion.
- Flexible Polyurethanes (TPU 90A and TPU 95A HF): Flexible materials demand the strictest moisture control. TPU is extremely hygroscopic and must always be dried before use. Dry it at 70°C for 6 hours. You can learn more about managing these tricky materials in our TPU drying temperature breakdown.
Ready to upgrade your material library? Explore high-performance, precision-tested materials at the Snapmaker 3D Printer Filament Collection. For further material troubleshooting and in-depth technical specifications, refer to the Official Snapmaker Wiki.
How to Stop Filament from Absorbing Moisture in the Future
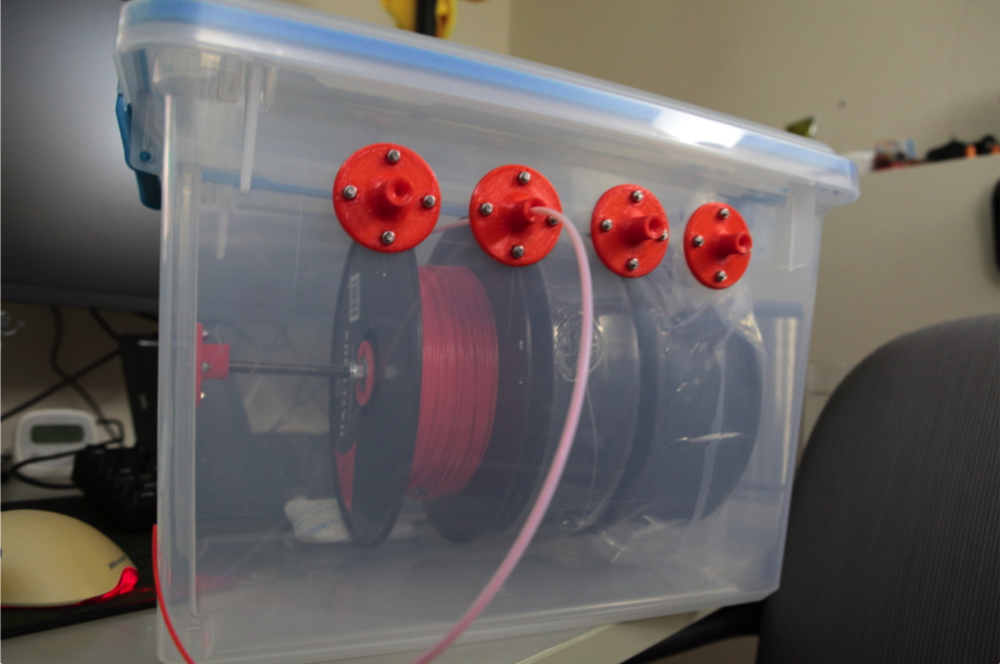
Prevention is always better than correction. Once your filament is dry, you must protect your investment by managing humidity in your workspace.
- Airtight Containers: Move open spools into heavy-duty sealed containers immediately after printing. If you are on a tight budget, heavy-duty freezer bags work exceptionally well.
- Desiccant Packs: Add the reusable silica gel packets that usually come with the rolls into your storage bags to absorb ambient moisture.
- Avoid Direct Sunlight: Always keep your stored filament in a dark place, as UV exposure will cause the plastic to degrade and become brittle over time.
By adopting a strict drying routine and utilizing airtight storage, you eliminate the single largest cause of ruined 3D prints, ensuring your materials always perform exactly as expected.