How to 3D Print Flexible Shoes with TPU: Settings, Materials, and Design Workflow
Creating 3D printed shoes look simple from the outside, but printing wearable footwear is a completely different ballgame compared to printing static figurines. It requires mastering flexible filaments and understanding how to design for real-world physical stress. This guide will walk you through the entire process, from choosing the right materials and dialing in your printer settings, to the step-by-step workflow for successful shoe prototyping.
Key Insights
Mastering 3D printed shoes requires specific TPU settings, slow print speeds, and strategic flexible-rigid material combination. With dual-extrusion like the Snapmaker U1, you can achieve professional-grade footwear prototypes at home.
Why 3D Printed Shoes Are Technically Challenging
Understanding the 3D printed shoes' difficulty level is the first step to success. While a standard PLA benchy simply needs to hold its own shape, footwear must act as a dynamic, load-bearing structure.
The core challenge lies in mastering TPU flexibility and balancing it with structural integrity. Unlike rigid models, 3D printed shoes must handle:
- Repeated bending stress: The toe box and sole must flex thousands of times without cracking.
- Weight distribution: The midsole must compress under human weight and instantly rebound.
- Long-term deformation resistance: The shoe cannot permanently flatten out after a few hours of wear.
This complexity is why footwear prototyping fails so often for beginners, even when the STL model file looks flawless on the screen. The secret isn't just in the model; it's in the intersection of material science and slicing strategy.
Can You Actually 3D Print Wearable Shoes?
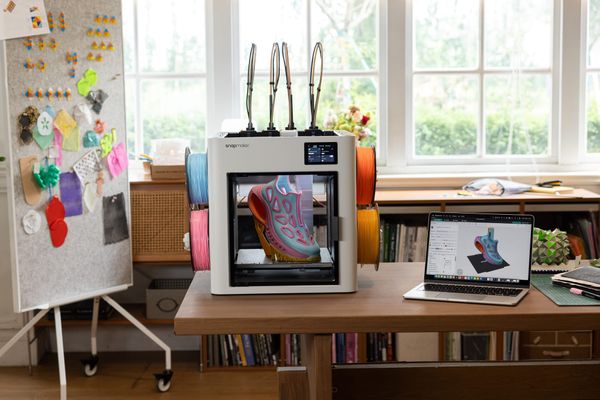
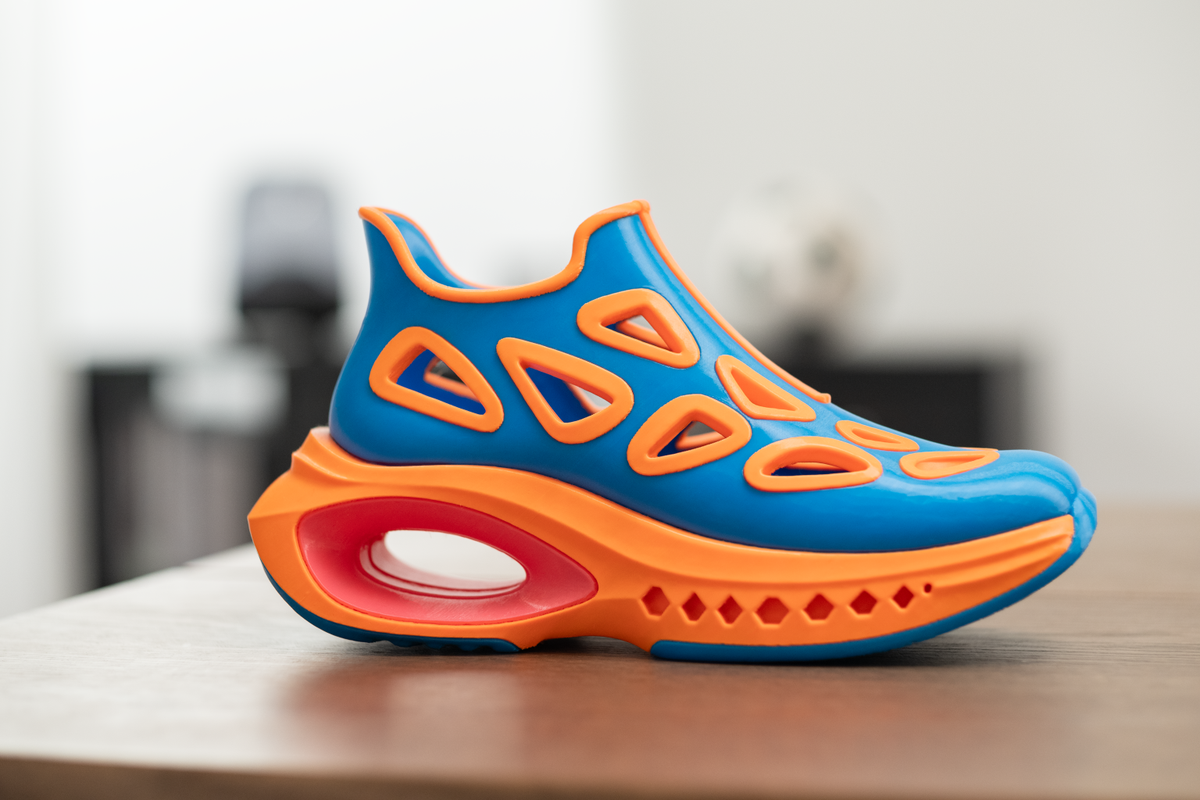
Printed with Foamy TPU + PVA supports on the Snapmaker U1. Soft. Flexible. Surprisingly comfortable. 👀
If you are wondering whether these prints are just stiff plastic display pieces or actual functional footwear, the answer is: yes, you can absolutely print wearable shoes.
The industry has moved far beyond rigid, unwearable concept models. By utilizing modern flexible materials (like TPU) and specific geometric patterns (like energy-returning lattice structures), makers and designers are printing sneakers, slip-ons, and insoles that offer real shock absorption and comfort. The difference between a useless plastic brick and a comfortable sneaker comes down entirely to understanding printable structures and material properties.
Examples of 3D Printed Shoes (Design Inspiration)
Before diving into the technical settings, it helps to look at successful 3D printed shoe designs to understand what is physically possible. Designers generally categorize functional prints into three types:
- Flexible lattice sneakers: These designs use complex geometric lattices in the midsole to provide shock absorption, relying entirely on the structure rather than foam.
- TPU slip-ons: Often resembling popular foam clogs, these are optimized for comfort and are usually printed as a single, uniform piece.
- Hybrid structure shoes: Advanced models combining rigid support plates with soft cushioning zones.
What Makes a Shoe Model Printable?
When browsing Printables or Thingiverse for your next project, not every shoe file is actually viable for your printer. To ensure a successful print, look for models that meet these structural requirements:
- Wall thickness requirements: Outer walls must be at least 1.5mm to 2mm thick to handle walking stress without tearing.
- Overhang constraints: TPU is notoriously bad at bridging. A truly printable shoe model is designed with gradual curves and avoids severe 90-degree overhangs.
- TPU deformation zones: The model should incorporate internal voids or allow for gyroid infill (rather than being a solid block) so the TPU has room to compress and rebound.
- Support minimization: Removing TPU supports is a nightmare because the material fuses aggressively. The best models are designed to print without supports (support-free) entirely.
What Material Works Best for 3D Printed Shoes?
When selecting a flexible 3D printing material, you need something that can endure constant abrasion and stretching.
Here is how common materials stack up for footwear:
- PLA: Too rigid. It will inevitably snap or crack under walking stress.
- ABS: Offers better durability and impact resistance than PLA, but completely lacks the flexibility required for a comfortable stride.
- TPU (85A–95A): This is the undisputed champion. It offers the optimal balance of elasticity, layer adhesion, and abrasion resistance for wearable prototypes.
For most projects, TPU filament for shoes is the only logical choice. Specifically, the Shore hardness TPU range of 85A to 95A hits the sweet spot. 95A is easier to print on standard machines while remaining flexible enough for soles, whereas 85A offers superior comfort but requires a highly dialed-in extrusion system. If you are new to this material, reading a comprehensive TPU 3D printing guide will save you hours of troubleshooting.
Combining Rigid and Flexible Materials in Shoe Design

Real-world footwear design rarely relies on a single material. Think about your favorite running shoes—they feature a stiff rubber outsole, a squishy foam midsole, and a soft fabric upper.
To replicate this in hybrid shoe design, advanced makers utilize multi-material 3D printing to achieve a rigid flexible combination:
- Rigid outsole: For maximum grip and wear resistance.
- Flexible midsole: Printed with softer TPU and lattice structures for cushioning.
- Soft TPU upper: For adaptability and comfort around the foot.
While this separation of function is incredibly difficult to achieve on single-extruder systems (which force you to print the whole shoe in one hardness), modern multi-material 3D printing systems make this industrial-level prototyping accessible.
Best Printer Settings for TPU Shoe Printing
Dialing in your TPU printing settings is where the magic happens. Flexible filaments behave like wet noodles inside the extruder, meaning your standard PLA profiles will cause immediate jams.

Use this optimized table to dial in your flexible filament settings:
| Parameter | Recommended Range | Why It Matters |
| Print Speed | 20–40 mm/s | Prevents the elastic TPU from buckling or wrapping around the extrusion system gears. |
| Layer Height | 0.15–0.25 mm | Balances strong layer-to-layer adhesion with manageable overall print times. |
| Retraction | Minimal (or Off) | Avoids stretching and grinding the elastic filament, which is the #1 cause of TPU clogging. |
| Bed Adhesion | 50°C–60°C heated bed | Critical to keep large, flexible shoe prints flat and prevent the toe/heel from warping off the build plate. |
Note: Most failed prints come from excessive speed rather than material choice. Consult a dedicated 3D printing settings for flexible filaments guide to fine-tune your specific slicer profile.
Step-by-Step Workflow: From Model to Finished Shoe
If you are wondering how to 3D print shoes step by step, follow this proven shoe prototyping process to minimize wasted time and filament.
Step 1: Choose TPU filament
Select the appropriate hardness based on your use case. Use 95A for structural outsoles and 85A for softer midsoles or uppers.
Step 2: Select or design shoe model
Ensure your downloaded or custom STL model actually supports flexible deformation zones and minimizes the need for supports.
Step 3: Configure slicing settings
Adjust your speed, retraction, and most importantly, your infill pattern. Gyroid infill is highly recommended for shoes because it flexes evenly in all directions.
Step 4: Run a test print
Never print a 15-hour shoe on your first try. Print a small cross-section or a miniature version of the sole to validate your TPU printing workflow and layer adhesion.
Step 5: Full-scale printing
Start the print and monitor the first few layers carefully. If the first layer goes down smooth and sticks well, your chances of success increase dramatically.
Step 6: Post-processing
Carefully remove any generated supports using flush cutters. Check the fit and manually test the flexibility of the structural zones.
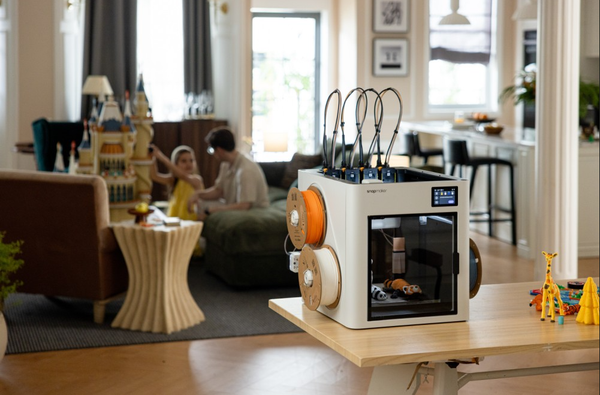
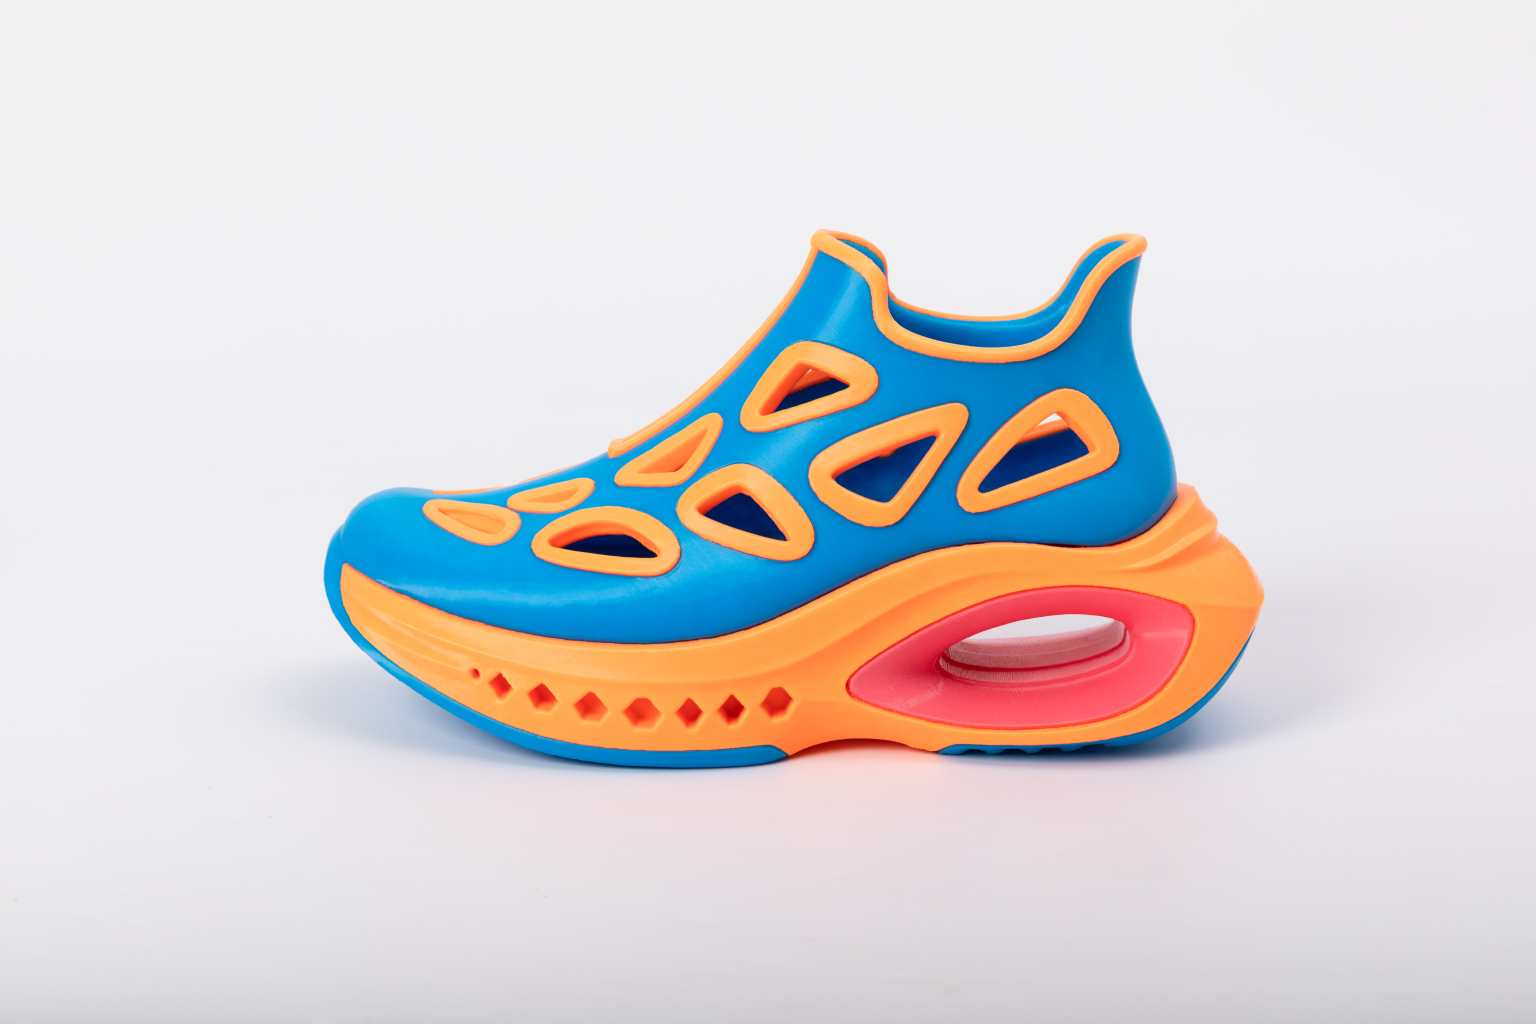
Real-World Case Study: Multi-Material Shoe on the Snapmaker U1
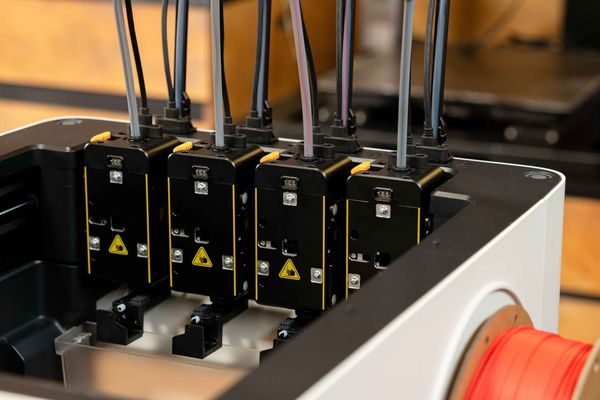
To demonstrate the capabilities of modern multi-material 3D printing systems, our team printed a full-scale hybrid shoe prototype. By utilizing the Snapmaker U1's 4-nozzle Tool Changer system, we seamlessly combined rigid and flexible materials in a single, continuous print job.
Here are the exact, tested parameters we used to achieve a perfect balance of durability, flexibility, and print quality.
Project Overview
- Hardware: Snapmaker U1
- Filaments Used: TPU (for flexible cushioning) combined with Speed PLA (for rigid support structures)
- Slicer Software: Snapmaker Orca
- Total Print Time: 41h 21m
- Total Filament Weight: 704.20g
Extrusion and Quality Settings
- Nozzle Size: 0.4mm
- Layer Height: 0.2mm
- Shell Layers: 2 layers for Top, Bottom, and Outer Walls
- Infill Density (Variable): We utilized modifier meshes to assign different densities (10%, 15%, 18%, and 25%) depending on the local stiffness required.
- Infill Patterns: A mix of Grid, Gyroid, Triangle, and Cross-hatch to optimize the structural behavior of specific shoe zones.
Optimized Speed Parameters Thanks to the integrated hot end design and stability of the U1, we achieved impressive speeds without compromising TPU extrusion consistency:
- First Layer Speed: 50 mm/s (First layer infill at 105 mm/s)
- Outer Wall Speed: 200 mm/s
- Inner Wall Speed: 300 mm/s
- Infill Speed: 270 mm/s for sparse infill, 250 mm/s for internal solid infill
- Top Surface: 200 mm/s
- Gap Fill: 250 mm/s
- Travel Speed: 500 mm/s
Acceleration and Motion Control High speeds require equally tuned acceleration limits to prevent ghosting and layer shifting:
- Normal Printing Acceleration: 10000 mm/s²
- Outer / Inner Wall Acceleration: 5000 mm/s² / 10000 mm/s²
- First Layer Acceleration: 500 mm/s²
- Top Surface Acceleration: 2000 mm/s²
- Travel Acceleration: 10000 mm/s²
- Bridge & Infill Acceleration: Maintained at 50% (bridges) and 100% (infill) relative to normal acceleration
- Deceleration Control: Enabled, with a braking speed set to 50%
- XY Jerk: 0 mm/s for smoother directional changes
Key Takeaway: This parameter set proves that with advanced hardware like a Tool Changer, you no longer have to compromise. You can utilize high acceleration (up to 10000 mm/s²) and multi-density infill strategies to print professional-grade footwear prototypes.
Common Problems and How to Fix Them
Even with perfect settings, TPU printing problems can occur. Here is how to handle the most common flexible filament troubleshooting scenarios when fixing 3D printed shoes issues:
- Issue 1: Stringing (Hairy Prints)
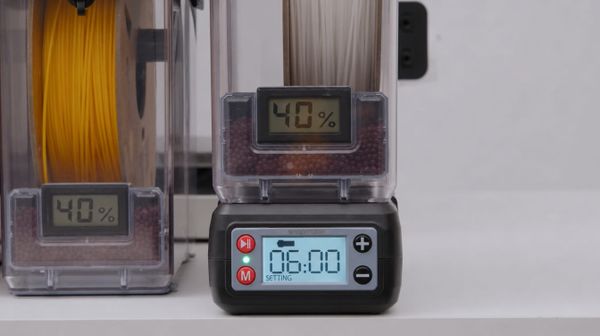
- Fix: Slightly reduce your nozzle temperature (by 5°C increments) or carefully increase your retraction distance. Drying your TPU filament beforehand is also critical to prevent stringing.
- Issue 2: Warping at the Toe or Heel
- Fix: Improve bed adhesion. Slow down the first layer speed significantly and ensure your bed is properly leveled and cleaned with isopropyl alcohol.
- Issue 3: Collapse of Structure
- Fix: If the shoe cannot hold its own weight, reduce your print speed to allow layers to cool properly, or increase the wall thickness (perimeters) in your slicer.
- Issue 4: Output is Too Rigid
- Fix: If the shoe feels like a brick, reduce your infill density, switch to a Gyroid infill pattern, or change to a softer Shore hardness TPU.
Why Designers Use 3D Printing for Shoe Prototyping
The footwear industry is rapidly adopting product design 3D printing. The traditional method of creating metal molds for every shoe size and design iteration is incredibly slow and expensive.
Utilizing rapid prototyping shoes via 3D printing allows designers to:
- Test the physical fit and ergonomics quickly.
- Iterate designs rapidly without waiting weeks for expensive tooling and molds.
- Dramatically reduce early-stage development costs.
This agility is especially valuable in modern footwear development, where multiple design cycles and custom sizing are becoming the industry standard. Utilizing 3D printing for product prototyping bridges the gap between digital concepts and physical testing.
Recommended Setup for Reliable TPU Shoe Printing
While you can print basic flexible parts on entry-level machines, consistent TPU printing reliability for full-scale footwear requires a more robust setup. You need a stable extrusion 3D printer that offers a precise motion system and consistent material feeding.
If you are looking to create functional, hybrid shoes, a multi material printer advantage cannot be overstated. Traditional IDEX (Independent Dual Extruder) systems can be bulky and difficult to calibrate for complex, overlapping flexible and rigid layers.
Instead, utilizing an advanced 4-nozzle Tool Changer machine (like the Snapmaker U1) revolutionizes this process. Because it features an integrated hot end design, it completely eliminates the need for the tedious "thermal tightening" required by traditional V6 nozzles. You get unparalleled extrusion stability and the ability to seamlessly switch between rigid structural filaments and soft TPU in a single print job—bringing your desktop setup incredibly close to real, industrial footwear construction logic.
FAQs About 3D Printing Shoes
Can you 3D print shoes at home?
Yes, absolutely. However, your success depends heavily on dialing in your TPU slicer settings, ensuring your filament is completely dry, and using a printer with a reliable direct-drive extrusion system.
How long does it take to 3D print a shoe?
It typically takes anywhere from 6 to 40 hours for a single shoe, depending on the adult shoe size, the complexity of the lattice infill, and whether you are using a high-speed machine (like the 41-hour multi-material print featured in our case study).
Are 3D printed shoes durable?
TPU-based shoes are highly abrasion-resistant and can be quite durable for prototyping, light daily wear, or specialized applications (like shower shoes or custom orthotics).
What is the best material for 3D printed shoes?
TPU (Thermoplastic Polyurethane), specifically in the 85A to 95A Shore hardness range, is currently the most suitable and widely used flexible filament for 3D printed footwear due to its balance of flex and durability.