3D Printed Hinges: Design Rules, Tolerances, and Multi-Color Inspiration
Printing a static figure or a rigid storage cup is a great way to learn the ropes of additive manufacturing. But adding motion to your prints changes everything. A well-designed 3d printed hinge takes a simple block of plastic and transforms it into a functional storage box, wearable armor, or an interactive board game.
However, if you have ever tried to print one—especially a print in place hinge—you already know they can be notoriously tricky. They either fuse into a solid block of plastic on the print bed, or they snap at the joint the moment you try to bend them.
In this guide, we are going to look at some inspiring multi-color projects that prove what functional hinges make possible, and then break down the golden rules for designing, printing, and troubleshooting joints that actually work.
Inspiration: What Functional Hinges Make Possible
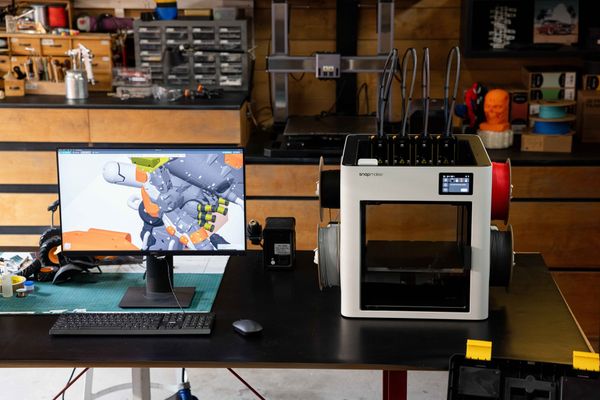
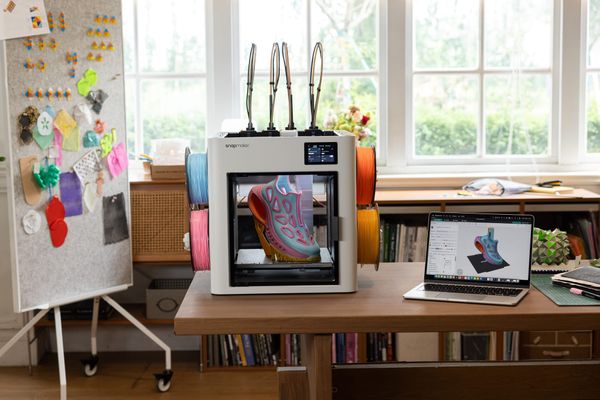
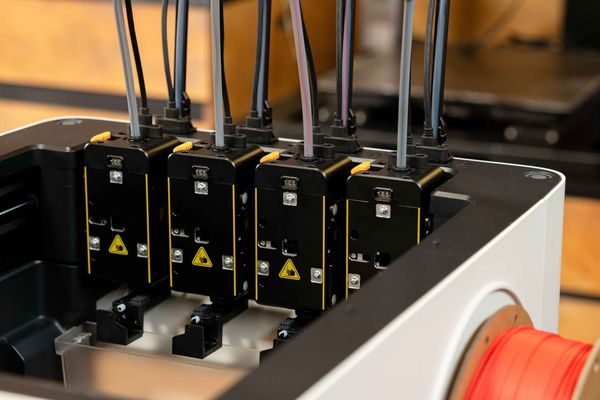
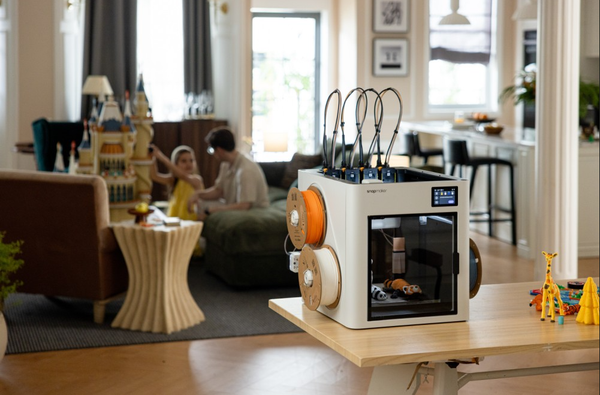
Before we dive into CAD rules and tolerances, let’s look at why mastering the hinge is worth your time. When combined with a multi-color machine like the Snapmaker U1, hinges allow you to create retail-quality, interactive items right off the build plate. Both of the examples below utilize assembled hinges—where the hinge parts are printed separately and joined together—to maximize strength and make color-switching incredibly clean.
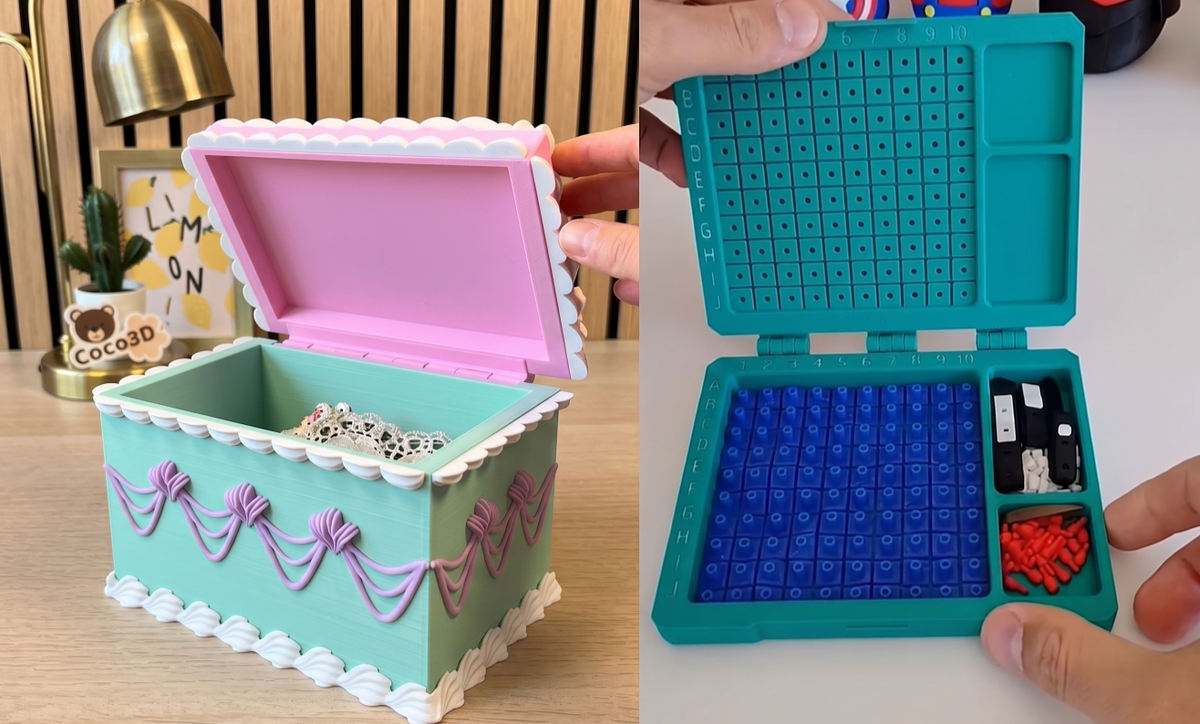
The Secret Storage: Vintage Cake Box
Looks can be deceiving. What appears to be a delicious, multi-color cream cake is actually a cleverly designed storage box. The sturdy assembled hinge hidden in the back allows the "frosting" top to swing open smoothly. Because the U1 handles the multi-color details natively—and if you want to see more of what that looks like, check out our guide to inspiring multicolor 3D prints—the designer was able to create a vibrant, functional piece of desk decor without needing to paint a thing.
Watch it in action: Vintage Cake Box
The Classic Travel Game: Battleship
Hinges are the backbone of travel-friendly, interlocking designs. This 3D printed Battleship board game prints in separate plates and uses a strong assembled hinge to fold into a compact carrying case, securing the tiny red and white pegs inside. It’s a perfect example of using mechanical joints to turn a digital model into a tactile, nostalgic experience.
Watch it in action: Battleship Board Game
Print-in-Place vs. Assembled Hinges
When deciding how to add motion to your project, you generally have two options. The videos above showcase the first method, but the second method is where most people need troubleshooting help:
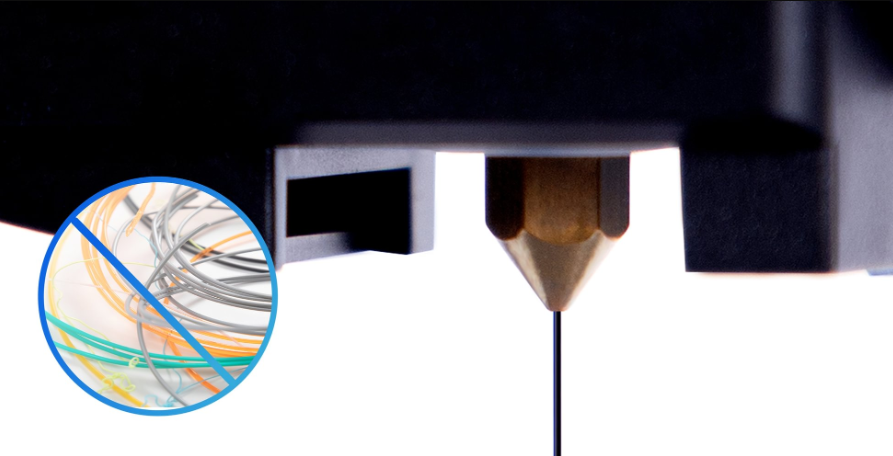
- Assembled Hinges (Like the videos above): You print the interlocking knuckles as separate pieces. To join them, you push a piece of raw filament, a metal screw, or a printed snap-fit pin through the center hole. These are excellent for heavy-duty applications because you can use strong hardware for the actual 3d printed hinge joint, and they are easier to print cleanly.
- Print in Place Hinges: The holy grail of 3D printing magic. The entire joint (barrel and pin) is modeled to print together simultaneously. When you pull it off the bed, it bends immediately with zero assembly required. They are incredibly convenient, but they require highly precise tuning. For more tips on mastering this style of seamless design, read our guide on how to succeed with articulated 3D prints.
Golden Rules for 3D Printed Hinge Design
If you are wondering how to design a print in place hinge that actually works without fusing together, it comes down to two critical engineering rules: clearances and orientation.
Rule 1: Master Your Tolerances
The number one reason a print in place hinge design fails is that the printer melds the internal pin to the outer barrel. In your CAD software, you must leave a physical gap (clearance) between the moving parts.
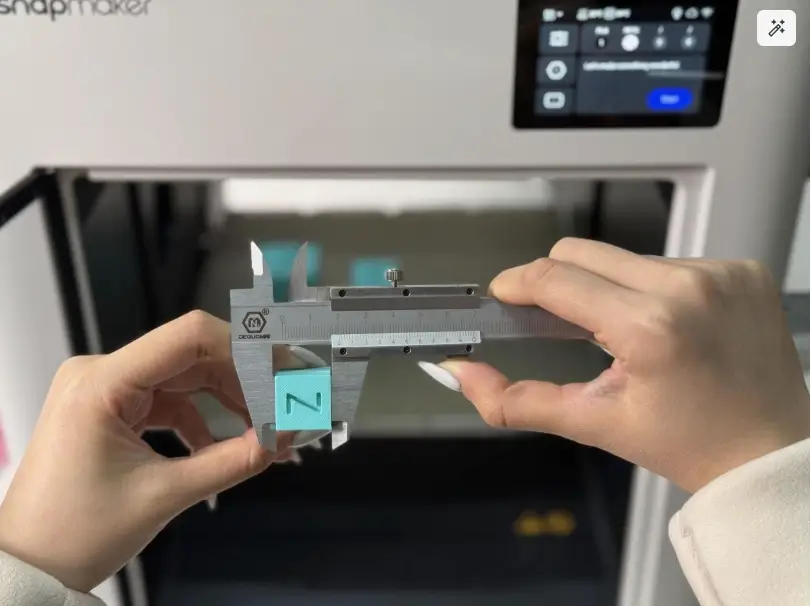
The Golden Measurement: For most modern, well-calibrated FDM printers, leaving a 0.2mm to 0.3mm gap between the pin and the barrel is the sweet spot. Getting this right is crucial—you can learn more about dialing this in with our complete guide to 3D printing tolerances. If your printer is perfectly dialed in, 0.2mm will give you a tight, smooth hinge with no wobble.
Rule 2: Print Orientation for Strength
Are 3D printed hinges strong? Yes—if you print them in the right direction. (If you are curious about the limits of layer adhesion, check out our deep dive on how strong 3D printed parts actually are).
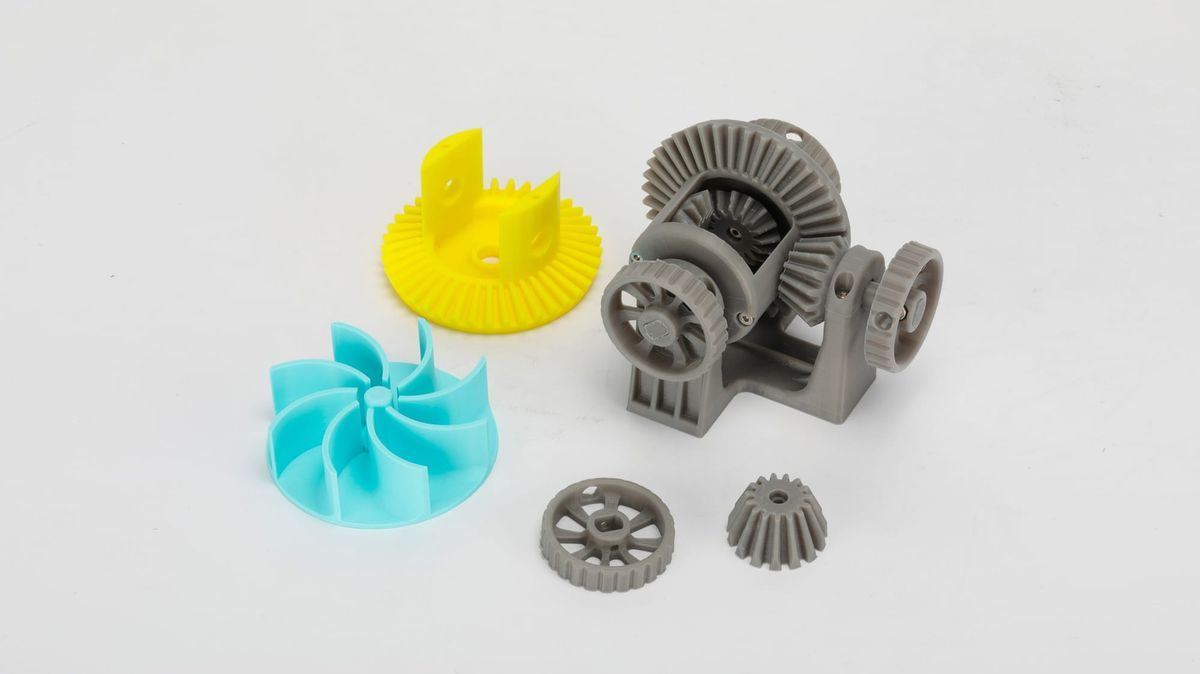
FDM prints are inherently weakest along their layer lines.
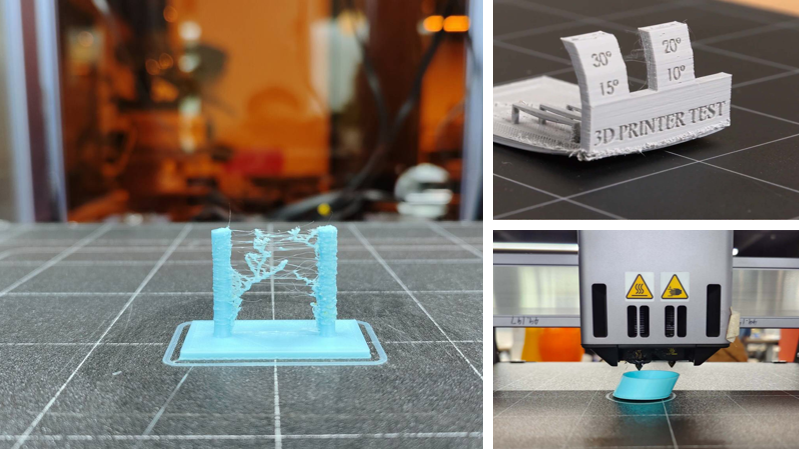
- The Mistake: If you print a hinge standing straight up (vertically on the Z-axis), the stress of opening and closing the hinge will pull directly against the layer adhesion. It will easily snap in half.
- The Solution: You must lay the hinge flat on the print bed (X/Y axis). This forces the printer to lay continuous, long strands of plastic along the length of the hinge pin, maximizing its shear strength and ensuring it can survive thousands of bends.
Why is My 3D Print Failing?
Even with a perfect STL file, mechanical prints can go wrong. If you find yourself asking, "Why is my 3D print failing?" (and for a comprehensive look, see our guide to troubleshooting common 3D printing problems), check these two common culprits:
Issue A: "The bottom of my hinge is fused together, but the top is loose."
- The Cause: You have Elephant’s Foot. Your printer’s nozzle is too close to the bed, causing the first few layers of plastic to squish outward. This squish fills in the 0.2mm tolerance gap at the base of your hinge. Check out our guide on 3D printing first layer problems and solutions to fix this quickly.
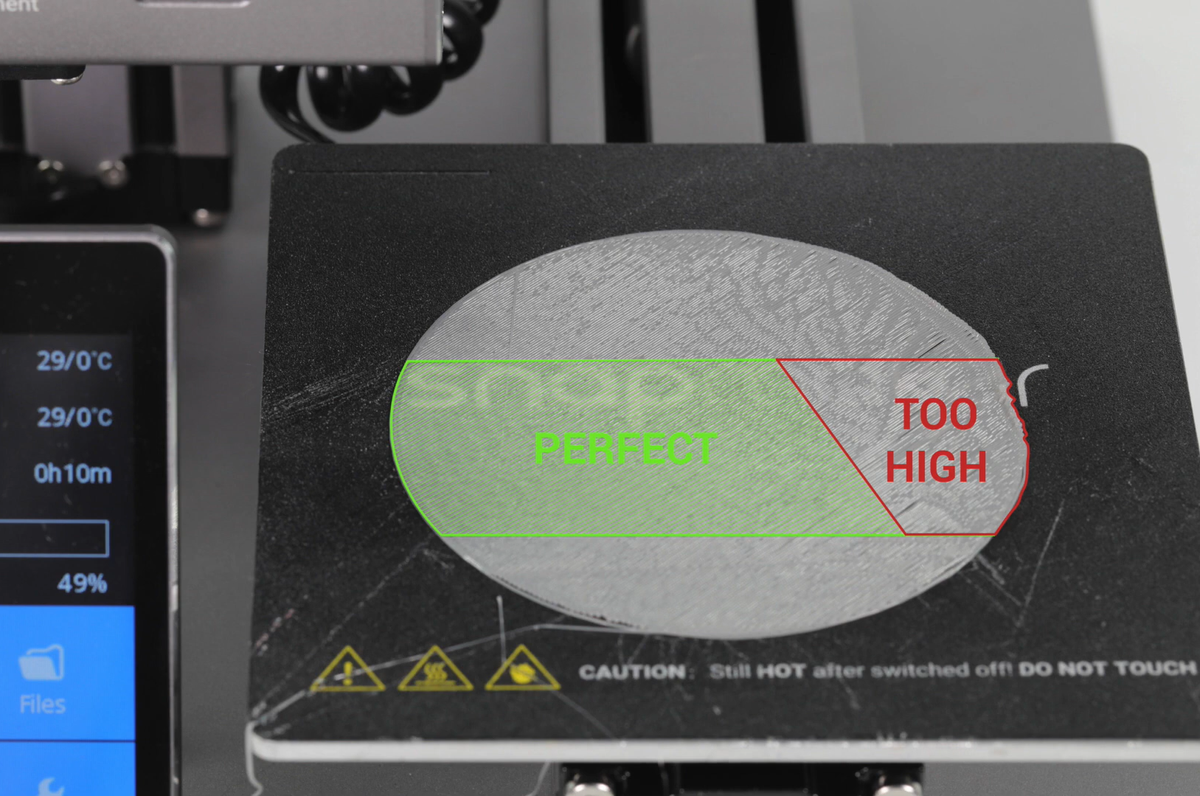
- The Fix: Calibrate your Z-offset. Alternatively, you can add a slight chamfer (a 45-degree angled cut) to the bottom edges of your hinge design in CAD to compensate for the first-layer squish.
Issue B: "The entire hinge is fused into a solid block."
- The Cause: Over-extrusion. Your printer is pushing out slightly more plastic than the slicer expects, causing the layers to bulge and fill the required clearance gaps.
- The Fix: Recalibrate your flow rate (extrusion multiplier). Lowering it by just 2% to 5% is often enough to free up mechanical, print-in-place parts. If you have never done this before, read up on what flow rate is in 3D printing.
Keep Designing, Keep Printing
Mastering the 3D printed hinge opens up a completely new world of mechanical, interactive design. Whether you are hiding storage inside a vintage cake or building a fold-out board game, the ability to print motion directly onto your build plate is where the real fun begins.