Why Your 3D Printer Cooling Fan Could Make or Break Your Prints
A proper cooling fan setup for your 3D printer can reduce surface roughness by up to 37%. Most people focus on filament quality or printer calibration, yet the humble cooling fan plays a significant role in determining print success.
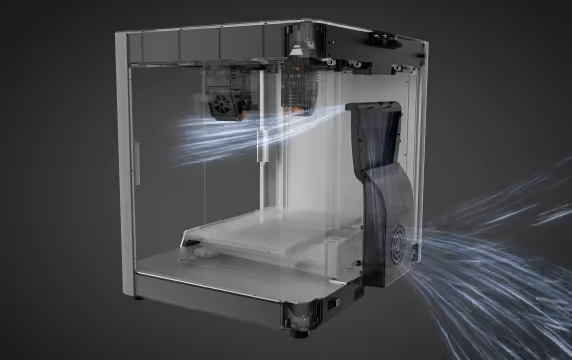
Your 3D printer nozzle operates above 180°C during printing, which makes proper cooling vital for quality results. The extruded filament needs adequate cooling to deposit evenly. Poor cooling leads to dimensional problems that waste materials and cause rejected prints. Your 3D printer part cooling fan does more than enhance appearance - it creates dramatic improvements in print outcomes. The fan helps each layer solidify more quickly, improving surface finish and reducing sagging—but be aware that increased cooling can reduce inter-layer bonding strength. Optimal fan speeds let you print faster without losing quality. The cooling must happen at precise moments because uncontrolled airflow becomes unpredictable and hard to manage.
This piece examines the impact of the cooling fan on print quality, common failures resulting from insufficient cooling, and practical tips to optimize your 3D printer's cooling fan for superior results.
How Cooling Fans Impact 3D Print Quality
Quality 3D prints depend on proper cooling. Your cooling fan system affects everything from layer strength to knowing how to print complex geometries.
Layer adhesion and warping prevention
Cooling needs careful balance. Too much cooling weakens layer bonds. The system needs just enough cooling to avoid structural problems. Materials like ABS need minimal cooling so layers can fuse together properly. Your layers won't bond well if they cool too fast, which leads to delamination.
Temperature changes create internal stress that makes corners lift up or warp, especially when you have those first few layers. Many users turn off external cooling fans completely when printing high-warping materials like ABS to keep temperatures steady. An enclosure helps maintain even temperatures and reduces warping risks.
Overhang and bridge stability with part cooling
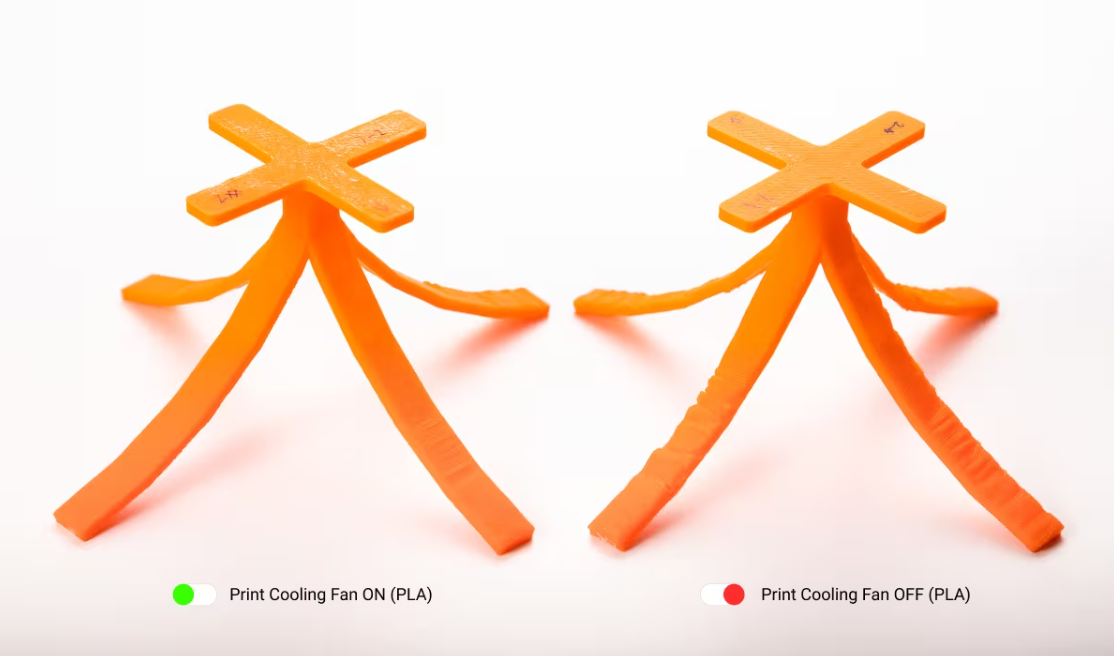
Unsupported overhangs need faster cooling to prevent sagging. Higher part cooling fan speeds help the filament solidify faster and create a stable base for layers above. Bridges between supports need quick cooling, too. PLA and PETG prints work best with maximum fan speed during bridge printing.
Slower printing speeds for overhangs (5-20mm/s) give more cooling time and improve stability. Thinner layers on overhangs usually work better since they need less cooling to solidify.
PLA cooling fan speed and material-specific behavior
Different materials need such big differences in cooling:
- PLA: Cooling makes a huge difference - you'll need 100% fan speed to get the best results. Small PLA parts need maximum cooling to keep fine details sharp.
- ABS/ASA: Best printed with 0–20% or no cooling—higher speeds risk warping and weak layer adhesion.
- PETG: Requires moderate cooling - excessive fan speed can compromise layer bonding.
For better bed adhesion, it's common to disable cooling for the first few layers—for example, setting initial fan speed to 0% and gradually ramping up to regular fan speed over the first 3–6 layers. The right balance prevents warping and poor adhesion while letting you print complex shapes successfully.
Common Print Failures Caused by Poor Cooling
Poor cooling often guides your prints to fail, which can frustrate even seasoned makers. Let's get into the most common cooling-related problems that can destroy your projects.
Stringing and sagging in unsupported areas
When cooling isn't sufficient, the filament stays molten too long, especially in bridges and overhangs. The soft material gets pulled down by gravity before it hardens, which creates drooping or sagging structures. This happens because the filament hasn't hardened enough to keep its shape across gaps. Bridge sections need the material to cool faster to avoid warping, and sagging shows up as uneven surfaces under horizontal spans.
Stringing shows up as thin filament strands stretching between two points, creating a web-like look. While this usually happens due to too much extrusion or wrong retraction settings, poor cooling makes it worse by keeping the material soft longer. Higher cooling fan speeds help the filament solidify faster and reduce both sagging and stringing.
Heat creep and nozzle clogs from hotend overheating
Heat creep happens when excess heat moves up the filament path from the hotend. Without good cooling, heat moves past the melt zone and makes the filament soft too early in the heat break area. The softened filament expands and can block the extrusion path completely.
You'll notice heat creep through uneven extrusion that leads to complete blockage, especially in longer prints. PLA prints face this issue more often because of its lower glass transition temperature. The cooling fan on the hotend heatsink needs to work properly - clogs become unavoidable if it fails or doesn't move enough air.
Layer shifting due to slow solidification
Layers need to solidify properly before the printer can build stable structures. Inadequate cooling can lead to soft or deformed layers, but true layer shifting—misalignment between layers—is typically caused by mechanical issues. To avoid shifting, ensure proper belt tension, stepper motor settings, and stable printer mechanics. The unstable layers might shift when the nozzle comes back to add more material.
Stepper drivers and other electronic parts can also overheat without proper cooling. This makes motors skip steps or stop unexpectedly. Your prints end up with visible horizontal misalignments that destroy their dimensional accuracy.
Optimizing 3D Printer Fan Speed for Better Results
Becoming skilled at fan speed settings will help you achieve better print quality with filaments of all types. The right airflow timing makes all the difference between getting precise details and ending up with failed prints.
Turning off the part cooling fan on the first layer
The part cooling fan should be off for the first layer to improve bed adhesion. Your slicer software lets you turn off cooling for the first 1-5 layers. This helps prevent warping and keeps prints from detaching from the print bed. You'll find this setting in your slicer software's cooling section. The print can develop poor layer adhesion and rippling effects if cooling starts too early or runs too high.
Adjusting 3d printer fan speed in slicer settings
Slicers show fan speed as a percentage from 0-100% or sometimes as a value from 0-255. Your slicer's minimum and maximum fan speed settings work based on layer print time. The maximum fan speed kicks in when layers print faster than your minimum layer time threshold. You can set different cooling rates for bridging areas while keeping normal cooling elsewhere.
Balancing airflow and print speed for PLA and ABS
PLA works best with high cooling—usually 100% fan speed after the first few layers. ABS is different and needs minimal cooling. Enclosed printers still need some cooling for ABS, between 40-80% based on part size. Small ABS objects need higher fan speeds up to 80% to avoid overheating. Setting the minimum layer time to 15 seconds slows down print speed and gives small features enough time to cool.
Using dual-fan setups for complex geometries
Dual-fan setups are now the best choice for demanding prints. They use two fans positioned strategically to provide complete cooling from multiple angles. Most setups use 5015 blower fans on opposite sides of the print head to create even cooling patterns. The opposing airflows might create vortices that reduce cooling velocity. Advanced cooling ducts designed using computational fluid dynamics can significantly enhance airflow efficiency for complex geometries.
Choosing the Right Cooling Fan for Your Printer
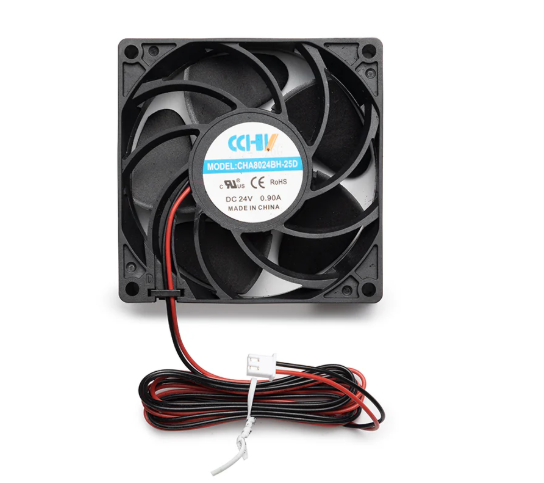
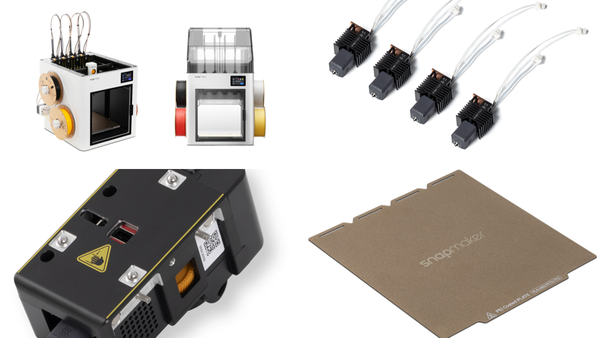
When selecting a cooling fan for your 3D printer, consider the airflow direction, noise level, and compatibility. For Snapmaker users, there's a practical option, such as the Snapmaker Print Cooling Fan Upgrade Kit. It utilizes a narrow duct to boost airflow across prints at high speeds, improves overhang quality, and helps regulate ambient temperature without modifying your enclosure. Some community mods also swap the stock 25 mm fan with a 40×10 mm blower to enhance airflow around the hotend. Whether using stock or upgraded cooling, focus on ensuring adequate airflow coverage, stability, and avoiding drafts that could cause uneven printing.
Conclusion
Proper cooling management in 3D printing is one of the most overlooked yet crucial factors that affect print quality. Note that cooling needs to work through smart adjustments rather than running fans at maximum speed.
Your cooling setup might be the culprit when prints fail. Issues like stringing, layer shifts, and heat creep often come from poor cooling rather than the usual suspects like temperature or retraction settings.
Don’t be afraid to experiment—try tweaks like lowering fan speed for ABS, maximizing cooling for PLA, or even upgrading hardware like the Snapmaker cooling kits mentioned above. Exploring Snapmaker’s ecosystem—its materials, accessories, and community tips—can unlock smarter print settings and elevate your 3D printing journey.