How to DIY AirPods Pro Leather Case with the 10W Laser Module
How to make an AirPods Leather Case within two hours using the 10W Laser Module on Snapmaker 2.0 A350T
Hi makers,
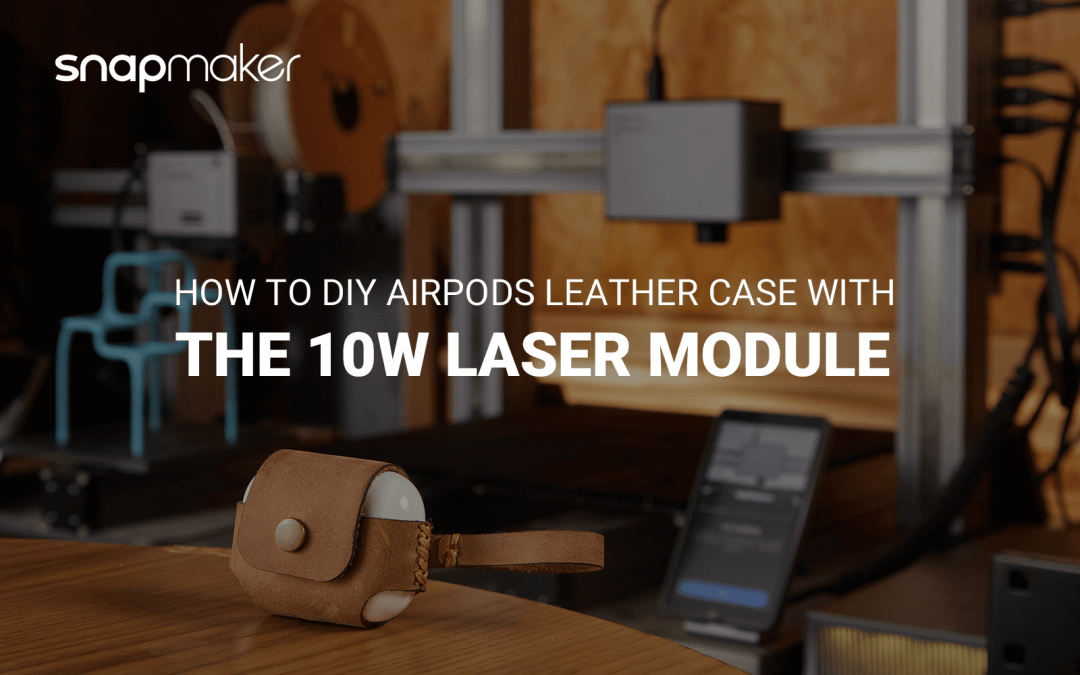
Previously in our community, we have met people struggling to cut leathers with the Snapmaker 1600mW Laser Module. Being unable to cut all the way through the material with a low-power laser printer would definitely hold back many ideas. Now that the newly launched 10W Laser Module is in stock, let’s make good use of it to reduce our workload and save our time! The following blog will teach you how to make an AirPods Pro Leather Case within two hours using the 10W Laser Module on Snapmaker 2.0 A350T.
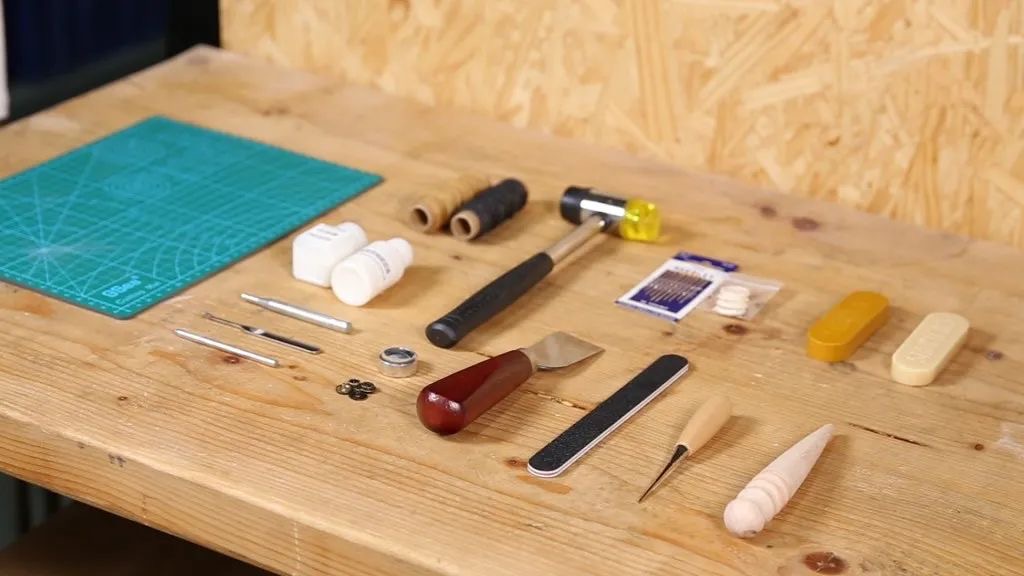
Step 1 Prepare tools and materials
Material:
Crazy horse leather (Color: Yellow brown; Thickness: 2 mm; Area: 30 × 50 cm for 10 leather cases)
Tools for laser cutting:
Double-sided sewing tape × 1
Snapmaker 2.0 A350T × 1
Snapmaker 10W Laser Module × 1
Snapmaker Luban (software installed)
Design files of the AirPods Pro Leather Case: https://drive.google.com/drive/folders/1EHuFWKj5zwX0i7dDoVN06UpuDw7N_Aec?fbclid=IwAR38xlOLmpCDxAGGb7jrHiLBT6asr7e-i_oHPNWYS9RJ_xhtGUWckSlqAmQ
(Folders for AirPods 1, AirPods 2, and AirPods 3 included, each with two DXF files)
Tools for polishing:
Finger glove × 2
Eraser × 1
Leather edge beveler × 1
Beeswax × 1
Leather edge slicker × 1
Tools for installing snaps:
Hole puncher × 1
Rubber hammer × 1
A set of snap fasteners including studs, eyelets, sockets, and buttons
Snap setter × 1
Aluminum base × 1
Tools for sewing:
Leather sewing needle × 2
A roll of yellow waxed thread
A pair of diagonal pliers
Lighter × 1
Others:
Cutting mat × 1
Note: If this is your first time using the 10W Laser Module, please read the instructions before taking the following steps.
Step 2 Laser cut the leather
1. To ensure a flat surface for laser cutting, apply double-sided sewing tape to the back of the leather, and stick the leather to the laser engraving and cutting platform.
2. Open Snapmaker Luban on your computer. Select Laser > 3-axis to create a project. On the Job Setup pop-up window, it’s recommended to set the Work Origin at the bottom left.
3. Import the two DXF files into Snapmaker Luban and create toolpaths. Tips: You can drag the files to the bottom left of the canvas so that you can save more material for your next creation. It’s recommended to set the laser cutting parameters as follows:
If you would like to personalize your leather case, you can add text for laser engraving by following the steps in section 4.5.5 of this article.
4. Generate G-code, send it to the machine, put on your laser safety goggles, make sure that the room is well ventilated, and start cutting.
5. Detach the cut-out pieces from the leather.
Step 3 Polish the cut-out leather pieces
1. Use an eraser to remove carbon residues on the surface of the leather.
2. Remove the square corners from the edges with a leather edge beveler.
3. Put on your finger gloves, burnish the edges with beeswax and a leather edge slicker.
Step 4 Punch holes and install snaps
1.Use the marked line as a reference for the holes. Punch the holes with a hole puncher and a rubber hammer.
2. Install the snap fasteners with a rubber hammer, a snap setter, and an aluminum base, as demonstrated below.
Step 5 Sew the leather
1. Sew the stripe.
2. Finish the waxed thread ends with a lighter, and use a hammer to even the surface.
Note: Be careful of the flame and only perform this step on a fireproof surface.
3. Attach the stripe to the main leather piece with two eyelets, as demonstrated in the video below.
4. Sew the main leather piece with a cross stitch pattern, cut the remaining thread with the diagonal pliers, and finish the waxed thread ends with a lighter.

