Multi Material 3D Printing: What It Really Is, Why It’s So Hard, and How to Do It Right
Multi material 3D printing has become one of the most searched—and most misunderstood—topics in consumer and prosumer 3D printing.
On paper, it sounds simple: load multiple filaments, press print, and get parts that combine rigid and flexible sections, or dissolve supports away cleanly in water. In practice, many users encounter something very different: excessive waste, clogged nozzles, failed long prints, and hours lost tuning purge settings.
This article is not a list of printers.
Instead, it is a guide to multi material printing workflows—why they fail, how different systems try to solve the same physical problems, and which approaches make sense depending on what you actually want to print.
Multi-Color vs. True Multi-Material Printing
One reason this topic is so confusing is that multi-color and multi-material printing are often treated as the same thing. They are not.
Multi-color printing focuses on aesthetics.
True multi-material printing focuses on function—materials with different mechanical, thermal, or chemical properties working together in one part.
Most frustrations users experience begin when they try to do functional multi-material printing on systems optimized mainly for color changes.
Why Multi Material 3D Printing Frustrates So Many Users

If multi material printing is so powerful, why does it feel so unreliable for many users? Across forums and communities, the same complaints appear repeatedly:
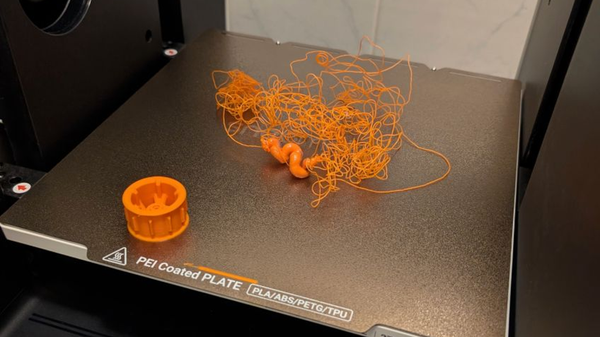
- Massive waste from purge blocks or purge towers ("poop").
- Unpredictable failures during long prints (20+ hours).
- Frequent jams or clogs when switching filaments.
- Complex slicing settings that feel like trial-and-error.
At this stage, many users assume the problem is tuning: purge volume too small, temperatures slightly off, or slicer settings misconfigured.
In reality, these issues are not just tuning problems. They are consequences of the physics and architecture behind the machine.
The Physics Behind Multi Material Printing Problems
To understand why different systems behave so differently, it helps to look at what actually changes when you switch materials.
1. Different Materials Want Different Environments
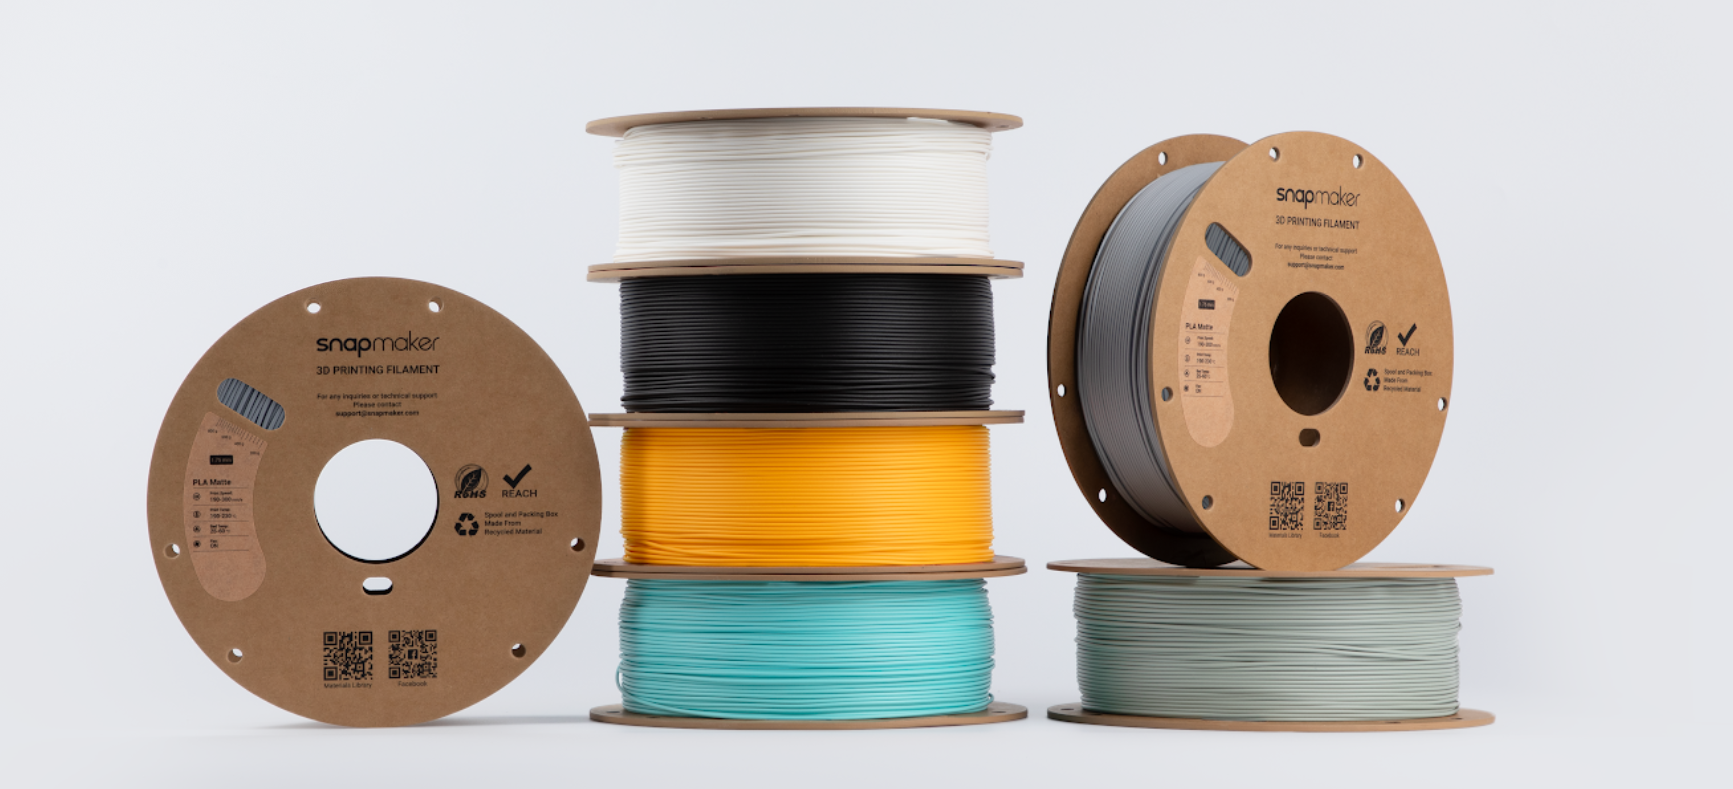
Each filament type has its own requirements for nozzle temperature, flow behavior, and cooling rate.
- PLA prefers lower temperatures (190°C) and aggressive cooling.
- PA-CF (Nylon) needs high heat (280°C) and a dry environment.
- PVA (Soluble Support) degrades and carbonizes if overheated or left idle in a hot nozzle.
Trying to print all of these through the same heated nozzle is inherently a compromise. You risk "cooking" the sensitive material with the residual heat of the strong material.
2. Why Purge Waste Is Structural, Not Optional
In single-nozzle systems, when you switch filaments, the residual material remains in the melt zone. The old material contaminates the new one. The only solution is to flush it out.
That flushing becomes purge waste. No amount of slicer tuning can fully eliminate it, because the problem is physical: one melt zone, multiple materials.
Three Hardware Workflows for Multi Material 3D Printing
Rather than comparing printers, it’s more useful to compare workflows. Each workflow represents a different way of managing material conflicts.
1. Single Nozzle + Multi-Input Systems
How it works: Multiple filaments feed into a single ho tend. The printer cuts, retracts, and purges material whenever it switches.
- Strengths: Easy to set up; Excellent for multi-color printing; Affordable.
- Limitations: High purge waste is unavoidable; Shared temperature and melt zone limit material combinations; Risk of clogging increases with every swap.
- Best for: Color-focused models and light functional prints using similar materials (e.g., PLA + PETG).
2. Nozzle-Swapping Systems
How it works: The printer physically swaps nozzles instead of flushing a single one, reducing direct contamination.
- What improves: Less residue compared to a single nozzle; Reduced purge volume.
- What remains: Often shares material paths or thermal constraints; Limited independence between materials.
- Best understood as: A transitional approach—more capable than single-nozzle systems, but not fully independent.
3. Tool-Changing / Multi-Head Systems
How it works: Each material has its own dedicated toolhead with an independent filament path, independent nozzle, and independent temperature strategy.
- Results:
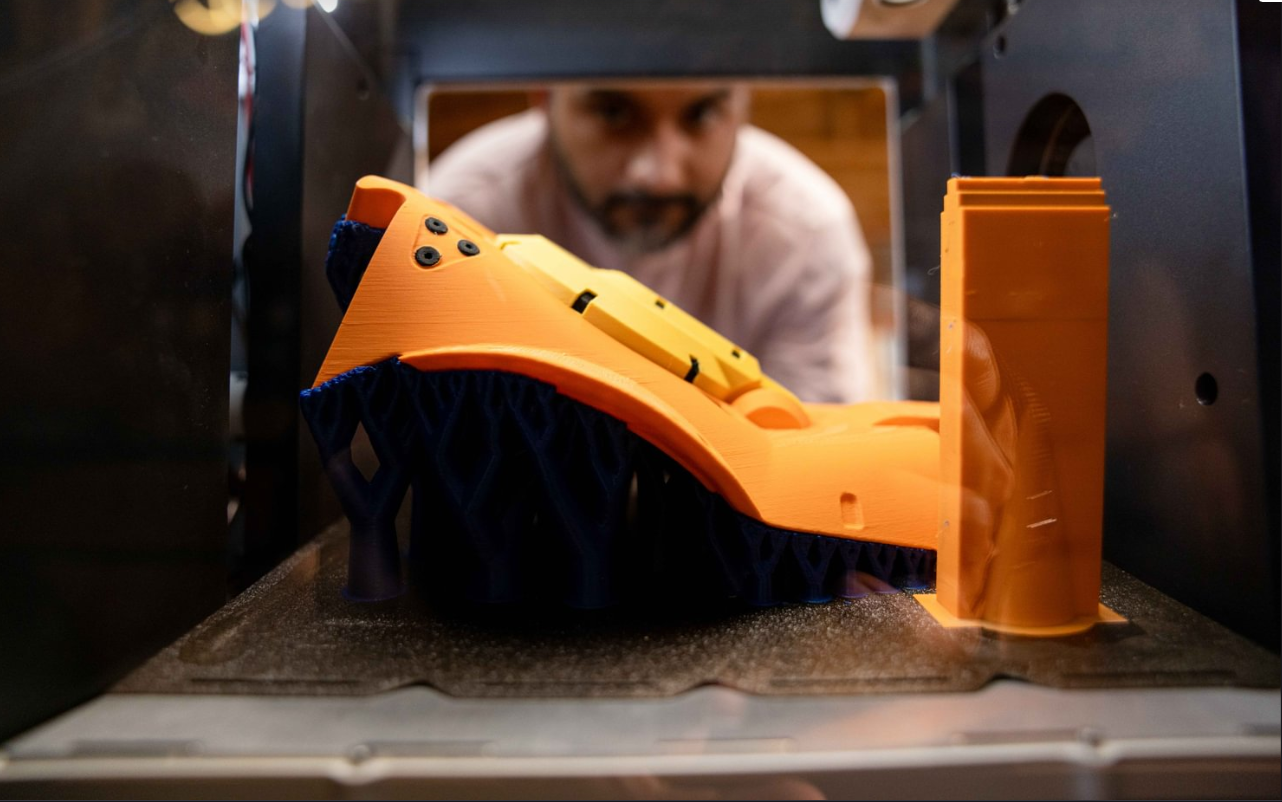
- Material switches in ~3–10 seconds.
- Minimal to near-zero purge waste (no flushing required).
- True thermal isolation (keep Nylon hot and PVA cool).
- Best for: This is the "true" multi-material solution for functional engineering.
Hardware Workflow Comparison
Material Compatibility: What Actually Sticks to What?
In real-world multi material printing, not all combinations are equal. Understanding bonding behavior is key to success.
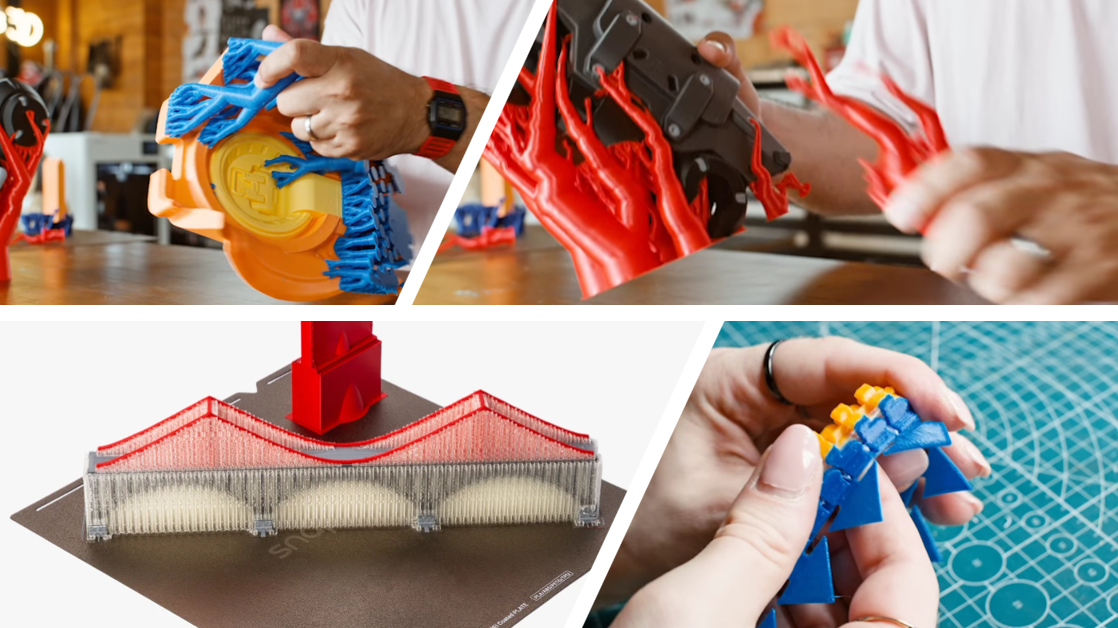
1. Strong Bonding (Chemical Adhesion)
- Characteristics: High interlayer adhesion; materials fuse naturally.
- Typical Use: Structural parts.
- Examples: TPU + TPU; PETG + PETG.
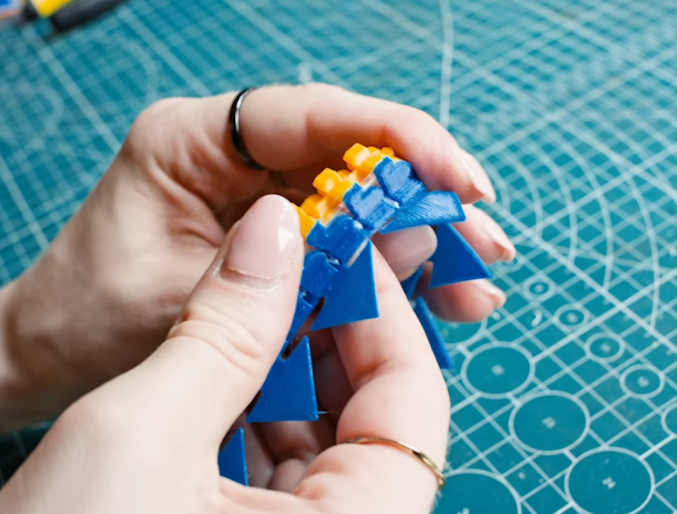
2. Weak Bonding (Dissimilar Interfaces)
- Characteristics: Clean separation between layers.
- Typical Use: Support Interfaces.
- The Workflow: Weak bonding is often misunderstood as a flaw, but it is a feature. By using PETG as a support interface for PLA (or vice versa), you can print with "Zero Z-Distance" (no air gap). The support holds the model perfectly but snaps off cleanly, leaving a glass-smooth surface and making it easier to remove supports.
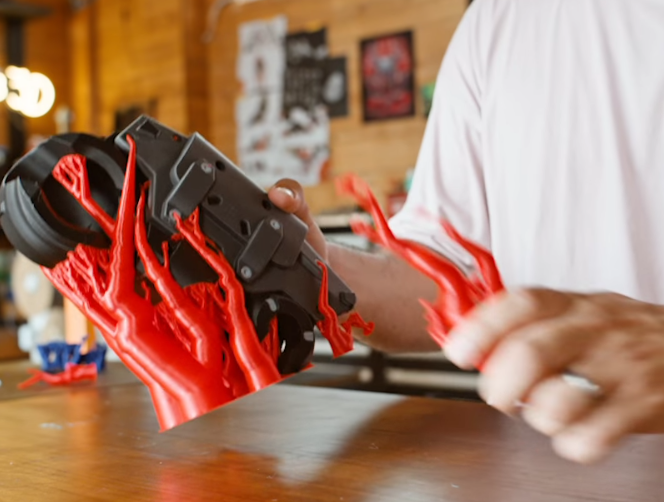
3. Engineered Bonding (Mechanical Interlocking)
- Characteristics: Materials that shouldn't stick (like Rigid PLA + Flexible TPU) are forced to bond via geometry.
- The Workflow: Since these materials don't chemically fuse, they will delaminate if printed flat. The solution is Beam Interlocking (a feature found in slicers like Snapmaker Orca). This generates a microscopic "zipper" or dovetail pattern at the interface, weaving the rigid and flexible layers together physically. This allows for reliable overmolded parts, like soft grips on hard shells, without glue.
Material Bonding Strength Matrix from Snapmaker
At Snapmaker, we validate material pairings in our lab so you don't have to guess. The matrix below shows our official testing results for the Snapmaker U1.
Source: Snapmaker Laboratory Testing, 2025
Key:
- (+) Strong Bonding: High chemical adhesion. Fuses naturally.
- (-) Bondable: Low chemical adhesion. Needs interlocking or serves as supports.
What This Means for Your Prints
- Strong Bonding (+): These pairs (like PETG + TPU) fuse chemically. You can print them as structural parts without special settings.
- Bondable (–): These have weak adhesion. We use this to our advantage:
- For Supports: It allows for clean, easy removal with "Zero Z-Distance."
- For Function: We use Beam Interlocking to mechanically stitch these materials together if you need them to bond.
Current Lab Notes
- TPU: Validated for Shore hardness ≥ 90A. (Softer grades are under testing).
- PA-Based: Profiles optimized for PA-CF and PA-GF (Carbon/Glass Fiber Nylon).
Where a System Like Snapmaker U1 Fits
Within this landscape, the Snapmaker U1 aligns with the tool-changing workflow.
What matters here is not branding, but architecture. By utilizing independent toolheads, it solves the physical constraints mentioned above:
- Thermal Isolation: It prevents high-temp materials from cooking low-temp soluble supports.
- Efficiency: It swaps materials in seconds without the massive waste of purge towers.
- Capability: It enables "Engineered Bonding" of rigid and flexible materials that single-nozzle systems struggle to feed reliably.
This makes it particularly suitable for users who care less about decorative color changes and more about functional multi material parts.
Final Thoughts: Choosing the Right Workflow
Multi material 3D printing is not difficult because users lack skill. It is difficult because materials behave differently, and hardware must respect that reality.
The right system depends on what you want to make:
- Primarily visual models? Single Nozzle + Multi-Input is the standard.
- Occasional functional prints? Nozzle-swapping systems may work with careful tuning.
- Regular functional parts (Soft+Hard, Soluble Supports)? Tool-changing systems offer the least friction and highest reliability.
Once you understand the physics, the differences between workflows stop being confusing—and start being logical. Choose the workflow that matches your goals, and multi material printing becomes not just possible, but genuinely powerful.