Marlin vs. Klipper: Which 3D Printer Firmware is Right for You?
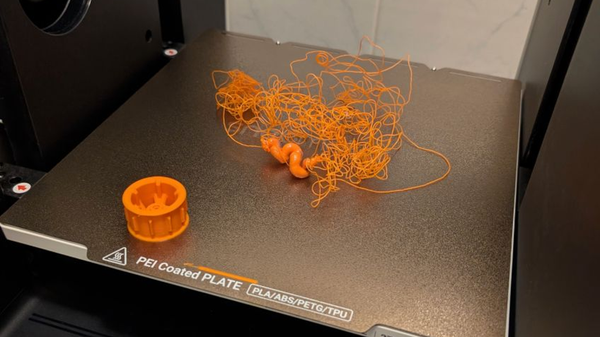
If you’ve ever waited 14 hours for a print that failed in the last ten minutes, or struggled with ghosting artifacts on your models, you’ve likely stumbled into the debate of Marlin vs. Klipper.
For many users, firmware is just "the stuff that makes the printer beep." But in reality, it is the brain of your machine. It dictates how fast you can print, how smooth your walls look, and even which software you can use on your computer.
This guide cuts through the technical jargon to explain exactly what these systems do, how they differ, and why manufacturers like Snapmaker choose specific firmware for specific machines.
What Exactly is 3D Printer Firmware?
At its simplest, firmware is the translator.
When you slice a 3D model on your computer, you create a G-code file—a map of coordinates. Your printer's motors, heaters, and fans don't understand that map on their own. The firmware reads those coordinates and translates them into electrical pulses that move the print head.
- If the firmware is slow: The printer stutters, leaving blobs or limitations on speed.
- If the firmware is smart: It can predict vibrations and smooth them out before they happen.
Currently, two major players dominate this space: Marlin and Klipper.
Comparison: At a Glance
Marlin: The Reliable Standard
Marlin is the most common 3D printer firmware in the world. If you bought a printer between 2015 and 2022, it almost certainly runs Marlin.
How It Works
Marlin runs entirely on the printer's mainboard (microcontroller). It handles everything: reading G-code, calculating movement, controlling temperature, and managing the LCD screen.
The Pros
- Stability: Marlin is incredibly mature. It rarely crashes and is widely supported.
- Simplicity: It requires no external hardware. You don't need a Raspberry Pi or a Wi-Fi connection to make it work.
- Versatility: Marlin is excellent at managing various machine types beyond just 3D printers.
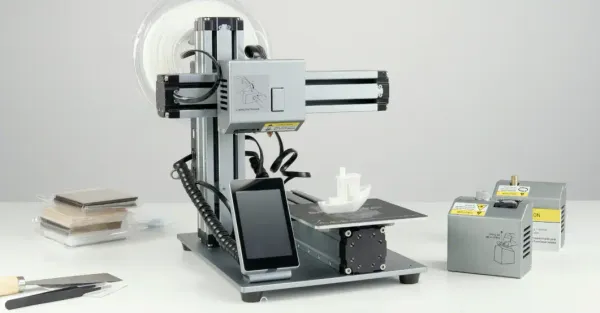
Real-World Example: Snapmaker Artisan

The Snapmaker Artisan runs on a customized version of Marlin. Why? Because the Artisan isn't just a 3D printer; it is a 3-in-1 powerhouse that handles CNC carving and Laser engraving. Marlin’s robust architecture provides the stability needed to switch safely between these very different modes without requiring complex network setups.
Klipper: The Speed Demon
Klipper is the modern challenger that has revolutionized high-speed printing.
How It Works
Klipper splits the workload. It leaves the basic electrical pulses to the printer's mainboard but offloads the heavy mathematical calculations to a much more powerful secondary computer (usually a Linux-based board or a Raspberry Pi).
The Pros
- Input Shaping: Because it has more processing power, Klipper can measure the printer's vibrations and adjust the motor movements to cancel them out. This allows for much faster printing without sacrificing quality.
- Pressure Advance: This feature anticipates pressure build-up in the nozzle, resulting in sharper corners.
- Web Interfaces: Klipper typically uses web-based interfaces (like Fluidd or Mainsail), allowing you to control your printer from any browser.
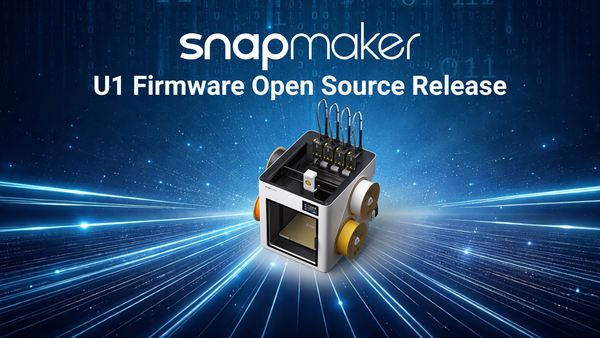
Real-World Example: Snapmaker U1

The new Snapmaker U1 utilizes Klipper. Since the U1 is a dedicated high-speed multi-material 3D printer designed to print at speeds up to 500mm/s with multiple toolheads, it requires the immense computational power that only Klipper can provide.
Slicer Compatibility: More Flexible Than It Looks
Most slicers can technically generate G-code for either Marlin or Klipper, because both use the same basic command language. However, each printer model is tuned for a specific workflow.
- Marlin machines (like Artisan) work best with Snapmaker Luban, which is optimized for 3-in-1 toolpaths.
- Klipper machines (like the U1) work best with Snapmaker Orca, which generates the advanced motion and pressure-advance settings required for high-speed Klipper printing.
So while slicers aren’t strictly “locked” to one firmware, using the recommended slicer ensures the correct settings, speeds, and features work as intended.
How to Update Your 3D Printer Firmware
Updating firmware used to be a daunting task involving code compilers and bootloaders. Today, manufacturers have streamlined the process, though the method depends on your machine's generation.
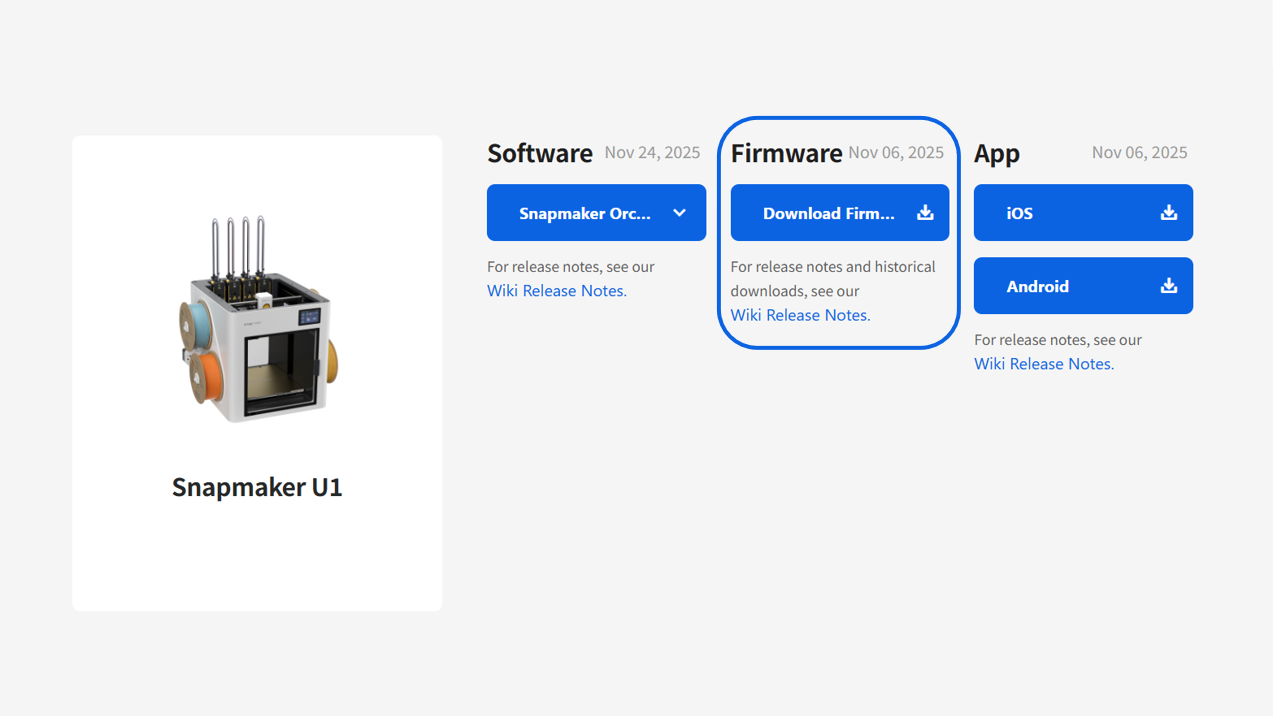
1. The Modern Method (OTA)
Most Klipper-based machines (like the U1) and modern smart printers support Over-The-Air (OTA) updates. This is the "smartphone experience."
- How it works: Connect the printer to Wi-Fi. Navigate to the Settings or System menu on the touchscreen. If an update is available, a notification will appear. You simply tap "Update," and the machine handles the rest.
2. The Classic Method (USB/Local)
For many Marlin-based machines or printers without Wi-Fi modules, the process is manual but straightforward. (Note: The Snapmaker Artisan also supports Wi-Fi updates, but the USB method remains a reliable backup for troubleshooting).
- How it works: You download the firmware file from the manufacturer’s support website. Copy the file onto a USB drive or SD card. Insert it into the printer and reboot the machine. The printer detects the file on startup and flashes the new software automatically.
Summary: It’s About the Right Tool for the Job
There is no "winner" in the battle of Marlin vs. Klipper—only the right tool for the application.
- If you need a rock-solid system that handles multiple functions (CNC/Laser) with zero fuss, Marlin is the proven choice.
- If your goal is dedicated 3D printing at maximum speed with the highest possible detail, Klipper is the essential upgrade.
By understanding the "brain" inside your printer, you can choose the right workflow and software to get the best possible results from your machine.