How to Use a Calibration Cube to Fine-Tune Your 3D Printer
You’ve just finished assembling your new machine, or maybe you’ve just swapped in a fresh spool of filament. You hit print on a complex mechanical part, wait four hours, and… it doesn’t fit. The holes are too tight, the square edges are bulging, and the surface has weird ripples.
It is incredibly frustrating when 3D prints don't match the dimensions on the screen.
Before you print another large project, you need a quick, reliable way to check your printer’s health. Enter the Calibration Cube (often called the XYZ Cube). This simple 20mm block is the industry standard for diagnosing dimensional errors and mechanical issues in under 30 minutes.
Here is how to print, read, and use a calibration cube to get your machine printing with precision.
What is a Calibration Cube?
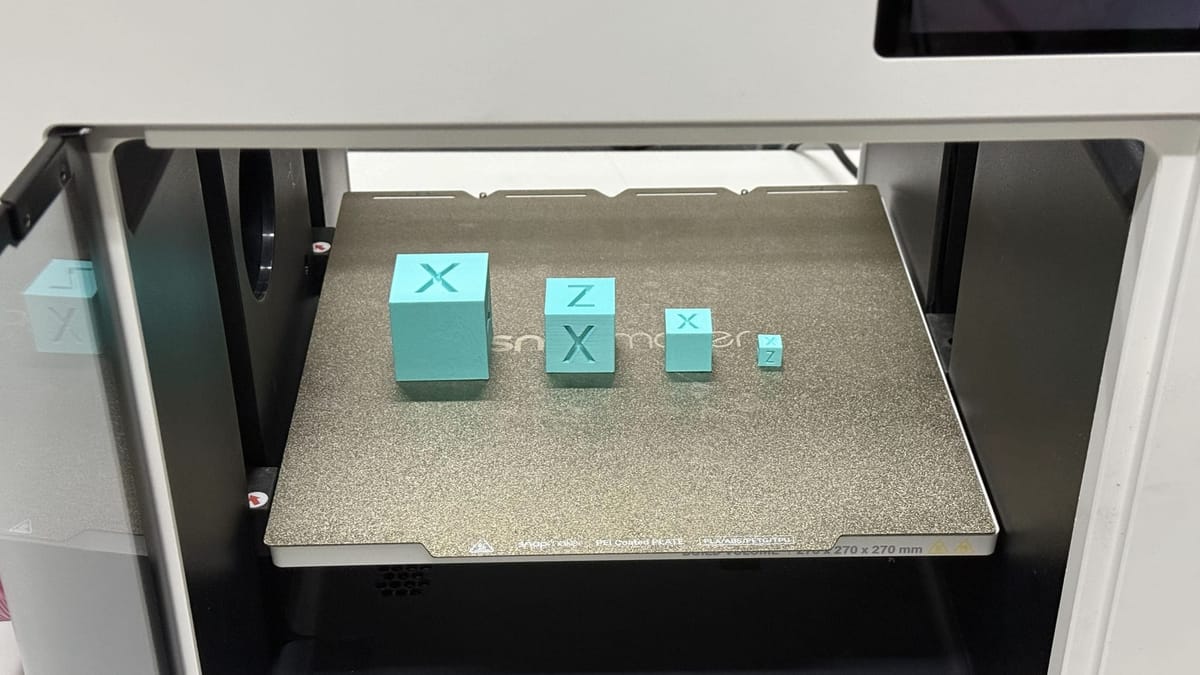
A calibration cube is a simple 3D model, typically measuring exactly 20mm x 20mm x 20mm, with the letters X, Y, and Z indented on the corresponding faces.
It serves as a "stress test" for your printer’s motion system. Because the dimensions are standardized, you can print it, measure it with digital calipers, and immediately know if your printer is moving the correct distance or extruding the right amount of material. It bridges the gap between a machine that "just prints" and a machine that prints accurately.
How to 3D Print the Calibration Cube (The Right Way)
To get useful data, you must print the cube using standard settings. If you print it too slowly to "hide" imperfections, you won't see the problems that occur during your normal printing speeds.
Recommended Slicer Settings:
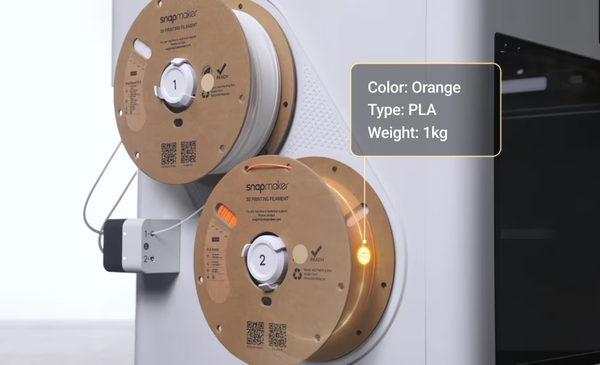
- Material: PLA is best for baseline calibration. (Check out our FDM 3D Printing Filaments 101 guide if you are new to materials).
- Layer Height: 0.15mm.
- Infill: 15% - 20%.
- Print Speed: Your default speed (e.g., 50-60 mm/s).
- Walls/Perimeters: 2 or 3 walls.
You can download the standard 20mm XYZ Calibration Cube from repositories like Thingiverse or Printables.
3DBenchy vs. Calibration Cube: Which One First?
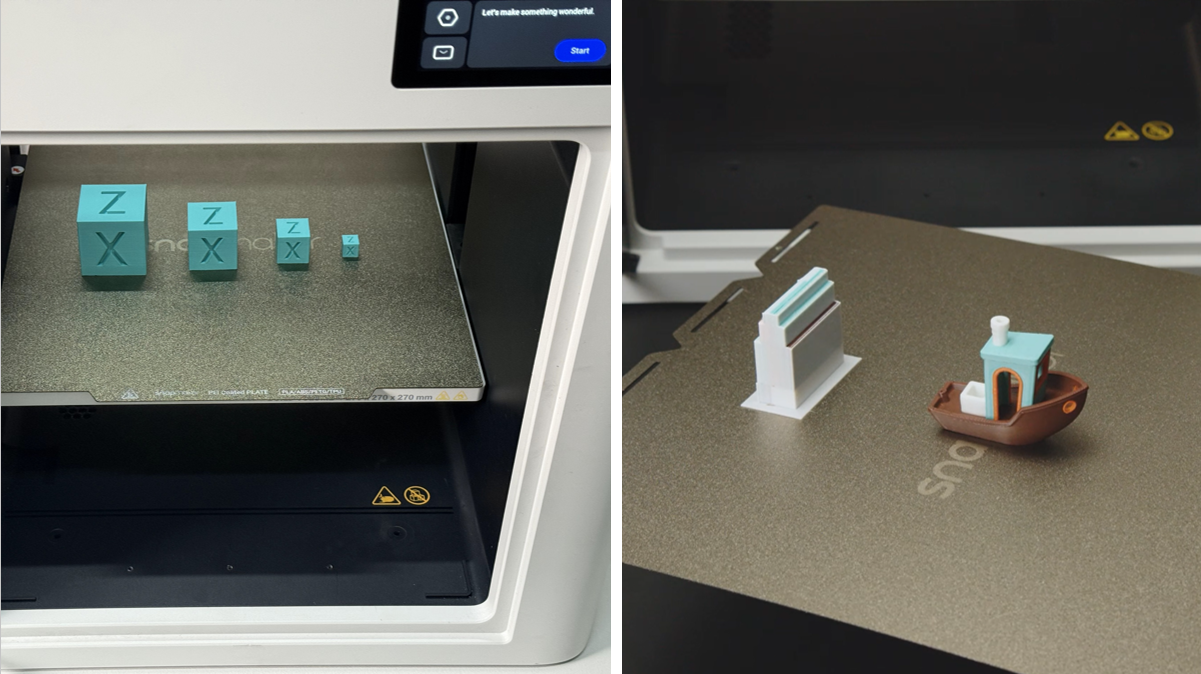
In the 3D printing community, you will often hear about two main test prints: the Tugboat (Benchy) and the Cube. Beginners often confuse them, but they serve two very different purposes.
- The Calibration Cube is for Mathematics: It is a ruler. You print this when you need to check dimensional accuracy (is 20mm actually 20mm?), verify axis movement, or tune your flow rate.
- The 3DBenchy is for Visual Performance: It is a stress test. The Benchy is designed to highlight cooling issues, overhangs, and retraction stringing. It is difficult to measure accurately with calipers because of its complex geometry.
If your parts aren't fitting together, print a Calibration Cube. If your prints look "melted" or stringy, print a Benchy.
Need to fix your Benchy? Read our complete 3D Benchy Troubleshooting Guide to perfect your overhangs and retraction.
How to Read Your Calibration Cube: Diagnosis & Fixes
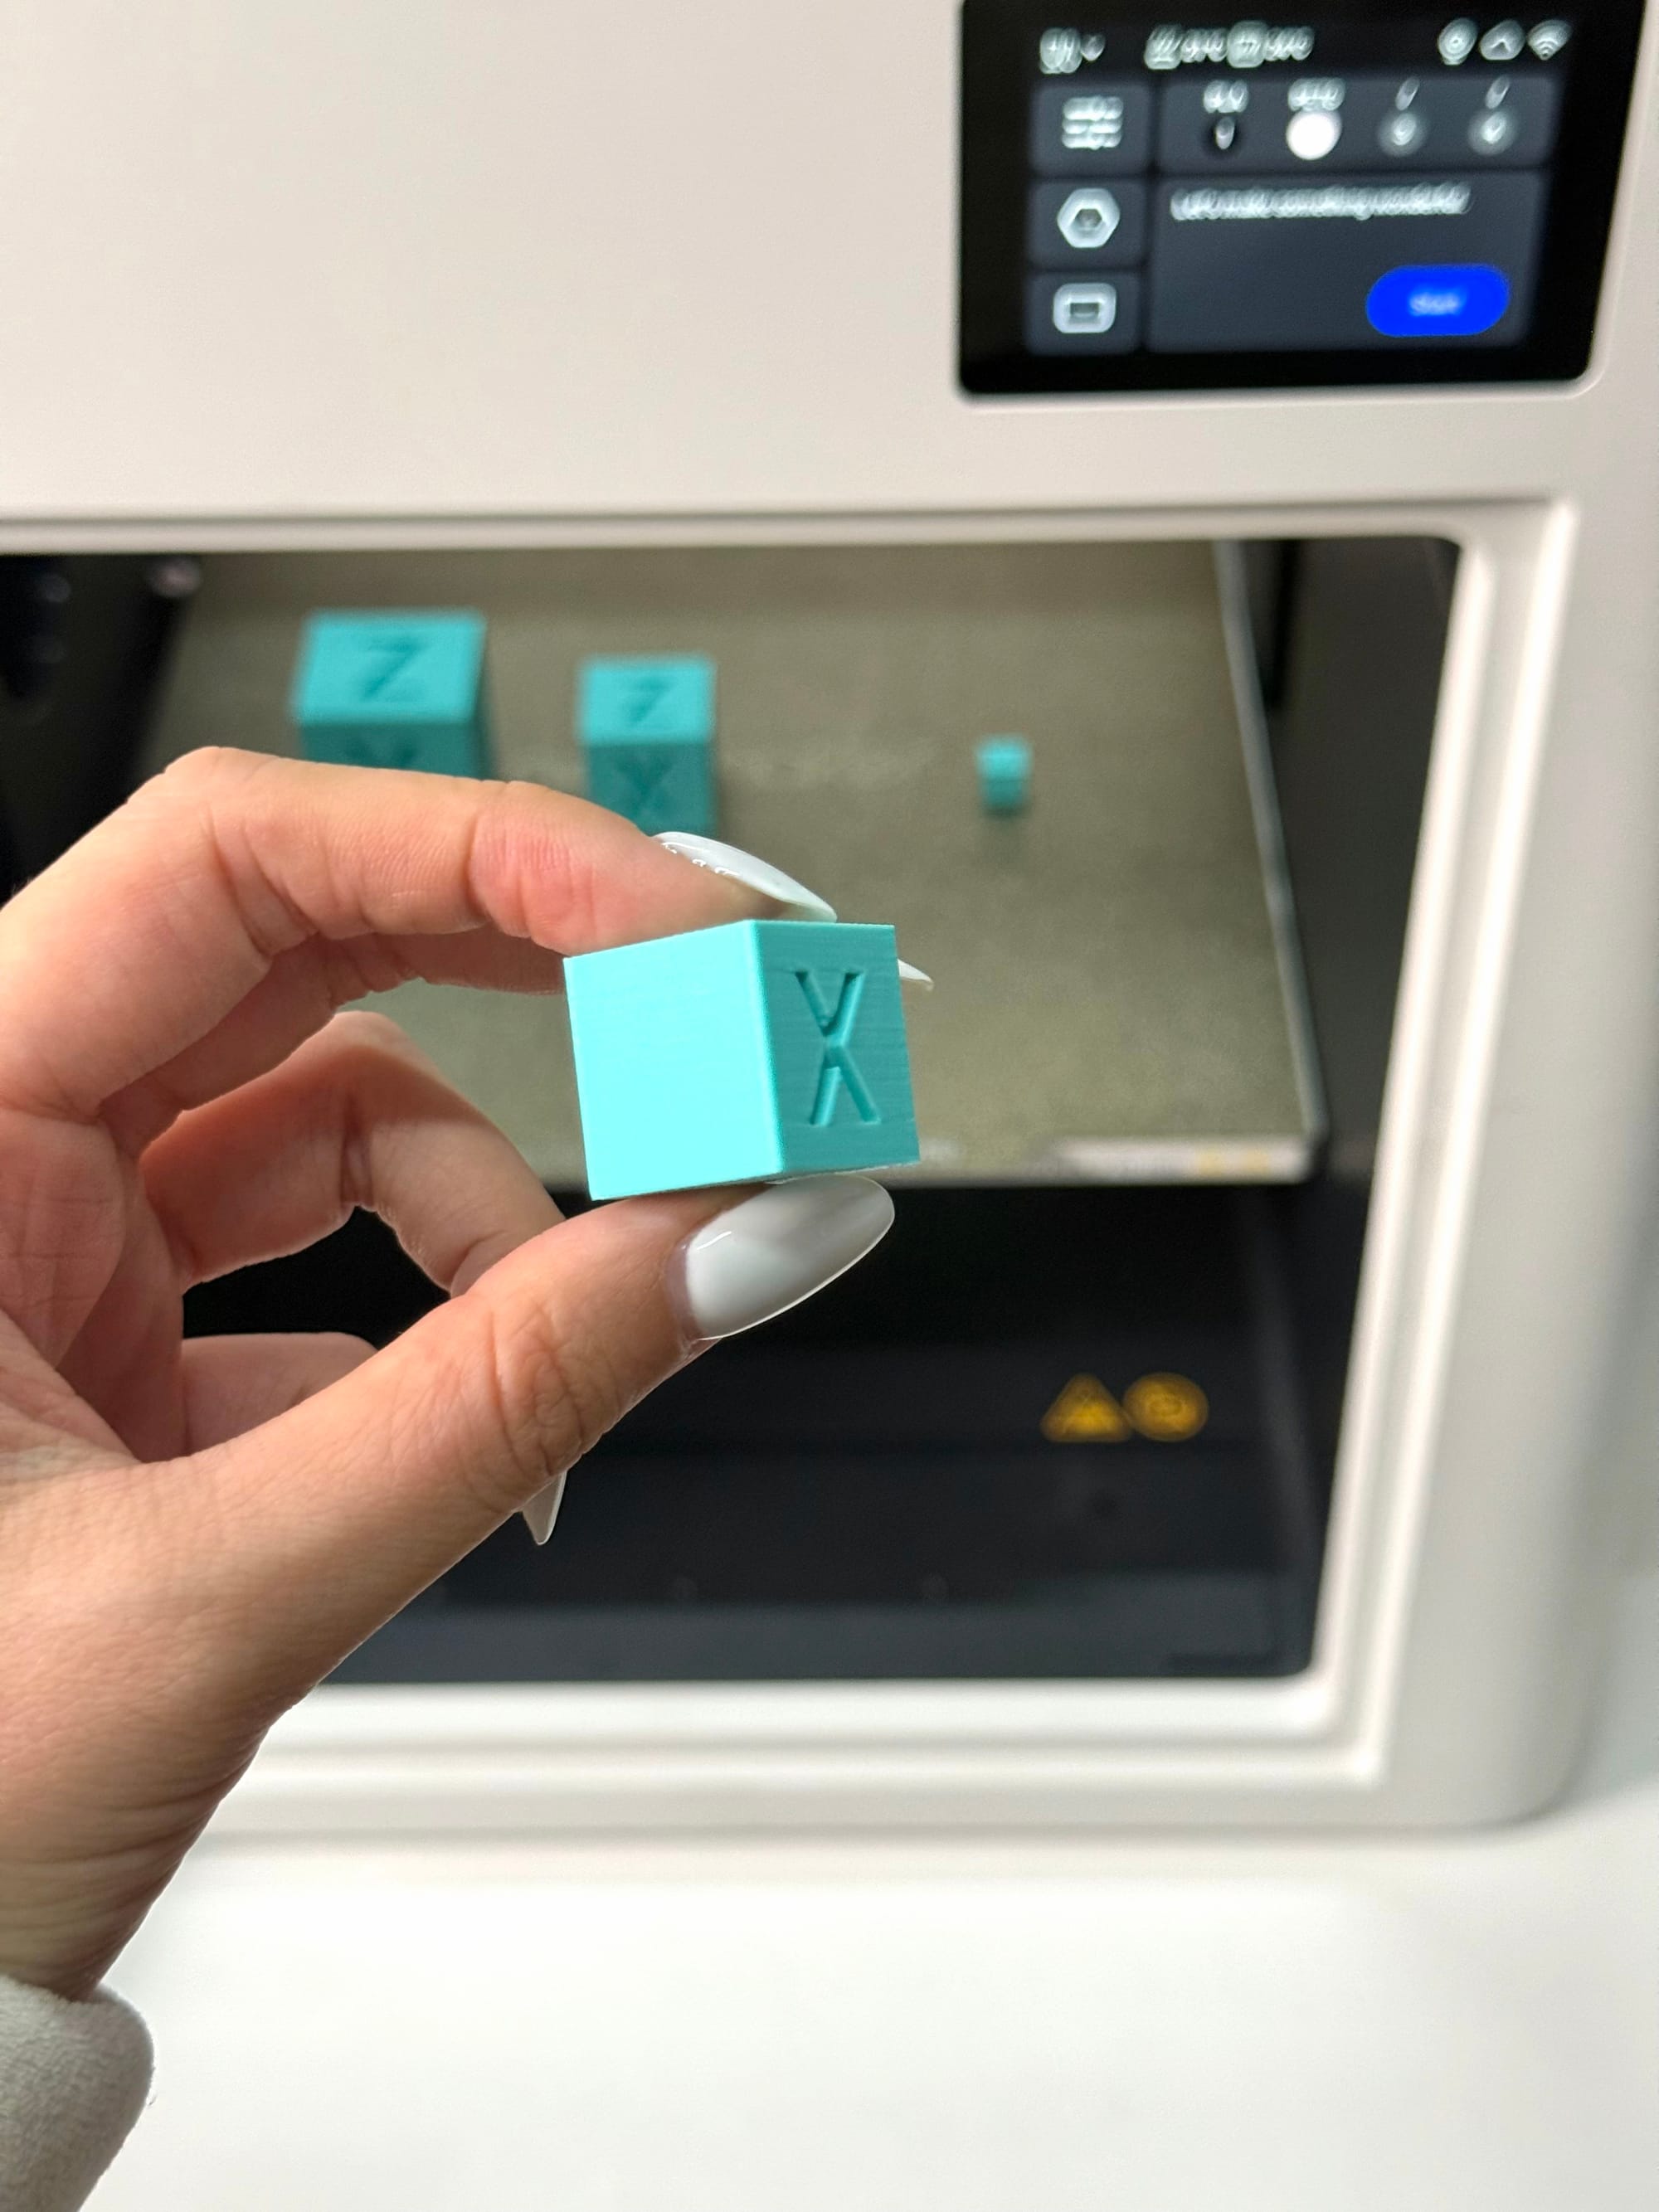
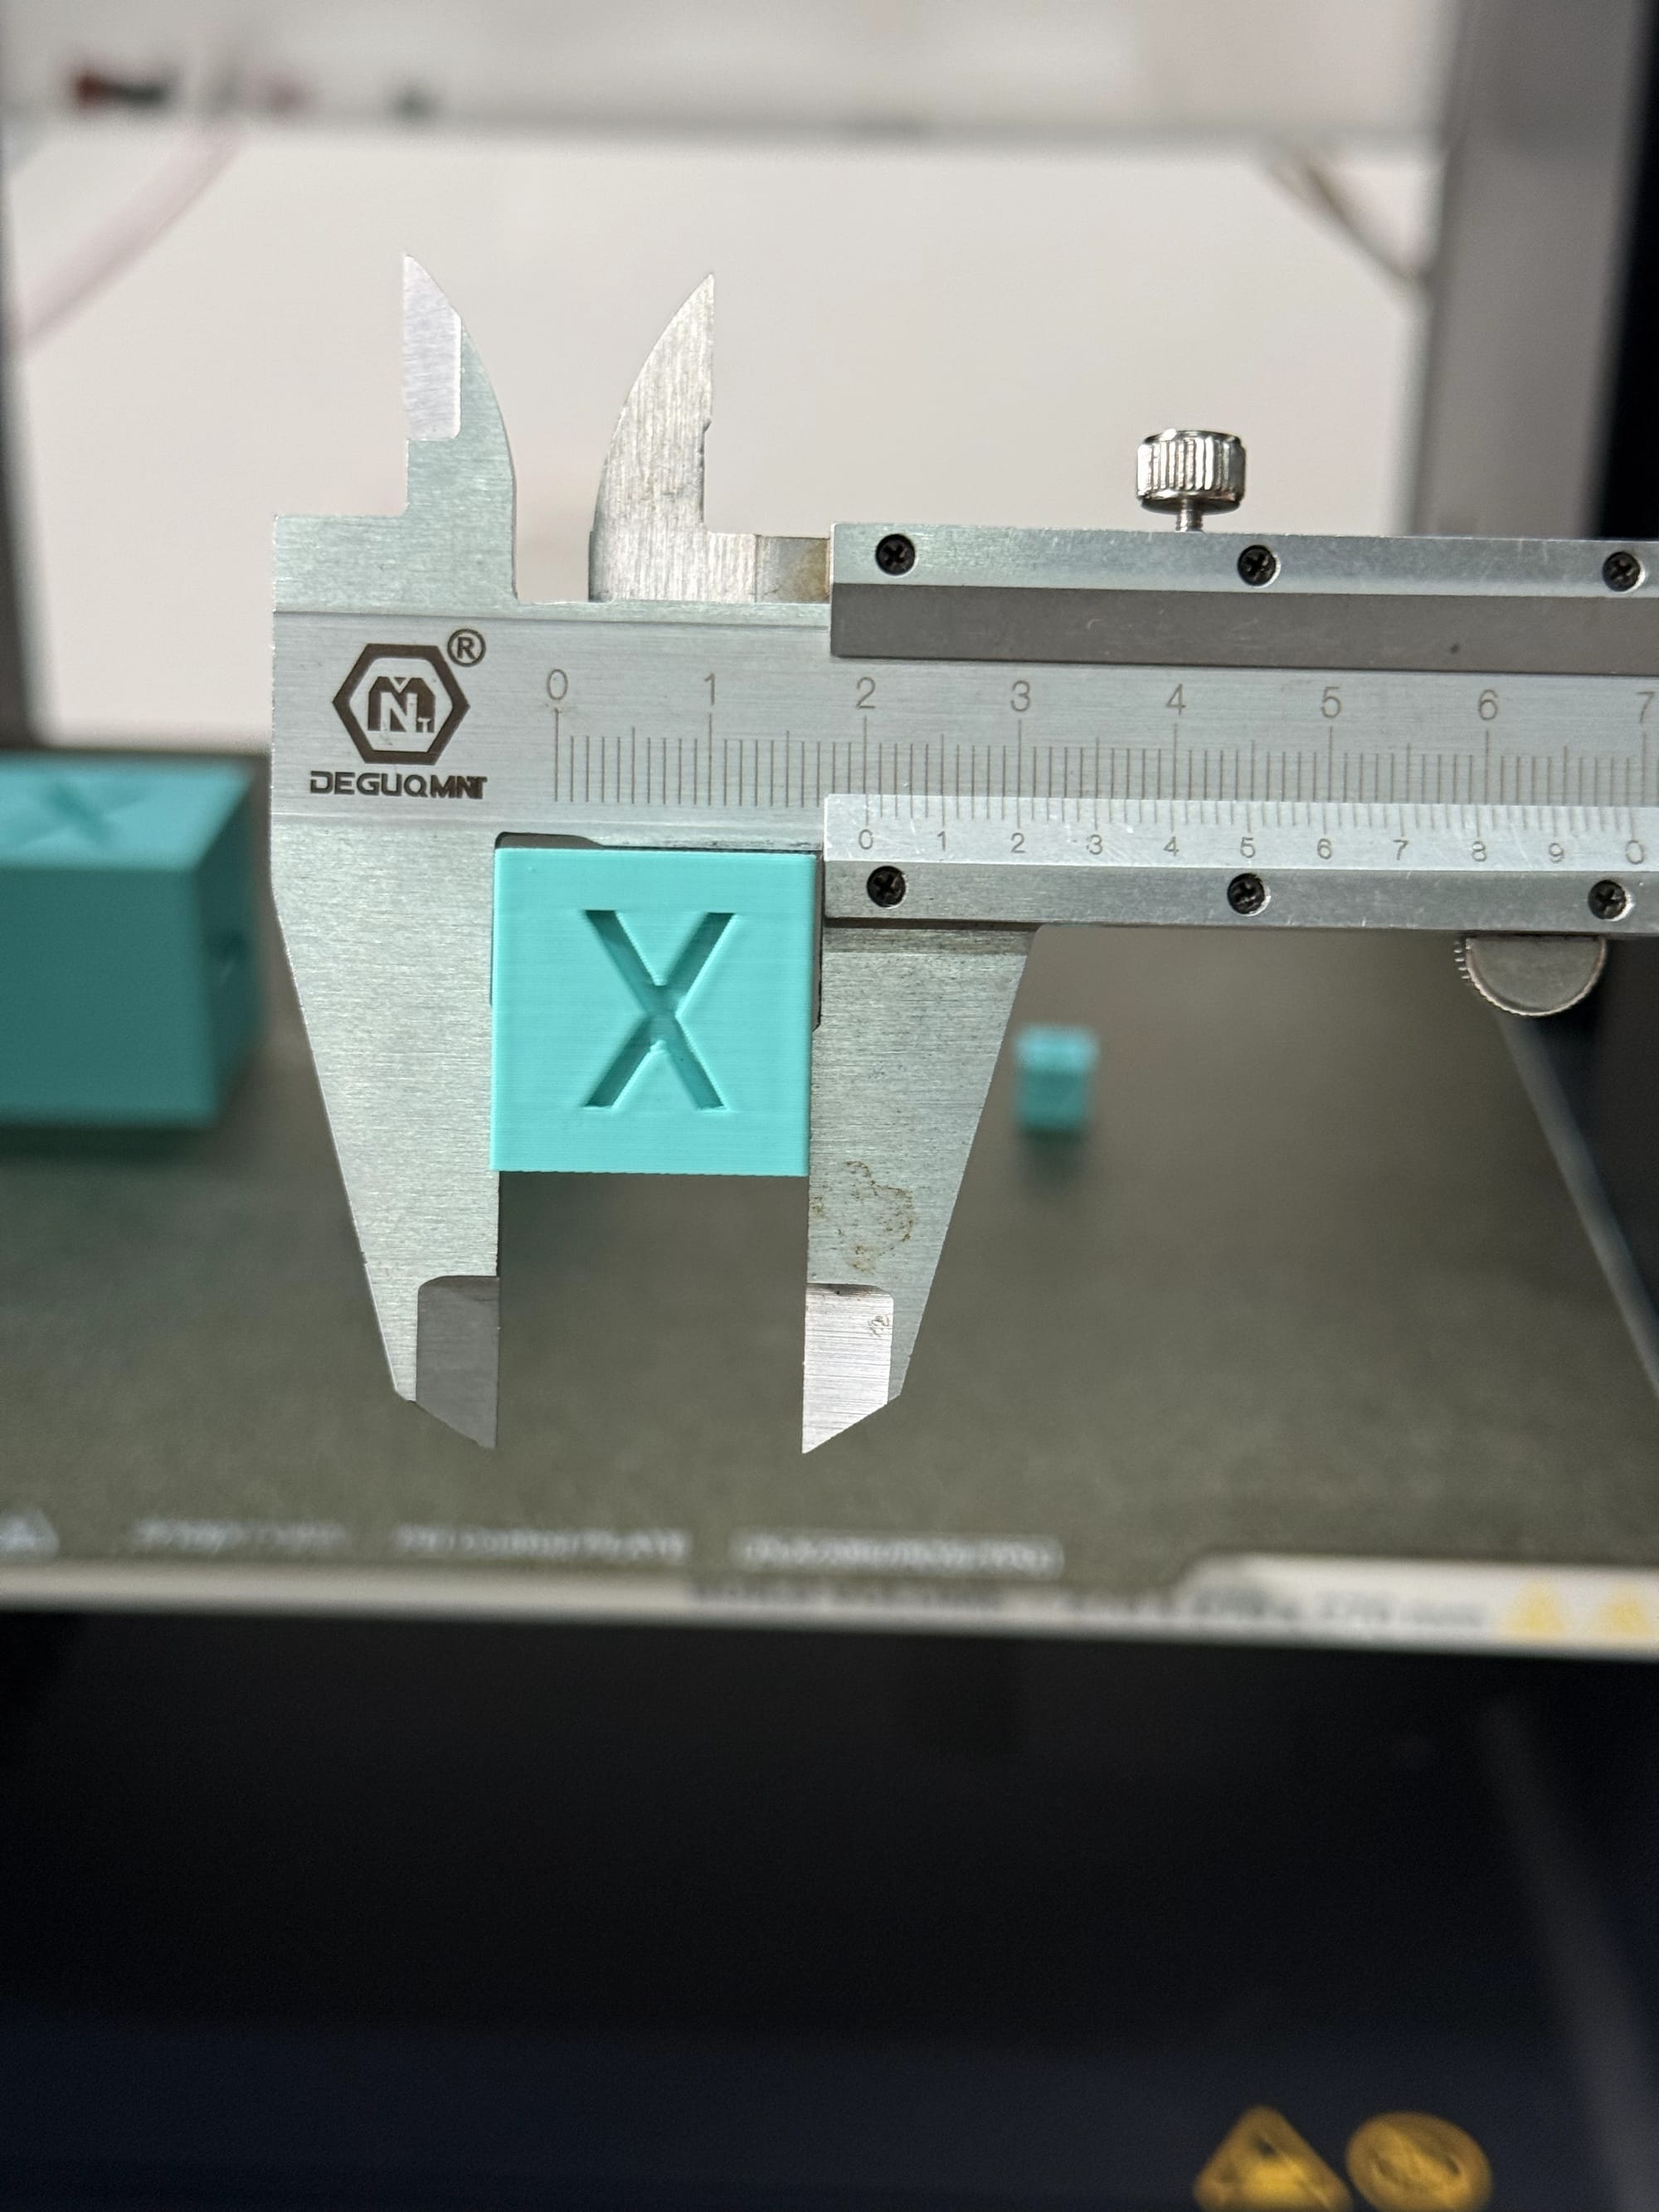
Once your cube is finished and cooled, peel it off the build plate. You will need a pair of digital calipers for this step. Here is what to look for and how to fix it.
1. Dimensional Accuracy (The 20mm Check)
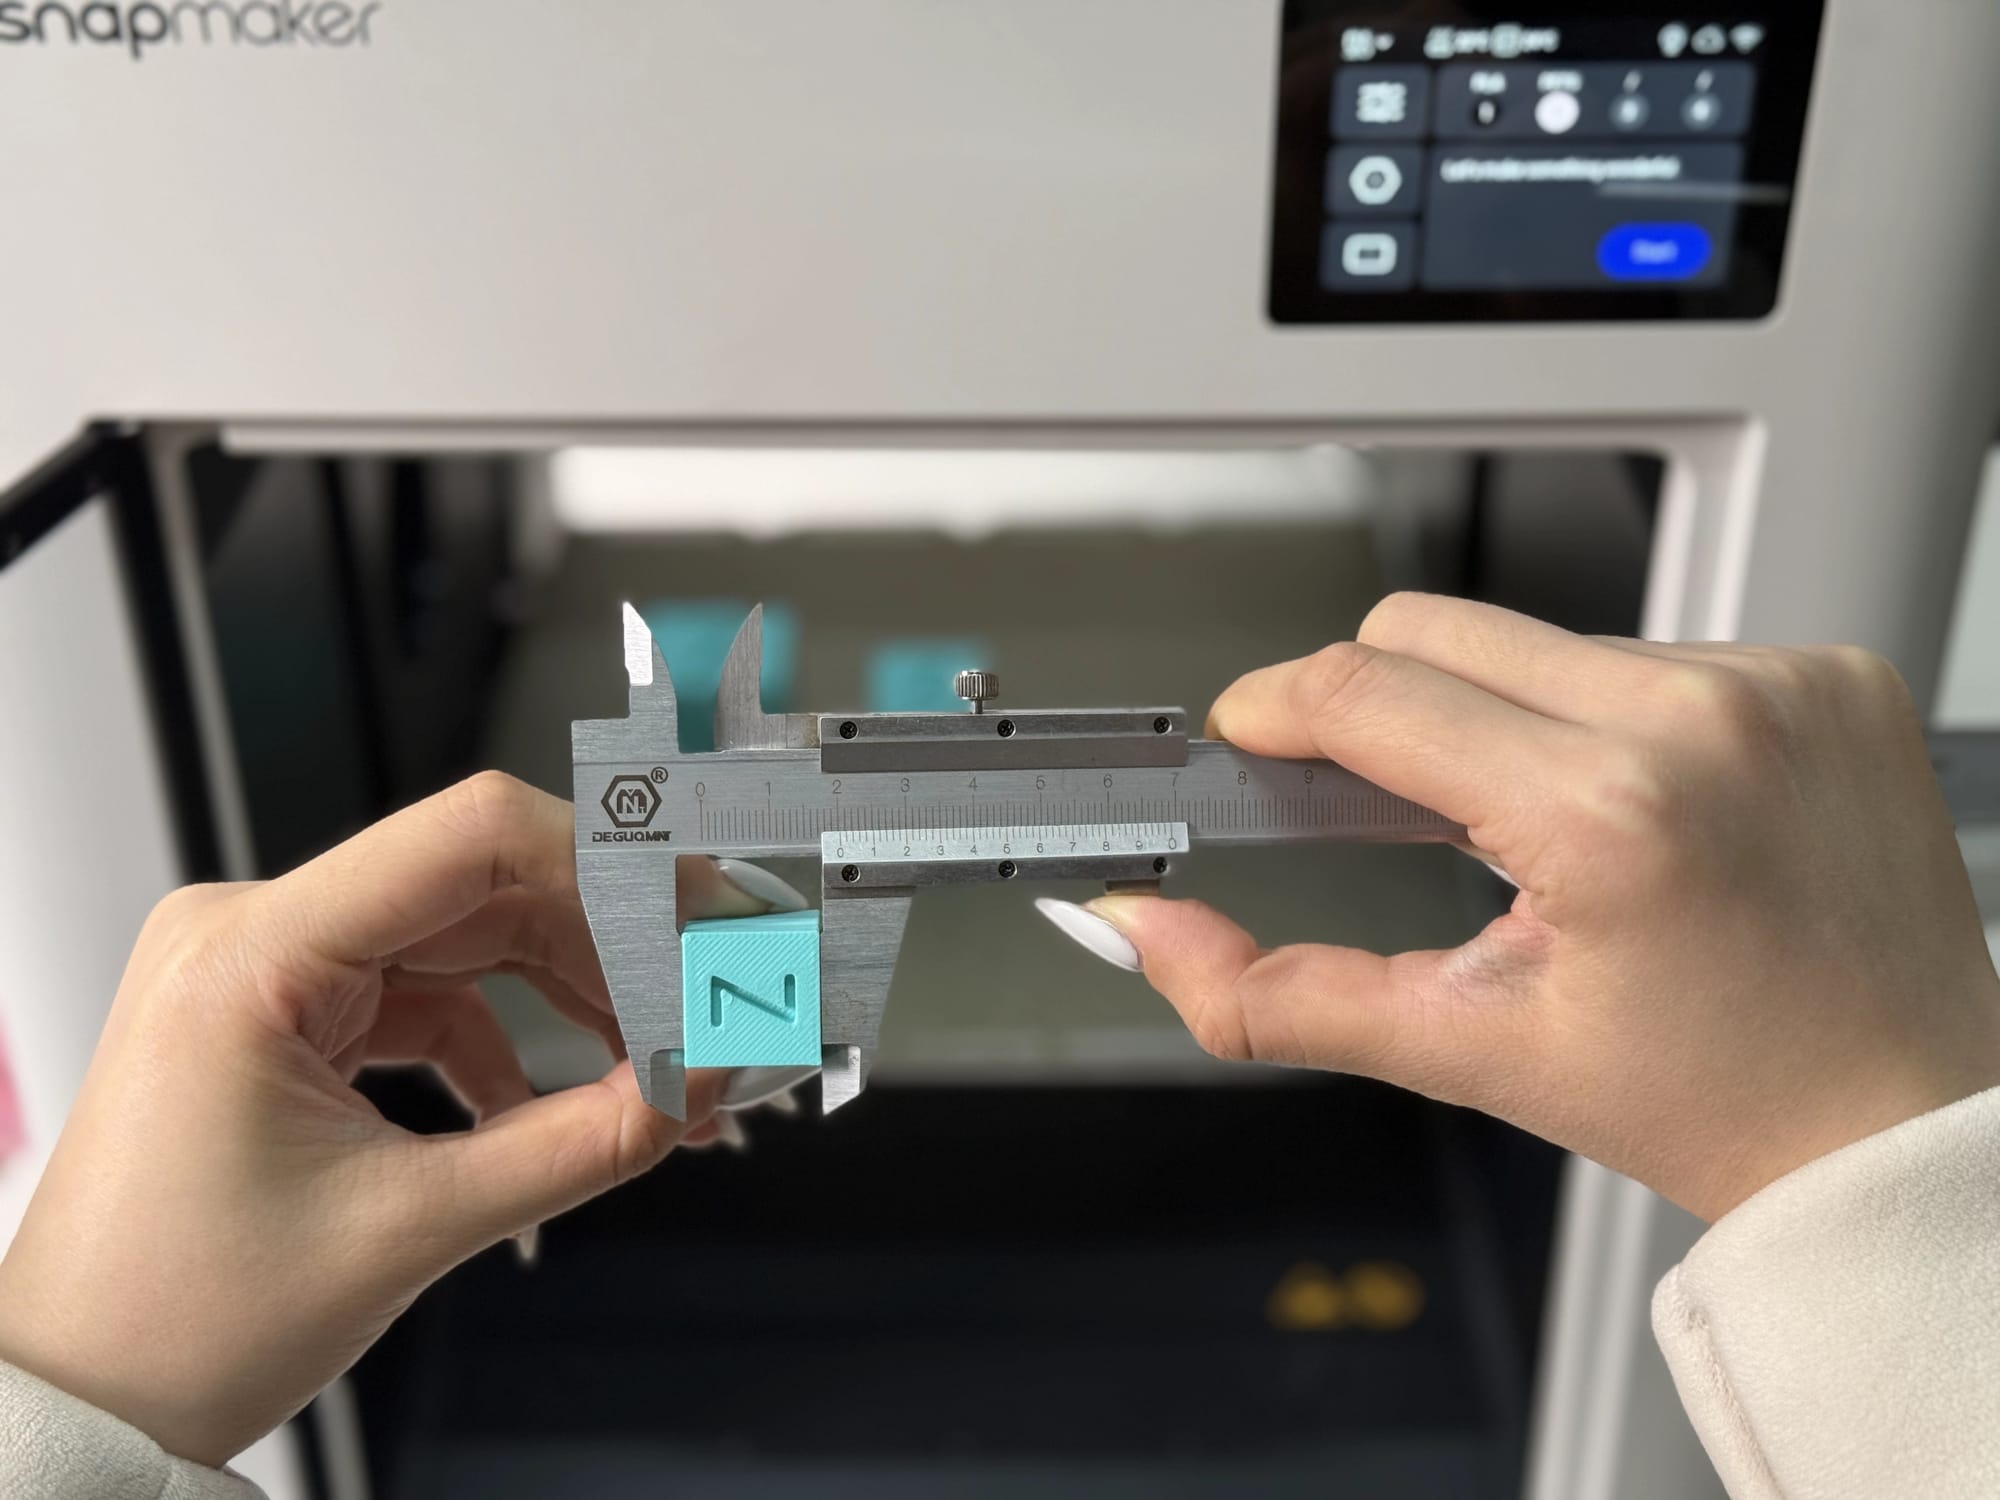
Measure the cube across the X, Y, and Z axes. Ideally, it should be within 19.90mm to 20.10mm.
- If it's too big (e.g., 20.2mm): You are likely over-extruding. You may need to calibrate your Flow Rate (also known as Extrusion Multiplier) in your slicer.
- If it's too small (e.g., 19.8mm): You are under-extruding, or the plastic is shrinking as it cools. You can adjust "Horizontal Expansion" or "XY Size Compensation" in your slicer to offset this.
Note: Be very careful about changing your motor "E-steps" (steps per mm) based on a single cube. Often, the issue is simply flow rate or filament expansion, not the motor calibration itself. For a deeper dive into motor tuning, refer to our guide on How to Calibrate an FDM 3D Printer.
2. Ghosting and Ringing
Look closely at the indented letters (X or Y). Do you see faint, rippling "echoes" of the letter continuing onto the flat wall?
- The Cause: Vibrations. The printer head is moving too fast or changing direction too abruptly, causing the frame or belts to shake.
- The Fix: Traditionally, you would need to tighten your belts or lower your acceleration settings. However, modern high-speed printers like the Snapmaker U1 solve this automatically with Vibration Compensation. By using sensors to detect resonance, the printer adjusts its movement in real-time to cancel out those vibrations, ensuring clean walls without you needing to manually tweak settings.
- Learn more: Dive deeper into 3D Printing Ghosting: Causes, Fixes, and Prevention.
3. The Elephant’s Foot (Bulging Bottom)
Place the cube on a flat table. Does the bottom layer look squished, flaring out wider than the rest of the cube?
- The Cause: Your nozzle is slightly too close to the bed, or the bed temperature is too high, keeping the bottom layers soft.
- The Fix: Adjust your Z-offset slightly (move the nozzle up) or lower your bed temperature by 5°C.
- Learn more: Master your first layer with our guide on 3D Printing First Layer Problems and Solutions.
4. Rounded Corners
Run your finger over the sharp corners of the cube. Do they feel crisp, or are they bulging and round?
- The Cause: The printer is slowing down at the corner, and the residual pressure in the nozzle is pushing out too much plastic.
- The Fix: This is often solved by a feature called Pressure Advance. Advanced printers like the Snapmaker U1 utilize this to "predict" corners, adjusting the extrusion timing during those quick directional changes. This prevents blobs and ensures your cube—and your final parts—have sharp, dimensionally accurate corners.
Summary Checklist
Calibration isn't a one-time event; it's part of regular FDM 3D Printer Maintenance. Keep this checklist handy:
- Print the 20mm Cube at standard speed.
- Measure X, Y, and Z. Ideally 20mm +/- 0.1mm.
- Inspect for ringing (ghosting) near the letters.
- Check the bottom layers for Elephant's Foot.
- Adjust Flow Rate or Belts as needed.
- Reprint to verify.
Final Words
Now that your printer is dimensionally accurate, you can confidently move on to functional prints where tolerances matter—like snap-fit cases or mechanical gears.
If you are looking for inspiration on what to create with your newly tuned machine, check out our list of Useful Things to 3D Print. Happy printing!