How to Use a 3D Printer: A Beginner’s Step-by-Step Guide
You’ve just unboxed your new 3D printer. It’s sitting on your desk, a marvel of metal and potential, but there is often a moment of hesitation for new makers. You might be asking, “Do I need to be an engineer to run this?” or “What do all these settings actually do?”
Take a deep breath. This feeling is completely normal.
While 3D printing involves some technical concepts—like "slicing," "bed leveling," and "G-code"—it is not rocket science. It is a logical process that anyone can master. Whether you are using a standard single-nozzle machine or an advanced multi-tool system, the fundamental workflow remains the same.
This guide will walk you through the entire process, bridging the gap between a digital file and holding a physical object in your hands, stripping away the jargon and replacing it with confidence.
The 3D Printing Workflow: An Overview
Before you touch any buttons, it helps to visualize the journey. 3D printing isn't like 2D paper printing where you just hit "Print." It is a three-part lifecycle:
- Preparation (Software): You take a 3D model and translate it into a language the printer understands.
- Setup (Hardware): You prepare the machine, load materials, and ensure the surface is ready.
- Execution (Printing): The machine builds the object layer by layer while you monitor the progress.
Filament (FDM) vs. Resin (SLA)
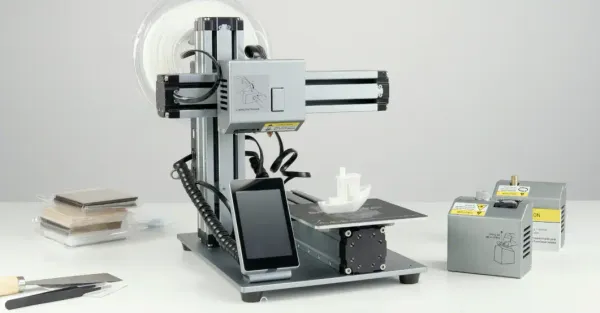
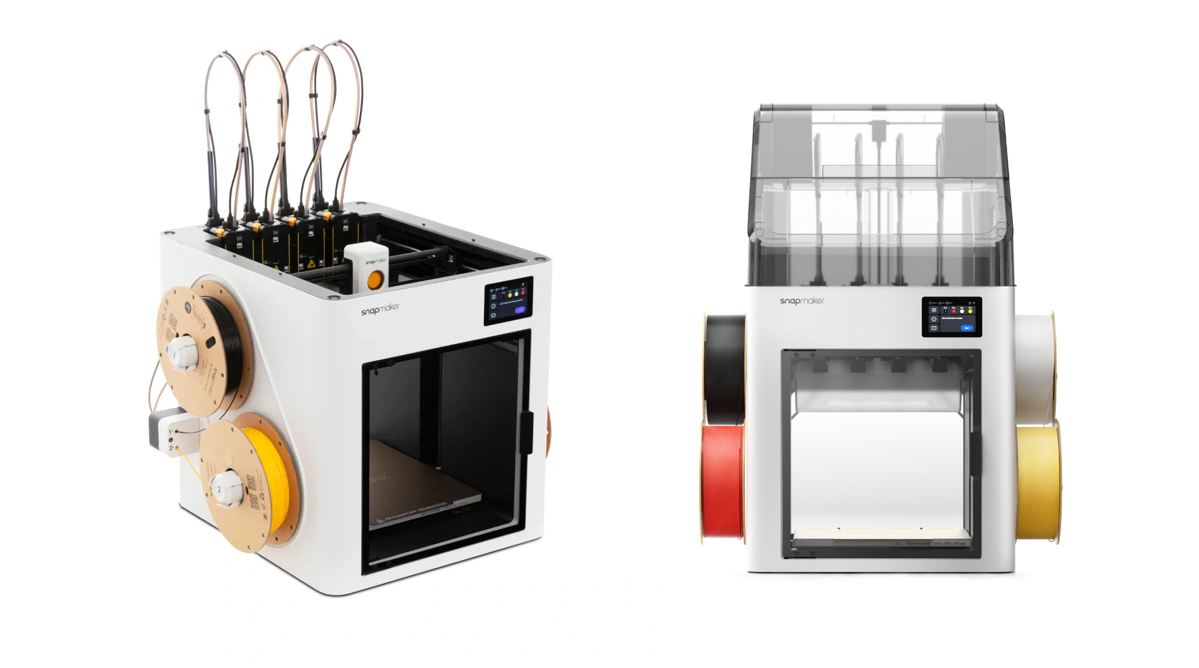
First, clarify what you are using. This guide focuses on FDM (Fused Deposition Modeling), which uses spools of plastic wire called filament. This is the most common type of printing for beginners and covers most consumer machines, including modular devices like the Snapmaker Artisan or U1.
Learn more: FDM vs. SLA: Which 3D Printer is Right for You?
Step 1: Finding or Creating a Model
You don't need to be a 3D design pro to start printing. Most beginners start by downloading models created by others.
Where to Find Free 3D Models
The 3D printing community is incredibly generous. There are huge repositories where you can download STL or 3MF files (the standard 3D file formats) for free.
- Printables: A clean, user-friendly repository with high-quality community uploads.
- Thingiverse: One of the oldest and largest libraries of 3D content.
- Thangs: Functions like a search engine for 3D models across multiple sites.
Designing Your Own
Eventually, you may want to move beyond downloading other people's designs. Tools like TinkerCAD or Fusion 360 allow you to make your own 3D printer models, turning your specific ideas into reality.
Step 2: Slicing Your File (The Crucial Step)
This is the step that confuses most beginners. You cannot send a 3D model directly to the printer. The printer doesn't know what a "cube" or a "dragon" is; it only knows coordinates.
You need software called a Slicer.
A Slicer cuts your 3D model into hundreds of thin horizontal layers and writes a script of instructions called G-code. This script tells the printer: "Move to coordinate X, heat to 200°C, and extrude plastic."
Choosing Your Slicer
Most printers support open-source industry standards like Cura or OrcaSlicer.
Best Practice: It is usually best to use the slicer optimized for your specific machine. For example, it is advisable for Snapmaker users to use Snapmaker Orca. Built on the powerful open-source OrcaSlicer engine, it allows for deep integration with the machine's specific capabilities. This includes pre-tuned filament profiles and efficient multi-color printing, streamlining the workflow for complex prints while retaining a user-friendly interface.
Key Settings to Know
- Layer Height: This determines the resolution and speed. A standard layer height is usually 0.2mm, while 0.1mm offers higher detail but takes longer.
- Infill: 3D prints are rarely solid. The infill percentage determines the internal density (15-20% is standard for most decorative parts).
- Supports: If your model has parts that hang in mid-air (overhangs), you must enable supports so the printer can build scaffolding. Using features like tree supports can save material and make removal easier.
- Adhesion: Settings like a Brim or Raft create a larger footprint for your model to ensure it sticks to the bed.
Step 3: Preparing the Printer
Now that your file is ready, it’s time to prep the hardware.
Loading the Filament
- Heat the Nozzle: Preheat the nozzle to the temperature required for your filament. (e.g., check the PLA printing temperature guide).
- Feed the Material: Gently push the filament strand into the extruder gear.
- Filament Choice: For beginners, PLA is the easiest material. As you advance, you might experiment with PETG for durability or TPU for flexibility.
Bed Leveling: The Foundation of Success
If you only remember one thing from this guide, let it be this: A level bed is the most critical factor for a successful print.
If the nozzle is too high, the plastic won't stick. If it's too low, it will scrape the bed.
- Auto-Leveling: Most modern printers now feature automatic bed leveling. The machine touches the bed at multiple points to create a digital map of the surface, compensating for any unevenness automatically.
- The Paper Test (Verification): If you need to manually calibrate the "Z-Offset" (the starting height), slide a standard piece of paper between the nozzle and the bed. You should feel slight friction when you move the paper.
Step 4: The Printing Process & Monitoring
Transfer your G-code file to the printer (via Wi-Fi or USB) and hit Start.
The First Layer "Squish"
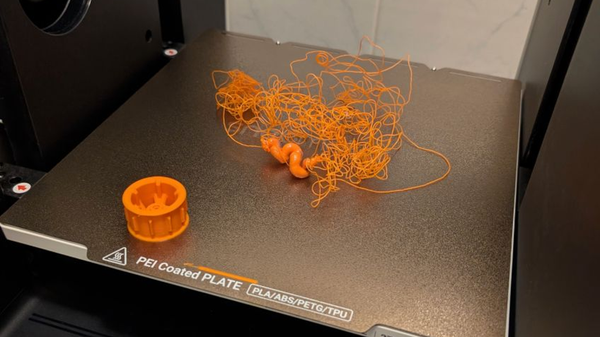
Do not walk away immediately! Watch the first layer go down. This is the "make or break" moment.
- Good Sign: The lines of plastic are slightly squished onto the bed, touching each other to form a solid sheet.
- Bad Sign: The lines are round and separated (too high) or transparent and rough (too low).
- Troubleshooting: See our guide on solving first layer problems.
Remote Monitoring & Safety
3D printing takes time—a complex model can take several hours.
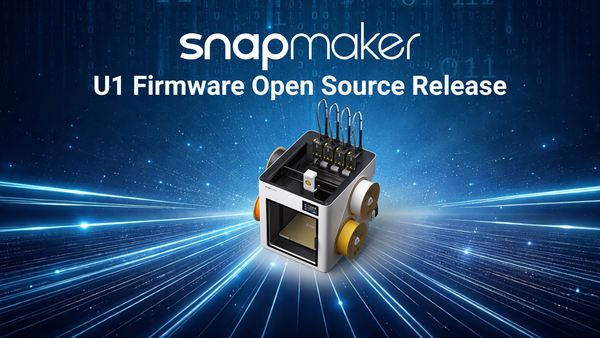
- Modern Solutions: Many advanced printers integrate with mobile apps for peace of mind. For instance, the Snapmaker App connects to the Snapmaker U1 Printer's camera, allowing users to check the print status live.
- Environment: Ensure you are printing in a well-ventilated area. If you are concerned about fumes, consider an enclosed 3D printer or an air purifier.
Step 5: Removing and Finishing Your Print
Once the printer finishes, patience is key.
- Cool Down: Let the bed cool down. As materials like PEI or glass cool, they contract slightly, often releasing the print automatically.
- Removal: If you are using a flexible magnetic sheet (a standard feature on machines like the Artisan), simply remove the sheet and give it a gentle bend—the print should pop right off.
- Cleanup: Use small flush cutters to remove supports or loose strings. If you want a truly professional finish, you can look into sanding and painting your prints.
Common Beginner Challenges (and Solutions)
1. "My print isn't sticking to the bed!" This is usually a leveling issue or a dirty bed. Oils from your fingers can kill adhesion. Learn how to clean your 3D printer bed properly to ensure a perfect stick.
2. "The nozzle is clogged." This happens if heat creeps up the filament when the printer is idle. Heat the nozzle to a higher temperature and try to push filament through manually to clear the blockage. Check our guide on how to clean a 3D printer nozzle.
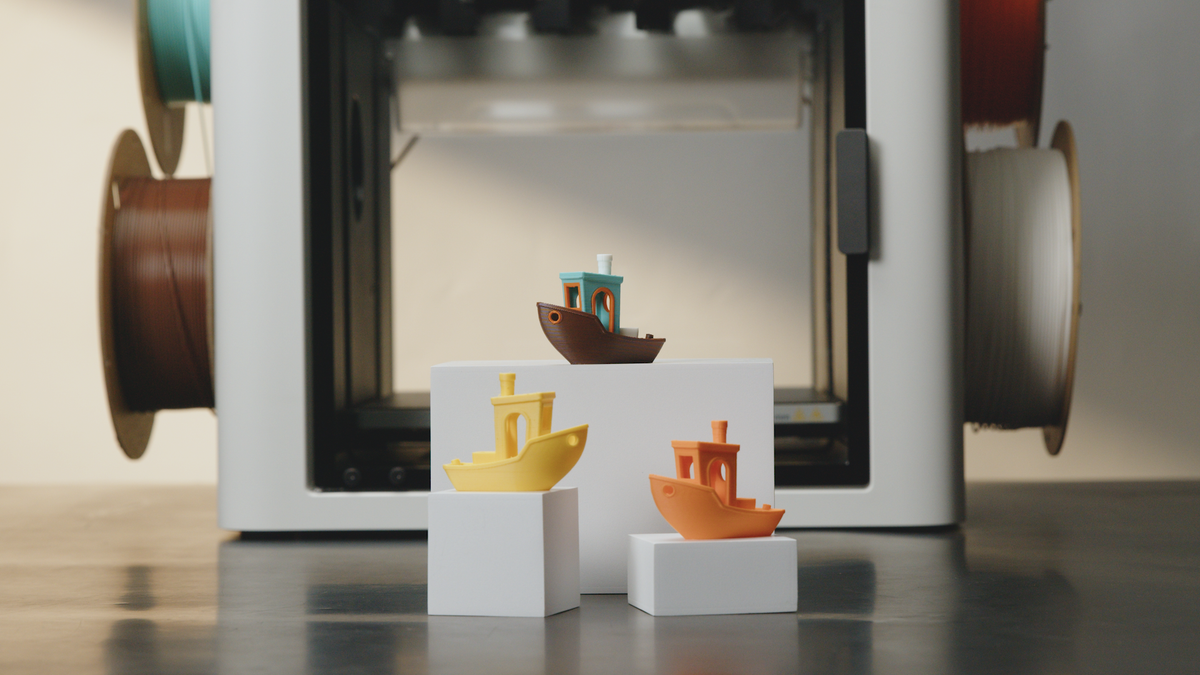
3. "How do I print with multiple colors?" On a standard printer, you have to pause and swap filament manually. However, if you are using a multi-head device like the Snapmaker U1, you simply assign the colors in your slicer software, and the machine handles the swaps automatically.
Ready to start your first print?
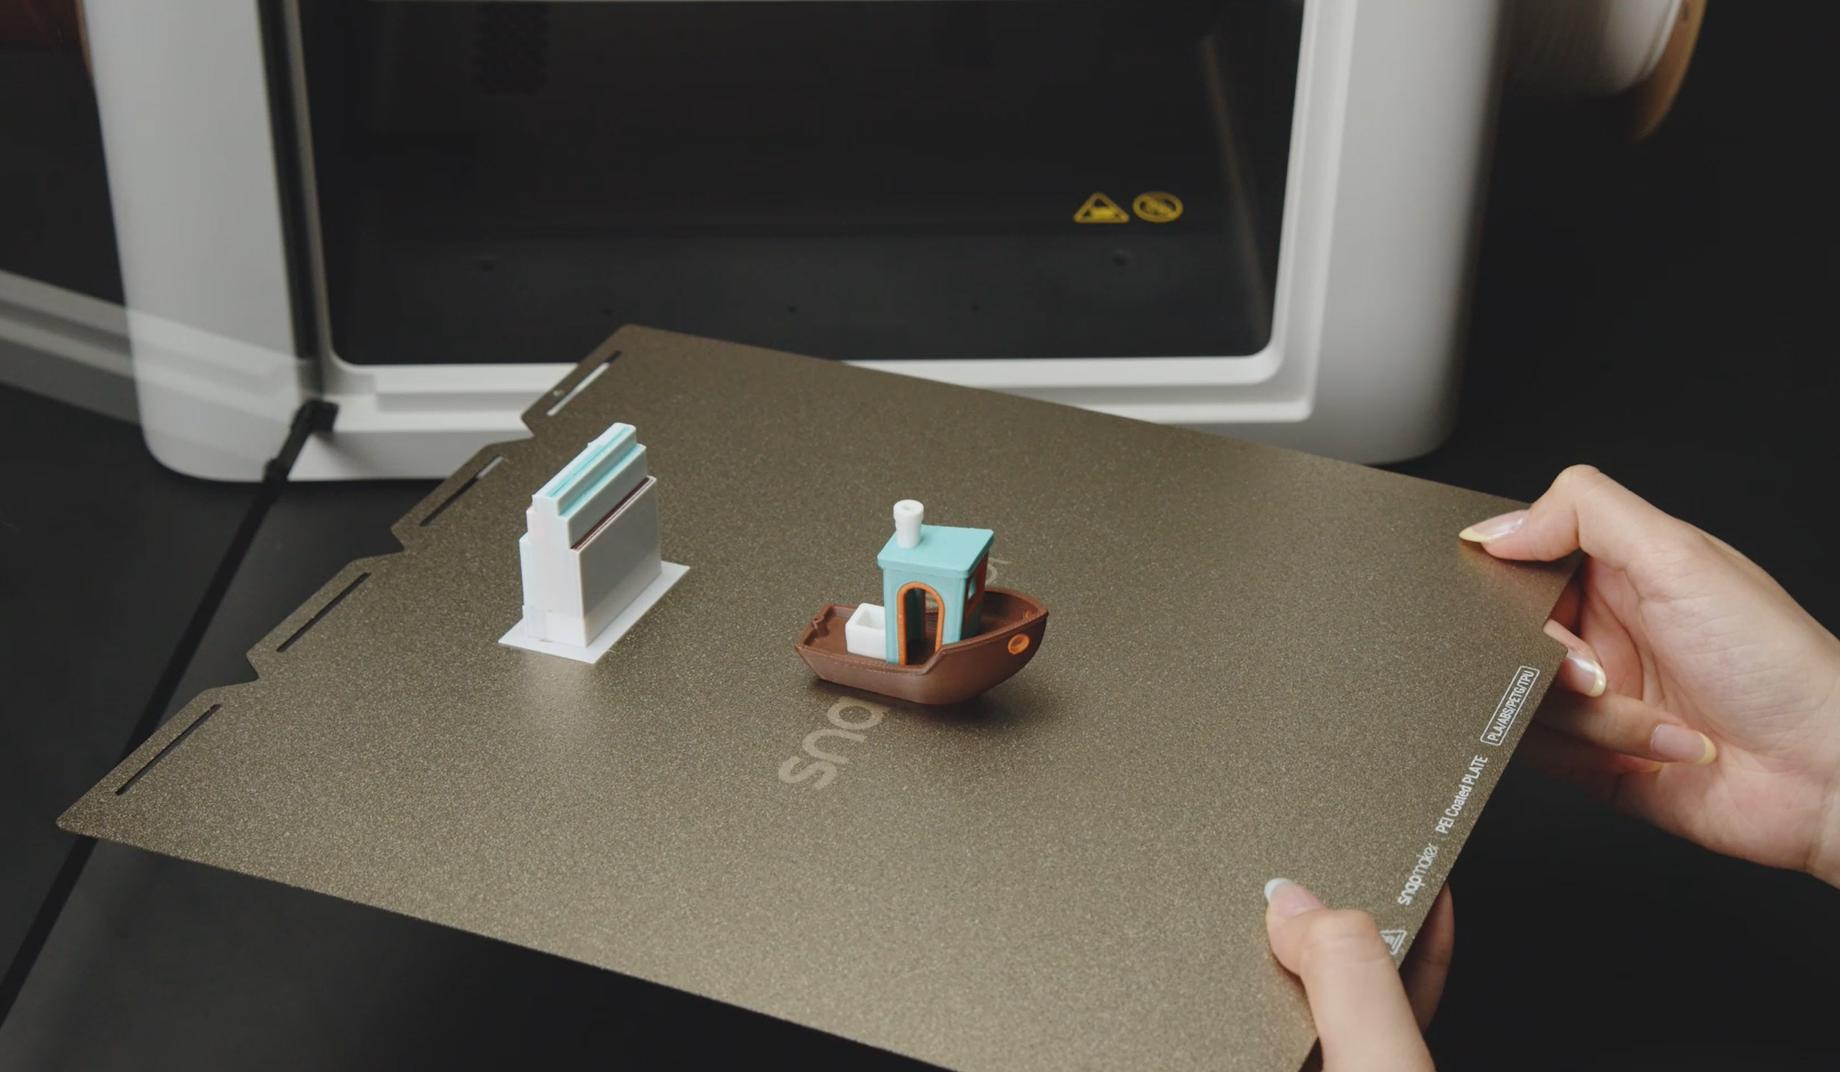
Don't overthink it. Download a simple "Benchy" (the famous 3D printing test boat), slice it, and hit print. The best way to learn 3D printing is by doing it.