How to Respool 3D Printer Filament Without Creating a Tangled Mess
It’s a scenario every 3D printing enthusiast dreads: a beautiful spool of filament, rendered useless by a bird’s nest of tangles. Or perhaps you’ve snagged a great deal on bulk filament that came without a spool, or you’re tired of your cardboard spools shedding dust in your setup. The solution is to respool it, but the process itself can seem intimidating.
It doesn’t have to be.
Respooling filament is a straightforward skill that can save you money, reduce waste, and solve a host of printing problems. This guide will walk you through exactly how to do it, explaining the core principles so you can get a perfect, tangle-free wind every time.
Why Would You Need to Respool Filament?
First, let's validate the problem. Respooling isn't just busywork; it's often a necessary step to keep your printing workflow smooth. You'll likely need to do it when:
You Have a Damaged or Broken Spool
It happens. A spool gets dropped, and a piece of the flange cracks off. Continuing to print from it risks the filament uncoiling unevenly and snagging, so transferring it to an intact, empty spool is the safest bet.
You're Transferring from a Cardboard Spool
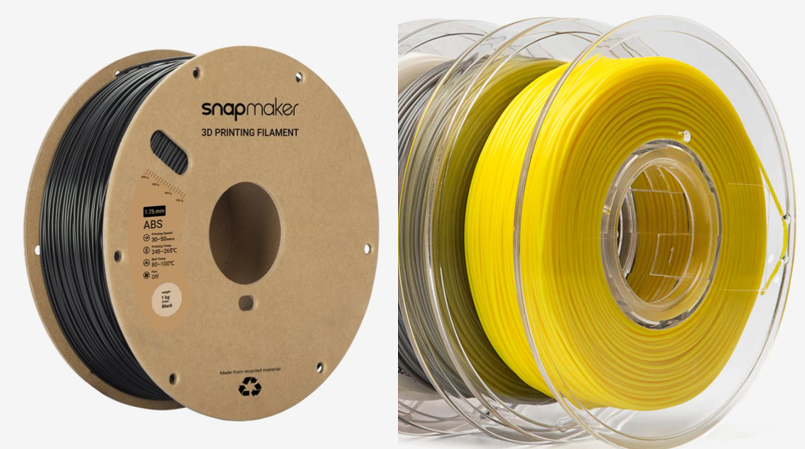
Cardboard spools are becoming more common, but they have drawbacks. They can create friction or drag in certain setups, shed cardboard dust, and absorb moisture from the air more readily than plastic. Transferring your filament to a sturdy, reusable plastic spool can lead to a more reliable printing experience.
You Bought Bulk Filament Without a Spool
Buying filament in large, spooled coils is a great way to save money. But to use it, you’ll need to wind it onto a standard 1 kg spool that fits your printer or dry box.
You Need to Fit a Specific Spool Holder or Dryer
Some automatic filament changers, multi-material units, and filament dryers are designed for specific spool sizes. Respooling allows you to use any brand of filament with your particular hardware.
How to Prevent Tangles Before You Start
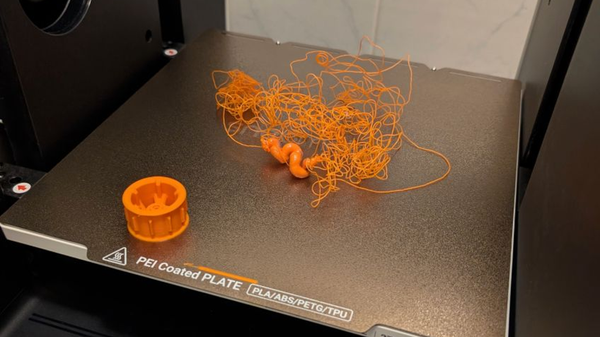
Here’s the single most important concept to understand: filament is almost never tangled from the factory. A "tangled" spool is almost always caused by the user accidentally letting go of the filament's loose end.
Understand the "Factory Wind"
When filament is manufactured, it's wound onto the spool in a continuous, perfect coil. Each wind lies neatly next to or on top of the previous one. As long as the filament unwinds in the same order, it's mechanically impossible for it to tangle. A tangle only occurs when a loop of filament gets pulled underneath another strand on the spool.
Never Let Go of the Filament End
The moment you let the loose end of the filament go, you risk it springing back and slipping under another strand. That’s it. That’s how a tangle is created. During the entire respooling process, the end of the filament must always be under your control—either in your hand or securely clipped to the flange of a spool.
Method 1: How to Respool Filament by Hand
This is the simplest method and requires minimal equipment. It’s perfect for a one-off transfer when you just need to get the job done.
What You'll Need
- Your original spool of filament (the source)
- An empty spool (the destination)
- A stable rod or axle to hold both spools (a broom handle between two chairs works in a pinch)
- Filament clips or a piece of tape
Step-by-Step Guide to Manual Respooling
- Secure the Spools: Mount both the source spool and the empty destination spool on your rod so they can spin freely. Make sure the filament will unwind from the source spool in the same direction it will wind onto the destination spool (e.g., both unwinding from the top).
- Transfer the End: Carefully unclip the filament end from the source spool. Do not let it go. Securely attach this end to the empty spool by threading it through one of the small holes in the hub.
- Begin Winding: Start turning the destination spool by hand. Your other hand should apply light but consistent tension to the filament strand between the two spools. This tension is crucial for creating a neat, tight wind.
- Guide the Filament: As you wind, use your tensioning hand to guide the filament back and forth across the width of the spool. Try to lay down even layers to prevent bunching or gaps.
- Secure the New Spool: Once the transfer is complete, keep holding the end and clip it securely to the edge of the newly wound spool. You’re done!
Method 2: Using a Tool-Assisted Setup for a Perfect Wind
For a faster, more consistent, and frankly, more satisfying result, using a simple tool-assisted setup is the way to go. This ensures even tension and a beautifully wound spool.
Why Use a Respooling Tool?
Manually winding a full 1 kg spool can be tedious. A tool-assisted setup, whether it’s a power drill or a purpose-built jig, does the hard work of turning the spool for you. This allows you to focus entirely on guiding the filament and maintaining perfect tension.
Option A: Using a Power Drill
A popular DIY method involves creating a simple spindle that can be chucked into a power drill. This spindle holds the destination spool, allowing you to turn it at a slow, controlled speed.
Option B: Using a 3D Printed Respooling Jig
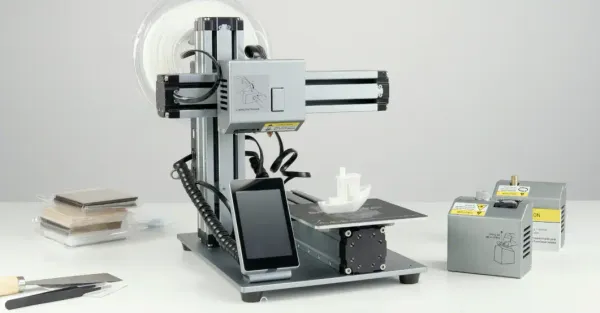
For the ultimate solution, you can 3D print your own respooling station. Dozens of excellent designs are available online. This is a perfect weekend project for a versatile machine like a Snapmaker Artisan, allowing you to use your printer to create a tool that improves your entire 3D printing workflow. These jigs often include smooth-running bearings and guides for a truly professional result.
Step-by-Step Guide for Tool-Assisted Respooling
- Assemble Your Setup: Mount your source spool and your destination spool (attached to your drill or jig) in a stable, aligned position.
- Secure the Filament: Carefully transfer the filament end from the source to the destination spool and secure it.
- Start the Transfer Slowly: Begin running your drill or jig at a very low, consistent speed. Don't go too fast—speed is your enemy here.
- Guide and Tension: Use one hand (or a built-in guide on your jig) to apply gentle tension and guide the filament across the spool. Focus on building up flat, even layers.
- Secure the End: When the transfer is finished, stop the winder, and immediately clip the filament end to the spool before doing anything else.
Troubleshooting Common Respooling Problems
What If My Filament Is Already Tangled?
You can't "un-tangle" a truly knotted spool. The best approach is to carefully unspool a few dozen meters of filament by hand, letting it coil on the floor. Look for the point where the strand crosses under another. Free it, and then carefully begin winding that loose filament onto your new spool before continuing the transfer.
How to Handle Tricky Cardboard Spools
The main issue with cardboard spools is friction. They often don't spin as smoothly. When respooling from one, ensure your axle is as low-friction as possible. You may need to pull with slightly more force, but be gentle.
My New Spool is Wound Unevenly. Does It Matter?
A messy-looking wind (often called "scatter-wound") isn't a dealbreaker, as long as it's not tangled. However, a neat wind is less likely to snag and can prevent issues where the extruder motor has to pull hard to overcome a messy coil, which could affect print quality. Taking the time to guide the filament evenly is always worth it.
Your Tangle-Free Filament Awaits
Respooling filament is a simple mechanical process governed by one rule: control the filament's end, control the wind. By understanding this principle and using one of the methods above, you can confidently transfer filament, salvage damaged spools, and make your 3D printing life easier.