How Can You Make 3D Printer Models?
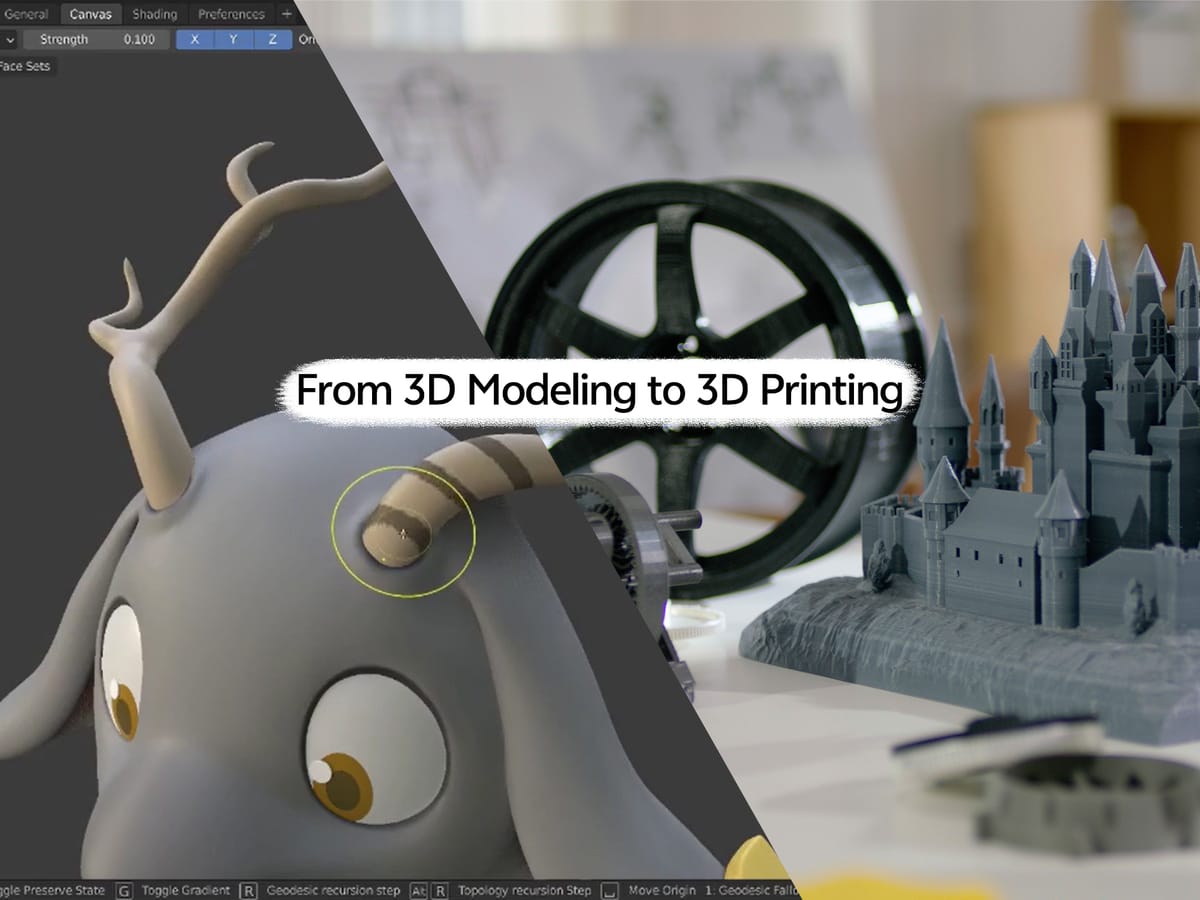
Custom 3D prints allow designers and non-designers, or creators, to develop things they need and require due to design limitations. From functional parts to artistic elements, 3D printing is fully used during these creative practices, thus enabling greater customization. This blog provides the 3D modeling practical guidance, explains various techniques, and gives insightful bits and pieces on how to create your 3D printing files. Hence, it will help you realize your creative potential by making your creations come to reality.
What Is Modeling for 3D Printing
3D printing modeling is the process of preparing digital blueprints, which can be further printed and prepared in physical format. These blueprints are prepared using computer-aided design (CAD) or any of the 3D iconic tools. After designing, these designs are stored in 3D printing, along with DXF's other files like STL or OBJ for that particular design. These files are then the starting point or the ‘blueprint' where the design is, which directs the printer to execute that specific design.
The 3D Printing Process Overview
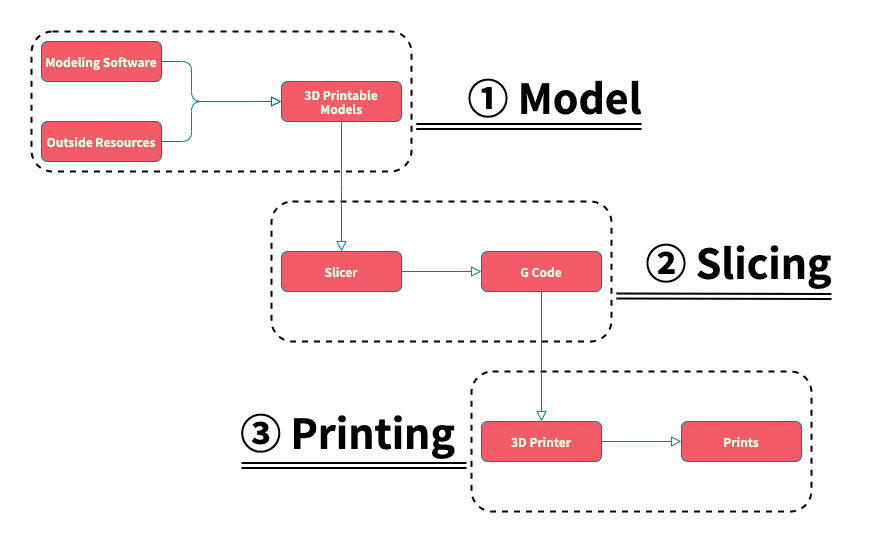
If you wonder how to make 3d printer models, the workflow includes three main steps:
- Modeling - Designing the object in 3D software.
- Slicing - Breaking the design into layers using G-code, which the printer will create.
- Printing - The physical production stage.
How to Create 3D Print Models
There are several methods of how to make 3d models for printing.
3D Modeling Software for Your Own 3D Print Files
Modeling for 3d printing is done with different types of software that are well suited to varying levels of skills and different levels of projects. The following are some of the commonly used software if you are wondering how to design 3d print models. Here’s how to make your own 3d print files from 3D printing software.
Tinkercad
- Overview: A cloud-based application with an easy-to-use and block-oriented interface for design.
- Best For: Amateur and aspiring designers
- Features: Use of primitive forms, point-and-click simplistic tools, and no complicated alterations.
- Pros: Easy to learn and interactive with the short time needed to use the program effectively.
Fusion 360 (Free for personal use)
- Overview: Professional multimedia computer-aided design system. It is a free 3D modeling software for 3d printing.
- Best For: Intermediate to advanced users, especially those working on engineering projects.
- Features: Parametric 3d modeling software for 3d printing, engineering tools, and cloud collaboration.
- Pros: Robust capabilities for complex designs, including assemblies.
Blender
- Overview: An open-source software known for its advanced artistic and animation tools. It is the best 3d modeling software for 3d printing.
- Best For: Experienced users focusing on artistic or complex designs.
- Features: Extensive modeling capabilities, sculpting tools, and animation support.
- Pros: Free, powerful, and backed by a large community.
Creating 3D Models from Photos
Making 3D images using photographs or Photogrammetry sounds easy, but it is not simple and may require precision and experience. Here are the stages.
- Take Clear Images
First, clear shots of the subject from various angles are taken in high definition. Better still, take pictures from all angles, preferably 360 degrees, within the same lighting to prevent shadows and light reflections. Using a tripod and adding reference points (such as markers) improves stability and accuracy. Save images in lossless formats like PNG or BMP to preserve detail without compression artifacts.
- Import into 3D Photogrammetry Software
Upload your photos into photogrammetry software like Metashape or RealityCapture, which will process the images to create a 3D model. After this, you may need to refine the model by smoothing the mesh or reducing the number of faces for optimal performance.
- Export the Model
After the model is detailed, it is important to prepare the file for 3D printing by saving it as an STL or OBJ model and other file formats for slicing, also known as preparing the model for printing.
Photogrammetry has its uses, particularly in detailing shapes and surface textures, but such details may have to be modified to form a 3D print.
General Guidance and Tips
Here are a few points to consider while working with any 3D designing application:
- Ensure you understand the program's layout and how the various tools function.
- Start by creating basic shapes (primitives) before moving on to complex designs.
- Master essential features like scaling, rotation, and alignment for more control.
Key Design Principles for 3D Modeling
Creating effective 3D printing models often involves following some core design principles:
Simplicity
- Minimalist designs are typically more successful in 3D printing, as complex 3d models for printing can lead to longer print times and potential print failures.
- Example: A 3D-printed phone case with a clean, geometric design.
Balance and Proportion
- Balanced free 3d models for printing often print more reliably and look more polished.
- Example: A character model with well-proportioned limbs and features.
Unity and Coherence
- Ensure your model’s design elements work together visually.
- Example: A consistent color palette and material choices for a product line.
Where can I get 3D models for 3D printing for free (or for a fee)
If building a model from scratch is taking too long, ready-made models are found online.
Free Resources
- Thingiverse
- Printables
- MyMiniFactory
- NIH 3D Print Exchange (for medical models)
Paid Marketplaces
- CGTrader
- TurboSquid
- Cults3D
Recommended reading: 17 Awesome Websites to Download 3D Models ; 3D Printing Ideas for Beginners; The Best STL Repositories (3DWithUs)
Choosing the Right Method for Your Project
A. Project Type Assessment
- Mechanical vs. Artistic: Mechanical parts need CAD software for precision, while artistic models benefit from the flexibility of 3D graphics software like Blender.
- Precision Needs: For tight tolerances, use CAD; artistic projects allow more flexibility.
- Scale & Complexity: Large or complex models are best handled with advanced software that can manage details and stability.
B. Skill Level Considerations
- Learning Curve: Beginner-friendly software like TinkerCAD is ideal for newcomers; advanced options like Fusion 360 or Blender require more learning time.
- Time Investment: Simple software saves time; professional tools need commitment.
- Support: Go for software with strong communities and tutorials if self-learning is key.
C. Software Comparisons
- CAD vs. 3D Graphics: CAD tools like Fusion 360 are precise for technical designs, while 3D graphics software like Blender is excellent for organic shapes.
- Parametric vs. Direct Modeling: Use parametric for precision adjustments and direct modeling for creative freedom.
- Industry Tools: Industry-specific software like SolidWorks or Maya offers compatibility and optimized features for certain fields.
Choose based on your project’s needs, precision requirements, and skill level. CAD is ideal for precision, while 3D graphics software offers creative flexibility.
Use Case: From Digital Files to Real-world Models
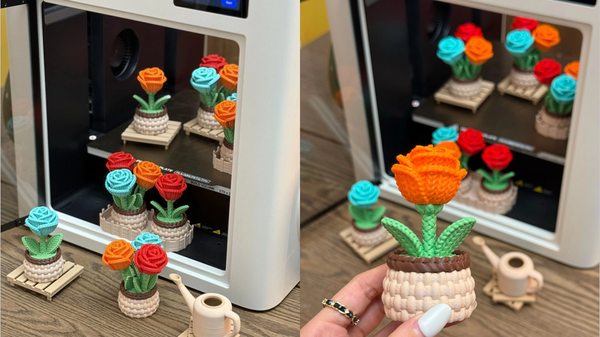
Creating a two-color print with Snapmaker’s dual extruder involves several steps, from design to print. Using Fusion 360, you design a 3D model and assign distinct colors to different parts. Export the model in a compatible format, like STL, then import it into Snapmaker Luban software. Here, you can further set the color configurations for each part to ensure a smooth dual-color print.
Once the model is sliced in Luban, transfer the file to your Snapmaker printer and set up the dual extruder for color accuracy. After calibration, the printer executes the design, transforming your digital model into a vivid, real-world two-color print.
Related reading: Step-by-step creating a two-color print: from Fusion360 to Luban
Final thoughts
Designing models for 3D printing empowers you to create personalized items that reflect your creativity and needs. Whether you’re making something from scratch or modifying pre-made designs, the principles in this guide provide a foundation for success. Remember, 3D printing is a journey of learning and experimentation—embrace it and enjoy bringing your ideas to life. Stay tuned to the Snapmaker blog for more in-depth, structured insights.

