Does PETG Need an Enclosure? The Honest Truth for Better Prints
If you have spent any time lurking on 3D printing forums, you have probably seen the debate raging: "Do I actually need an enclosure for PETG?"
It is the classic dilemma for anyone graduating from PLA to something a bit tougher.
Here is the honest answer: No, you don’t have to have one. If your room is warm and you are lucky, you can absolutely get a decent PETG print on an open-frame machine. It is not like ABS, which tends to crack if you even look at it the wrong way.
But—and this is a big "but"—if you are asking if an enclosure makes life easier? Absolutely.
If you want prints that are actually strong and don't warp halfway through a 20-hour job, covering up your printer is usually the way to go. Let's break down why this happens and look at why newer, high-speed machines like the Snapmaker U1 are moving toward fully enclosed designs as the new standard.
Getting to Know PETG
To understand why enclosures help, you have to understand what PETG filament is and what it is actually doing when it melts.
Think of PETG as the middle child between PLA and ABS. It is durable and slightly flexible, which is great. But it also has a higher glass transition temperature (around 80°C). In plain English? It needs more heat to flow smoothly and stick together.
While it isn't as dramatic as ABS, PETG is still pretty sensitive. If it cools down too fast or unevenly, the plastic gets stressed. And when plastic gets stressed, it pulls apart.
Why an Enclosure Actually Matters
Sure, you can print in the open air. But when you compare an enclosed or an open 3D printer setup for materials like PETG, the difference is night and day. Adding an enclosure turns your printing environment from a variable mess into a controlled ecosystem.
Here is what is physically happening inside that box:
1. Blocking the "Invisible" Drafts
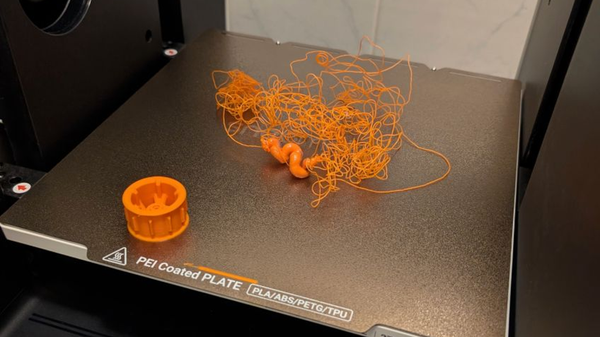
Drafts are the silent killer of PETG prints. You might not feel it, but your printer does. An air conditioning vent kicking on, an open window, or even someone walking past the machine quickly can drop the air temperature just enough to ruin a print.
This sudden cooling makes the plastic shrink unevenly. Next thing you know, the corners of your print are lifting off the bed (warping) or you see ugly cracks running through the layers (layer splitting). An enclosure acts like a shield, keeping that air dead still.
2. Making the Layers Stick
We usually pick PETG because we want strong parts. An enclosure traps the heat coming off your bed, keeping the air around the print warm—usually somewhere between 35°C and 45°C.
That warm air buys you time. It keeps the previous layers slightly soft for just a split second longer, so when the nozzle lays down fresh hot plastic, it fuses perfectly with the layer below. That is how you get parts that don't snap when you try to use them.
Why the Pros Use Enclosures (Enter the Snapmaker U1)
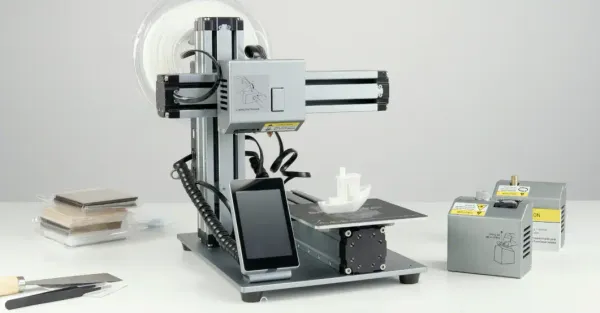
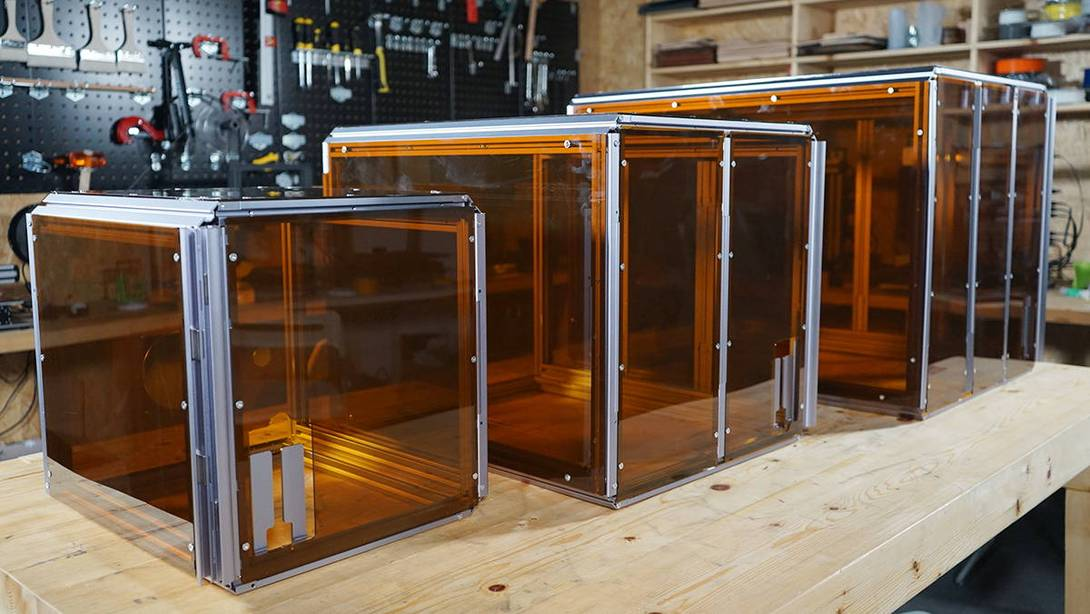
Back in the day, an "enclosure" was often just a cardboard box or a photography tent thrown over a printer. But as printers got faster, that approach stopped cutting it.
This is exactly why machines like the Snapmaker U1 are built the way they are.
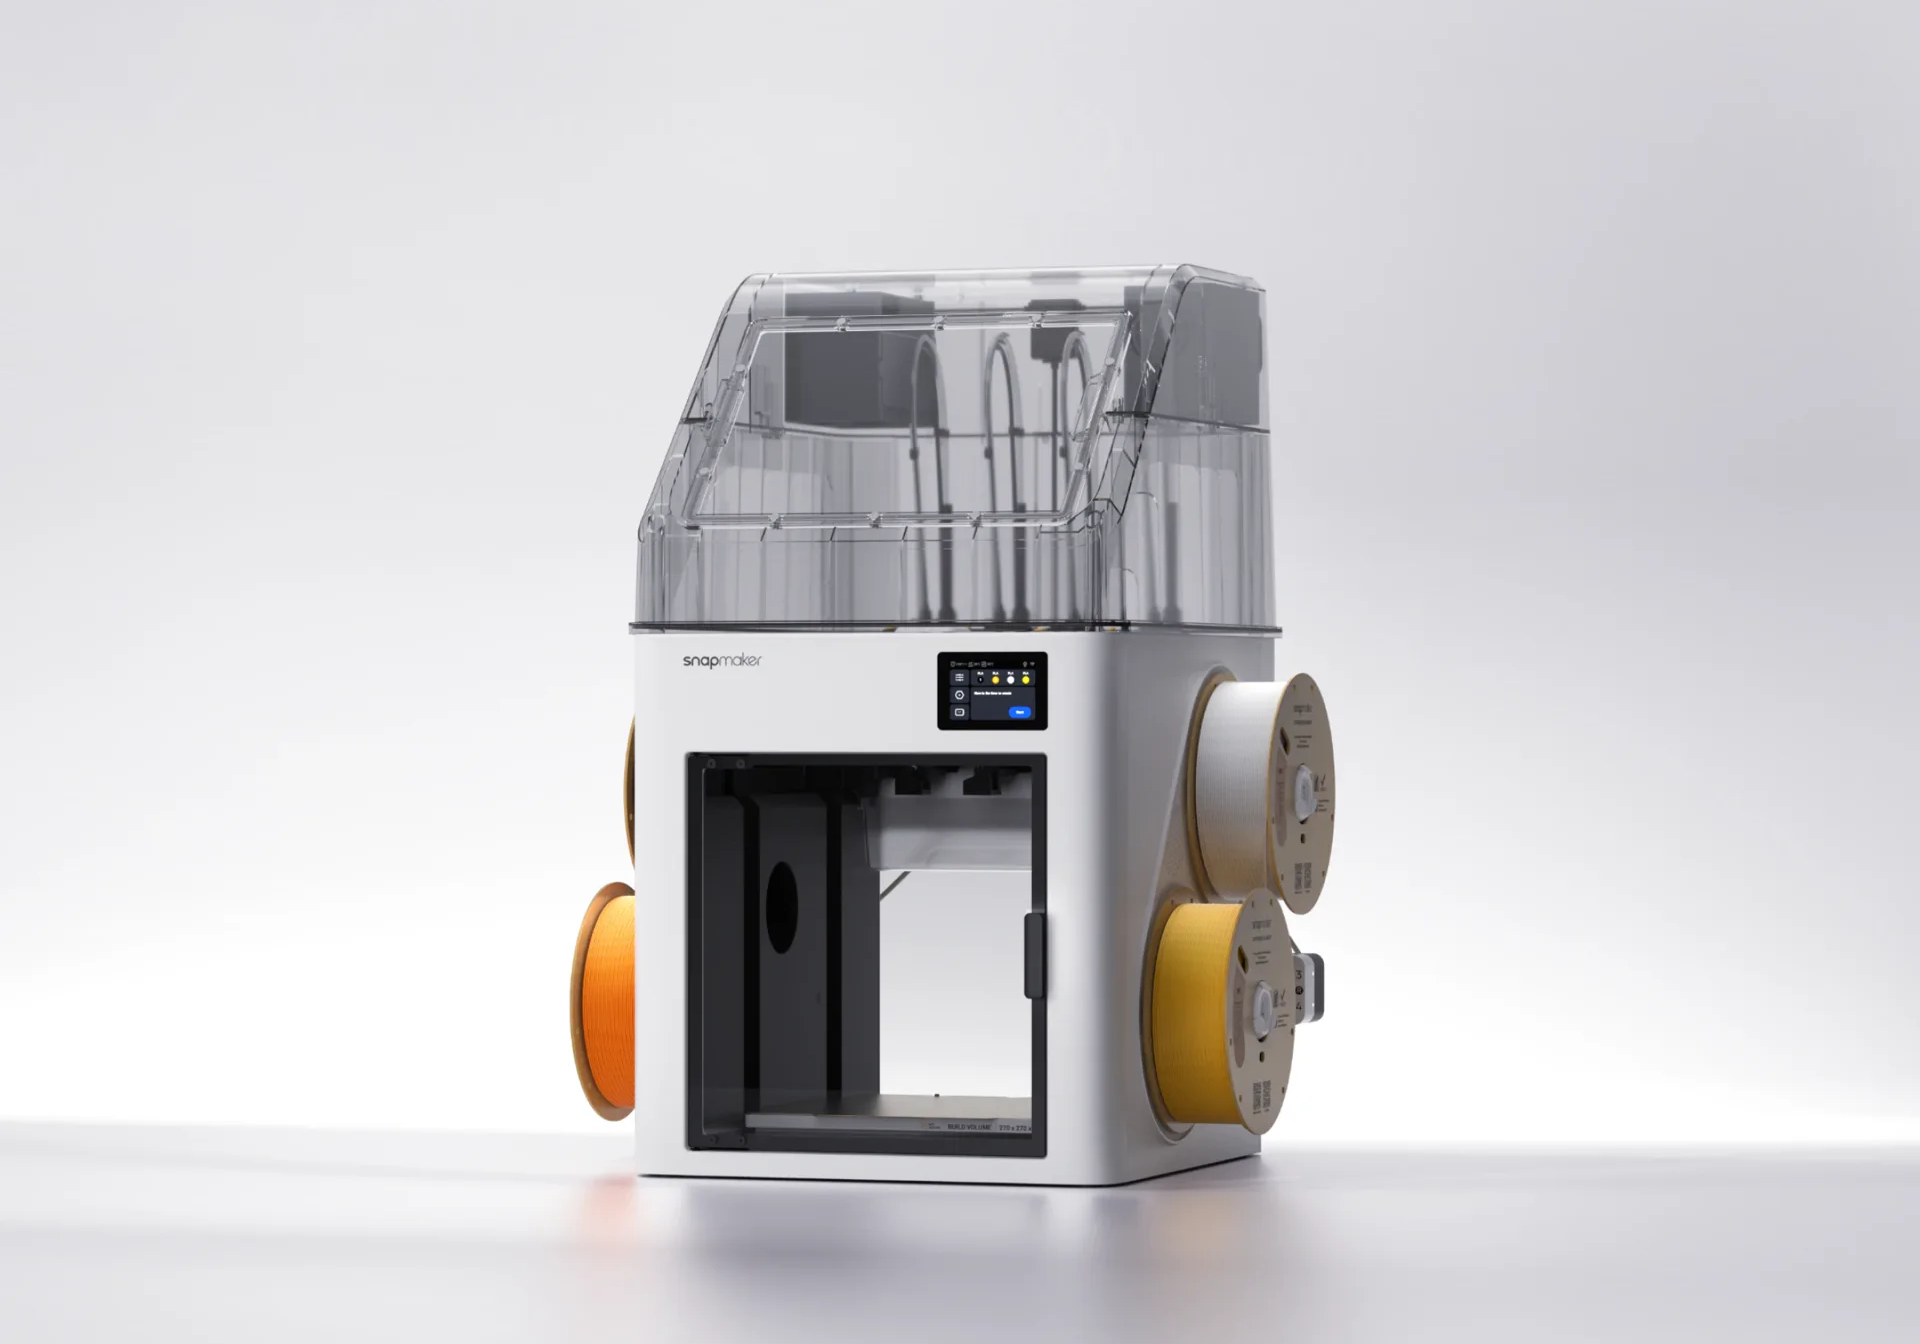
The U1 is a beast when it comes to speed. But here is the thing about high-speed printing: the physics of cooling gets tricky. You have to cool the filament fast enough to hold its shape, but if you cool it too aggressively, the layers won't bond.
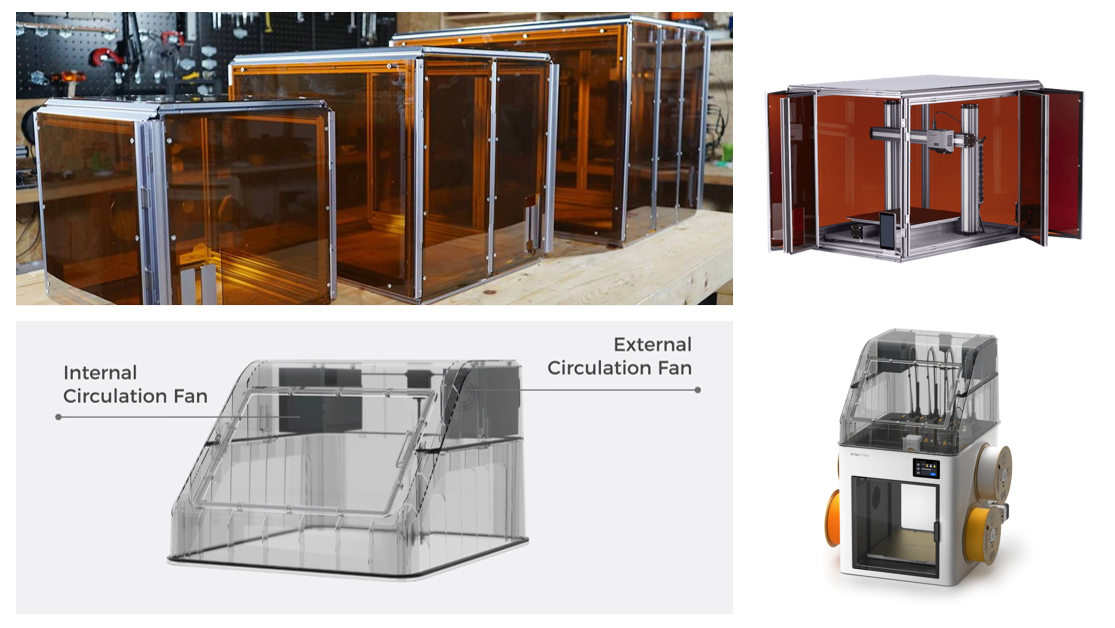
The U1’s fully enclosed design—especially when equipped with its Top Cover—isn't just for looks. It creates what we call thermal equilibrium.
- Consistency is Key: The integrated enclosure keeps the printing environment stable from start to finish. It doesn't matter if your workshop is freezing in the winter or boiling in the summer; the inside of the printer stays the same.
- Built Like a Tank: Unlike a flimsy tent, the U1's enclosure is part of the metal frame. This adds the rigidity you need when the print head is flying around at high speeds.
Basically, if you want industrial-level consistency without the headache, you want a machine that was designed with an enclosure from day one.
A Quick Note on Safety
Let's talk about the air in your room.
PETG is generally pretty safe—it doesn't smell like burning plastic the way ABS does. But it is still melting plastic. It emits Ultrafine Particles (UFPs) and some VOCs.
If you have a dedicated workshop/garage, maybe this doesn't matter to you. But if you are wondering is printing PETG indoors safe—especially in a home office or a room where kids and pets hang out—an enclosure is a smart move. It keeps those particles contained. Add a filter to the mix, and you are keeping your indoor air much cleaner.
How to Survive Without an Enclosure
Not ready to upgrade to something like the Snapmaker U1 just yet? That's fine. You can still get good PETG results on an open printer if you are careful.
Here is the cheat sheet for open-air printing:
- Kill the Fan Speed: Unlike PLA, PETG hates being blasted with cold air. Drop your part cooling fan to 20%–50%. If you cool it too fast, it will just snap apart.
- Crank up the Bed: Run your heated bed on the hotter side (try 70°C–80°C). You want as much radiant heat rising up as possible.
- Use a Brim: Since you don't have a warm box to stop warping, use a "Brim" in your slicer. It helps anchor the corners down so they don't peel up.
- Watch Your Retraction: Temperature fluctuations can sometimes exacerbate stringing issues. If you are seeing wisps of plastic and wondering what PETG stringing is (and how to stop it), you may need to dial in your retraction settings more precisely than you would in a stable chamber.
The Bottom Line
So, does PETG need an enclosure? For small, simple stuff? Probably not. But if you are tired of failed prints, warped corners, or weak parts, an enclosure is the single best upgrade you can make.
It turns 3D printing from a guessing game into a reliable process. Whether you are DIY-ing a cover or investing in a serious machine like the Snapmaker U1, controlling your temperature is how you get prints that actually work.