The Ultimate Guide to the 45-Degree Rule in 3D Printing
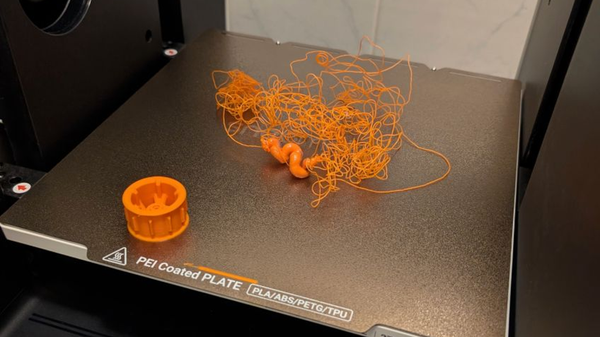
If you’ve spent any time around a 3D printer, you’ve probably met it already. The moment you lift the enclosure door and see a sad pile of stringy plastic where your part should be. Sometimes it’s not a full failure, just sagging loops or rough, droopy edges that ruin an otherwise great print. Either way, it’s frustrating, especially when everything looked fine in the preview.
Most of these problems come down to a straightforward idea: gravity always wins.
This is known as the 45-degree rule in 3D printing. It explains that most FDM printers can handle angles up to 45 degrees without supports, whereas steeper overhangs usually require supports.
Why? Because your printer can’t print in mid-air. Every new layer needs something underneath it to grab onto. In this guide, we’ll explain why 45 degrees matters, how to design parts that comply with the rule, how slicer settings can push the limits, and when it’s better to rely on advanced hardware like the Snapmaker U1.
The Science: Why 45 Degrees is the Magic Number
3D printing stacks thin layers, much like a staircase. Small step-outs stay stable, while larger ones don’t. But if one step sticks out too far, it doesn’t have enough support and starts to tip. The same thing happens with printed layers.
At around 45 degrees, each new layer still sits on about half of the layer below it. That amount of contact is usually enough for the hot plastic to bond and cool before gravity pulls it down. Once you go past that angle, the overlap gets smaller, and the filament starts to sag before it hardens.
Visualizing the Rule (Y vs. T)
A quick way to picture this is with letters. A “Y” has gentle angles that print easily, while a “T” sticks straight out at 90 degrees with no support underneath. That’s where prints struggle. Learning to spot “Y shapes” instead of “T shapes” in your models is a big step toward better prints.
Designing for Success: How to Avoid Supports
DfAM means designing parts so you don’t need supports in the first place.
Chamfers vs. Fillets
Fillets have rounded edges. They look smooth and polished, but they often cause trouble underneath. Fillets often start flat and create severe overhangs that curl or droop, while chamfers use angled edges. A 45-degree chamfer supports itself and prints cleanly.
Teardrop Holes
Horizontal circular holes are another common problem. The top of the circle becomes a flat overhang, which leads to sagging. A popular workaround is the teardrop hole. It still works like a round hole, but the top is angled instead of flat, making it much easier to print without supports.
The "Orient for Success" Strategy
Sometimes the design is fine, but it’s facing the wrong way. Rotating a model in the slicer can turn steep overhangs into gentle slopes. Before adding supports, try flipping or tilting the part and check the preview again. A slight rotation can make a big difference.
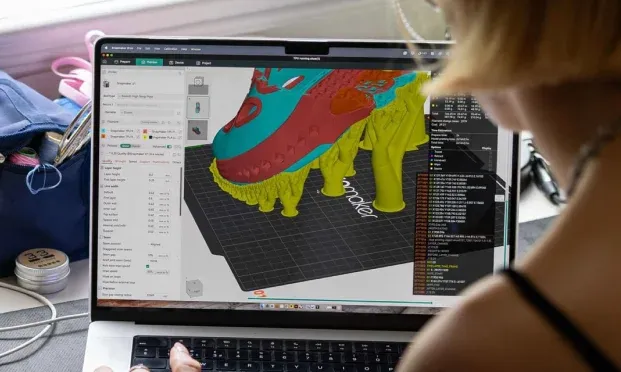
Optimizing Slicer Settings: Luban & Orca
When design alone isn’t enough, slicer settings become your next tool. Default profiles are made to be safe, but they’re not always optimized for overhangs.
Cooling is Key
The 3D printing 45-degree rule isn’t a hard limit. Strong part cooling can freeze the filament faster, letting it hold its shape at steeper angles. With good airflow, many printers can handle 60 degrees or more.
Variable Layer Height
Dropping your layer height from 0.2 mm to 0.1 mm reduces how far each layer sticks out. Those smaller steps mean more overlap and better support for steep angles.
Slowing Down
Outer walls printed too fast don’t get enough time to cool. Lowering the outer wall speed gives the fan time to do its job before gravity takes over.
The "Overhang Test"
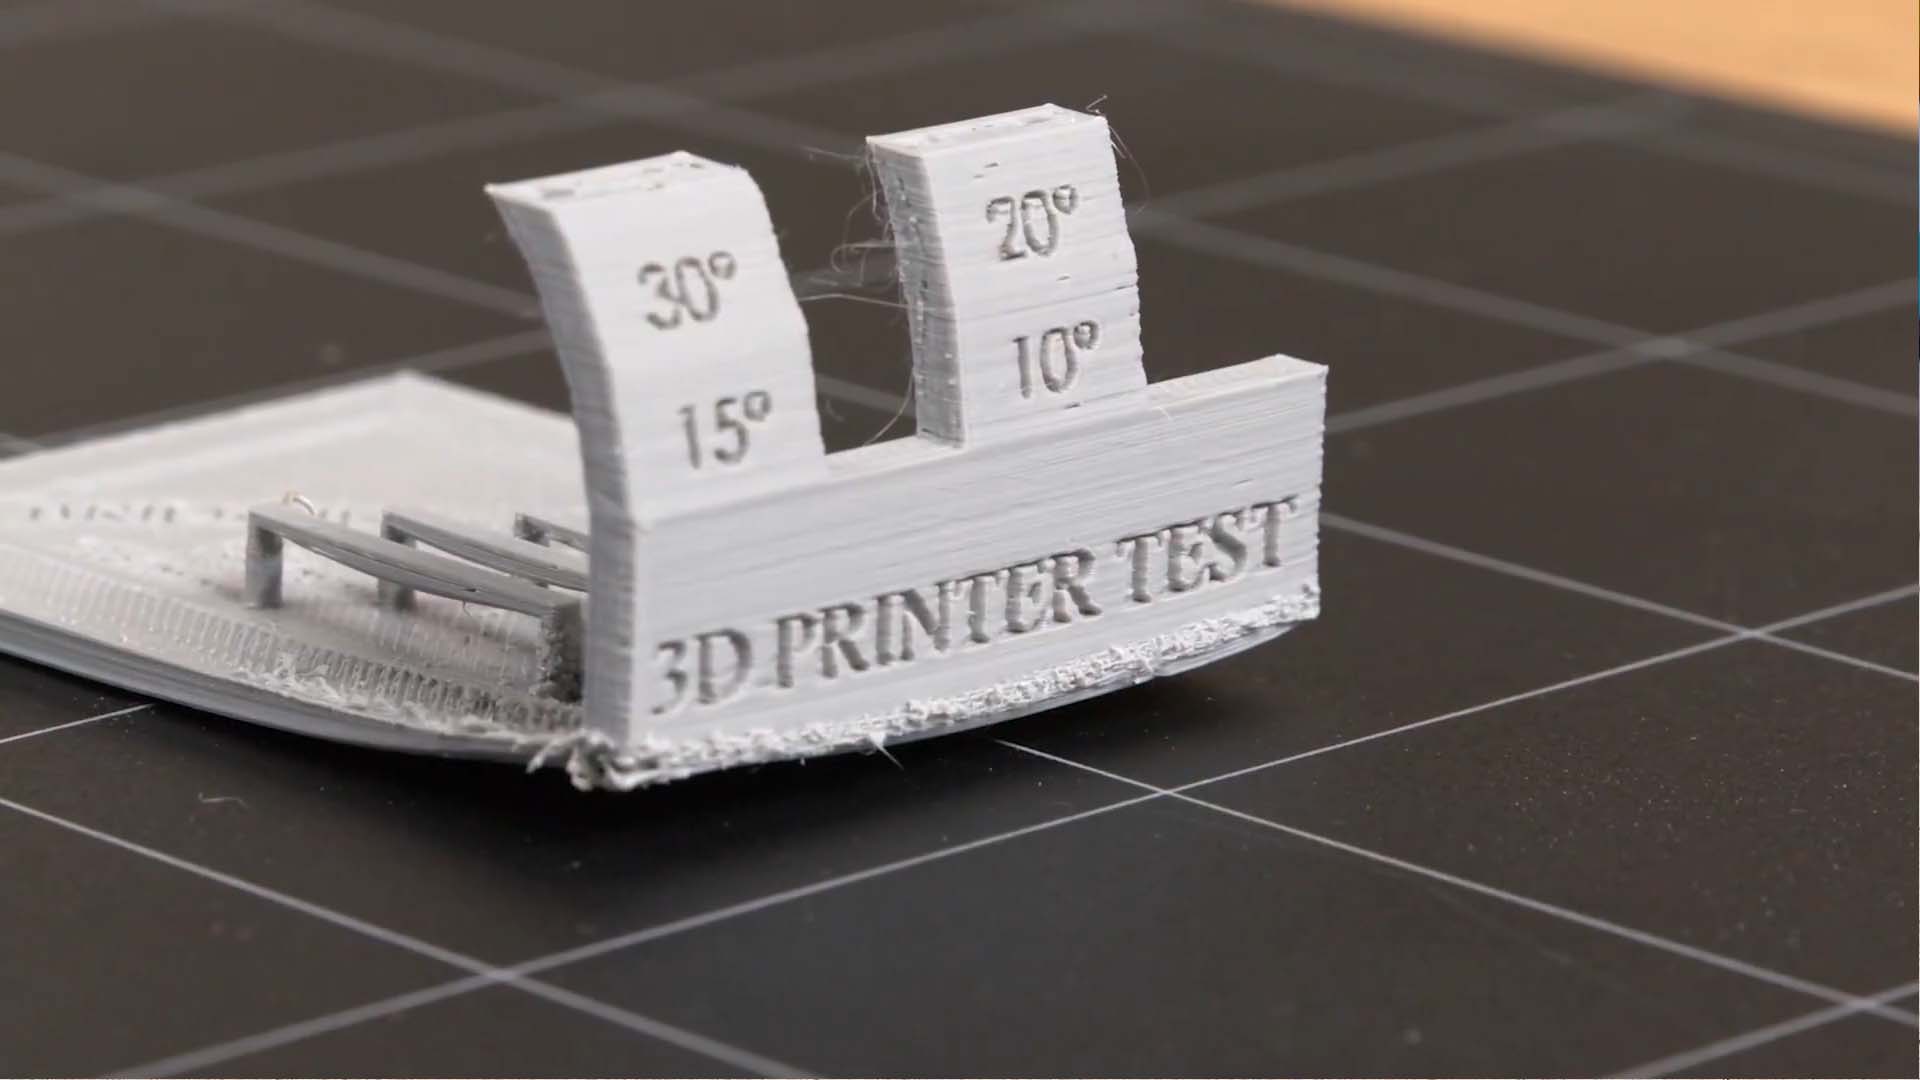
Every printer and filament behaves differently. Printing a simple overhang test model is the fastest way to learn your absolute limits instead of guessing.
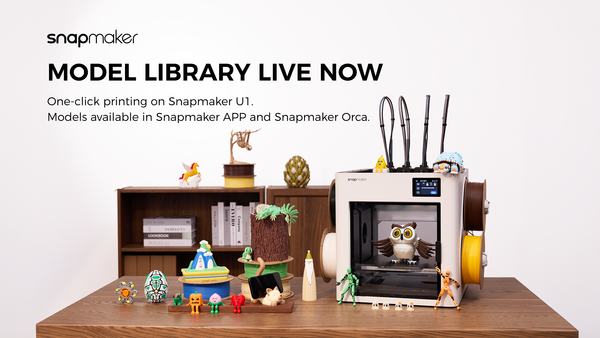
The Ultimate Fix: Snapmaker U1 Tool Changer
Some designs simply refuse to follow the rules. No amount of rotation or tuning can avoid a sharp 90-degree edge. When that happens, hardware matters.
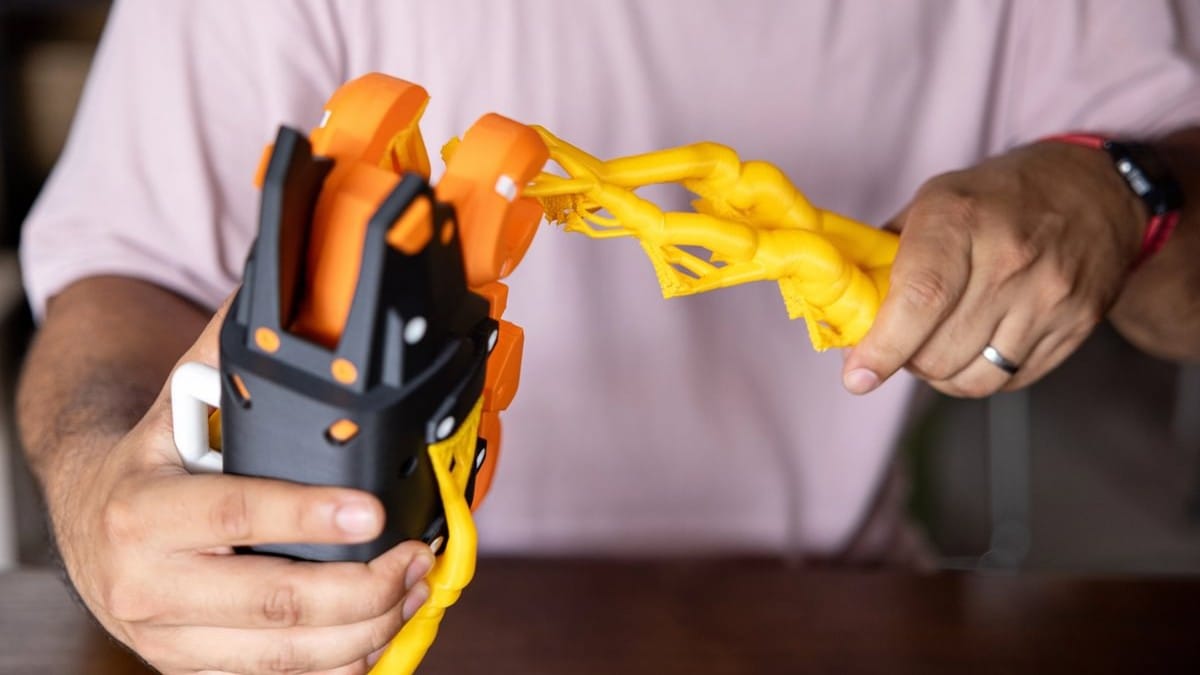
The Snapmaker U1 solves this with its four independent toolheads. Instead of sharing a single nozzle, the U1 can dedicate one toolhead entirely to support material. That means you can print with PVA or breakaway filament and place supports exactly where they’re needed.
These supports can be printed with zero gap, then dissolved or snapped away cleanly, leaving smooth surfaces behind. Combined with the U1’s powerful auxiliary cooling fan, this setup enables printing of shapes that standard machines struggle to produce.
Conclusion
The 3D printing 45-degree rule isn’t something to fight; it’s something to understand. Once you understand how it works, you can design smarter, tune your slicer more effectively, and choose the right tools for the job. And when design and software reach their limits, machines like the Snapmaker U1 enable further progress.
If you’ve pulled off a clean, support-free print you’re proud of, share it on the Snapmaker Forum or social media using #SnapmakerU1. And if you’re ready to see how multi-toolhead printing changes what’s possible, explore the Snapmaker U1 and start bending the rules, the right way.