3D Printing First Layer: Problems and Solutions
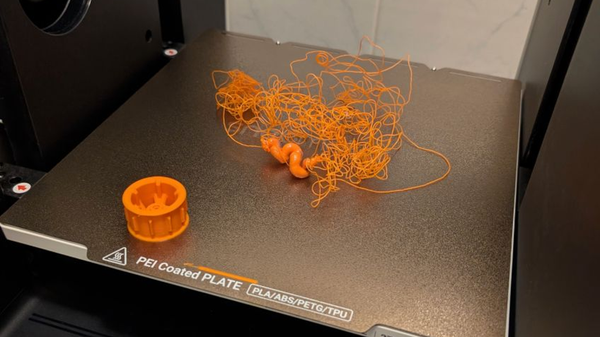
Few things are as frustrating in 3D printing as watching your first layer fail. That crucial base layer sets the stage for your entire print, and if it's not right, the whole project can go south.
While the symptoms might look different, many first layer problems share common roots. Once you understand the core principles at play, troubleshooting becomes much more manageable.
Let's break down the 3D printing first layer issues:
Understanding 3D Printing First Layer Issues
What are common first layer issues in 3D printing? As a beginner, you'll likely encounter these issues on your print bed:
- Poor adhesion: Filament fails to stick to the build plate
- Warping Edges: Corners or edges lift from the bed during printing
- Uneven surfaces: Wavy or rough texture on the bottom layer
- Gaps in extrusion: Visible spaces between filament lines
- Elephant's foot: Widened base edge compared to the rest of the model
Why does the first layer of your 3D print look bad? While these issues appear different, they boil down to getting a few fundamental things right. Here are the three fundamental factors:
- Proper Bed Adhesion: The ability of the melted plastic to bond securely with the build plate material.
- Correct Nozzle-to-Bed Distance (Z-Offset & Leveling): The precise gap between the nozzle tip and the build surface when the first layer is being printed. This controls how much the filament is "squished" onto the bed.
- Accurate Material Flow (Extrusion): Ensuring the printer is pushing out exactly the right amount of melted filament.
How to Fix 3D Printing First Layer Problems
Since the problems share roots, the solutions often overlap. Instead of treating each symptom in isolation, let's look at the solutions through the lens of our critical factors:
1. Improving Bed Adhesion
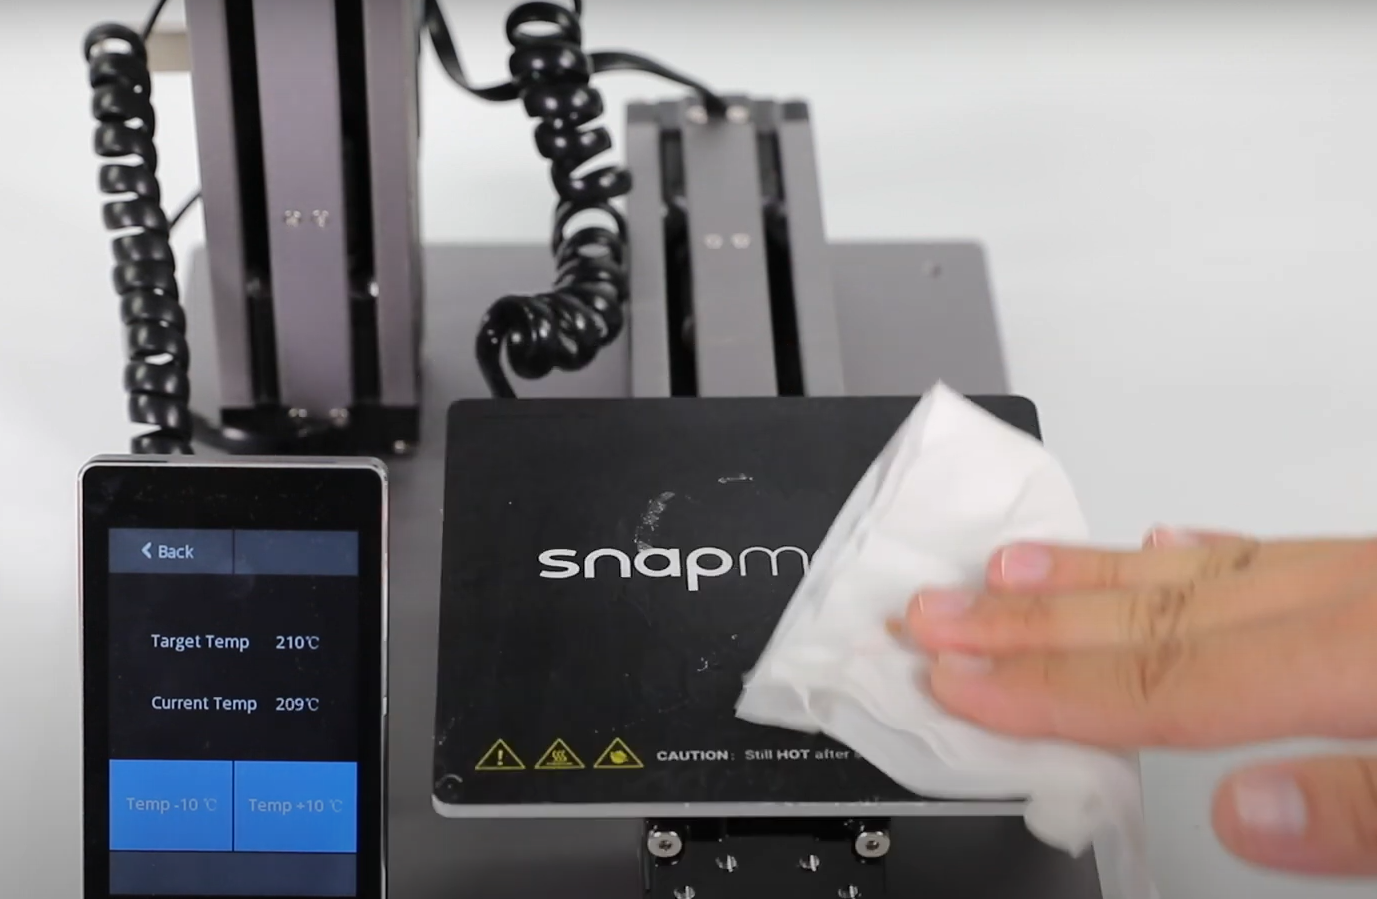
Regular cleaning:
Oils from your fingers, dust, or old filament residue are invisible barriers to adhesion. Use isopropyl alcohol (IPA) on a paper towel to wipe down the bed before each print. For stubborn residue, soap and warm water can work (check your bed type first!). For stubborn residue, mild soap and warm water may be effective, depending on your bed material.
Detailed guide: How to Clean Your 3D Printer Bed
Surface selection:
Different filaments perform better with specific surfaces.
- PLA: Clean PEI sheet or glass (sometimes enhanced with glue stick)
- PETG/ABS/ASA: These materials often benefit from higher bed temperatures and adhesion aids such as glue stick or specialized 3D printing adhesives
Pro tip: Consider applying a thin layer of adhesive in a cross-hatch pattern rather than covering the entire build surface. This provides adequate adhesion while making part removal easier once printing is complete.
Temperature management:
Set your bed temperature according to filament specifications. Too low, and it won't stick; too high, and some filaments can become too soft and deform (contributing to elephant's foot or warping).
2. Optimizing Nozzle-to-Bed Distance (Leveling & Z-Offset)
This is perhaps the most critical factor for first layer quality:
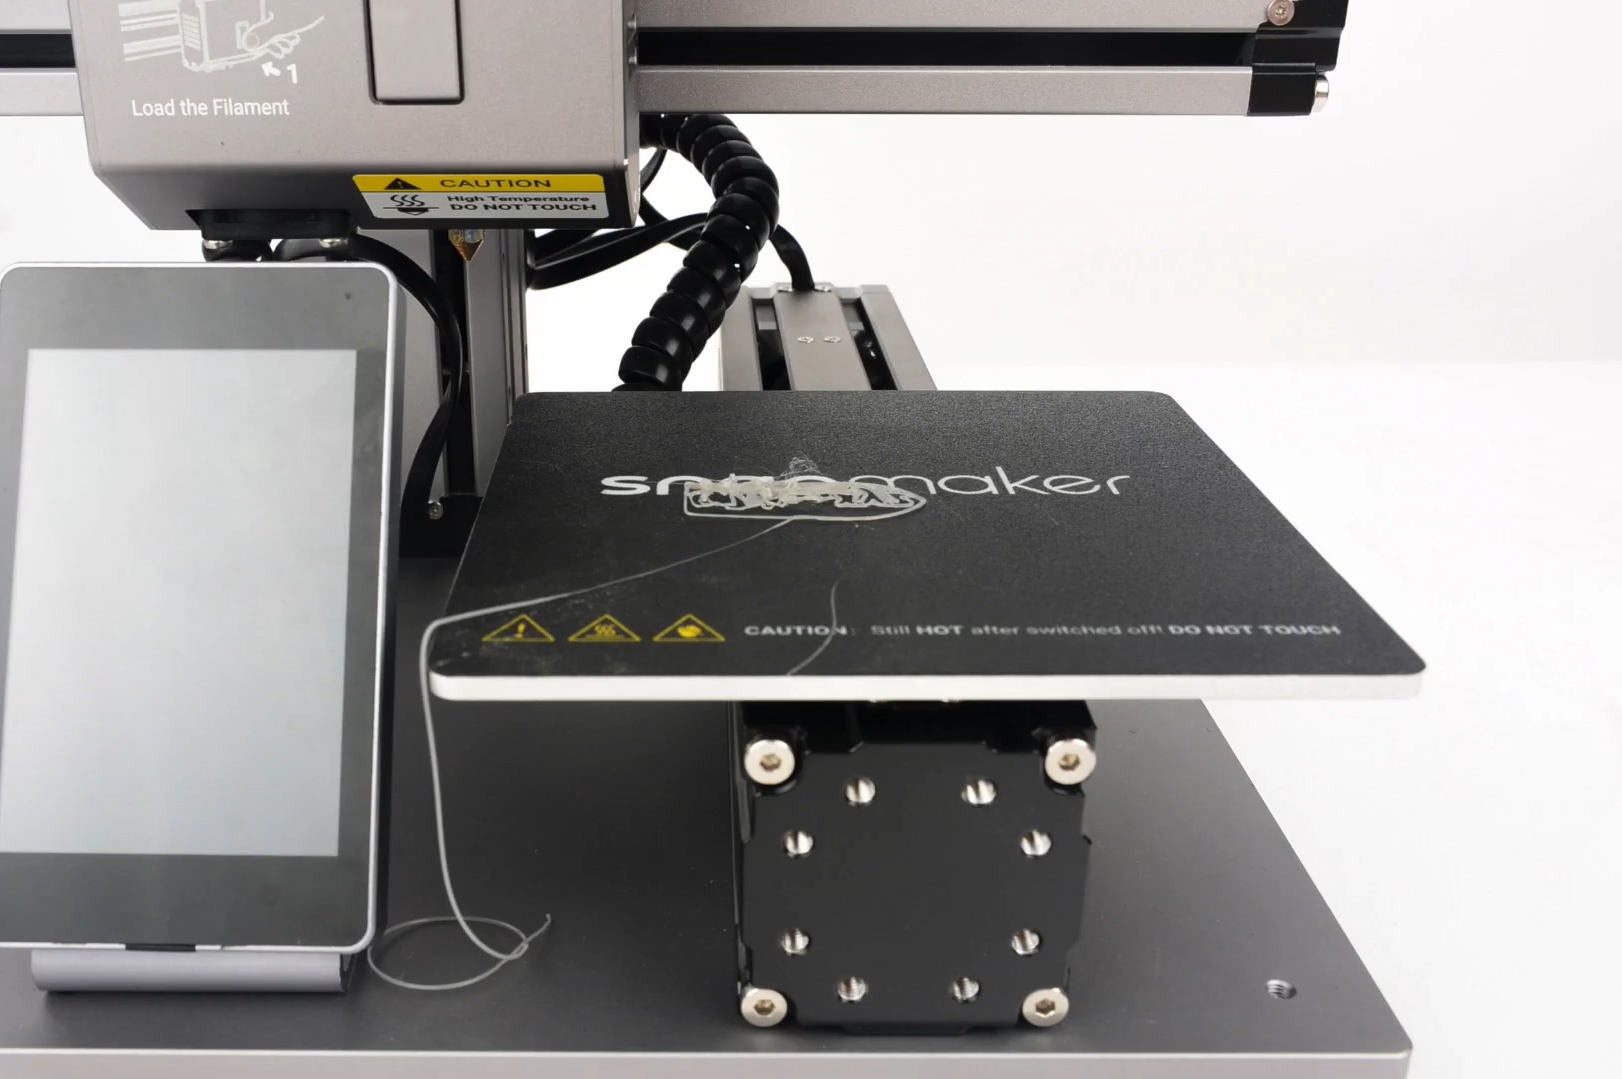
Bed leveling:
Whether using manual methods (paper test) or automatic systems (with a probe), ensure your print bed is properly leveled relative to the nozzle path. Check leveling periodically as vibrations can gradually alter alignment.
Z-offset calibration:
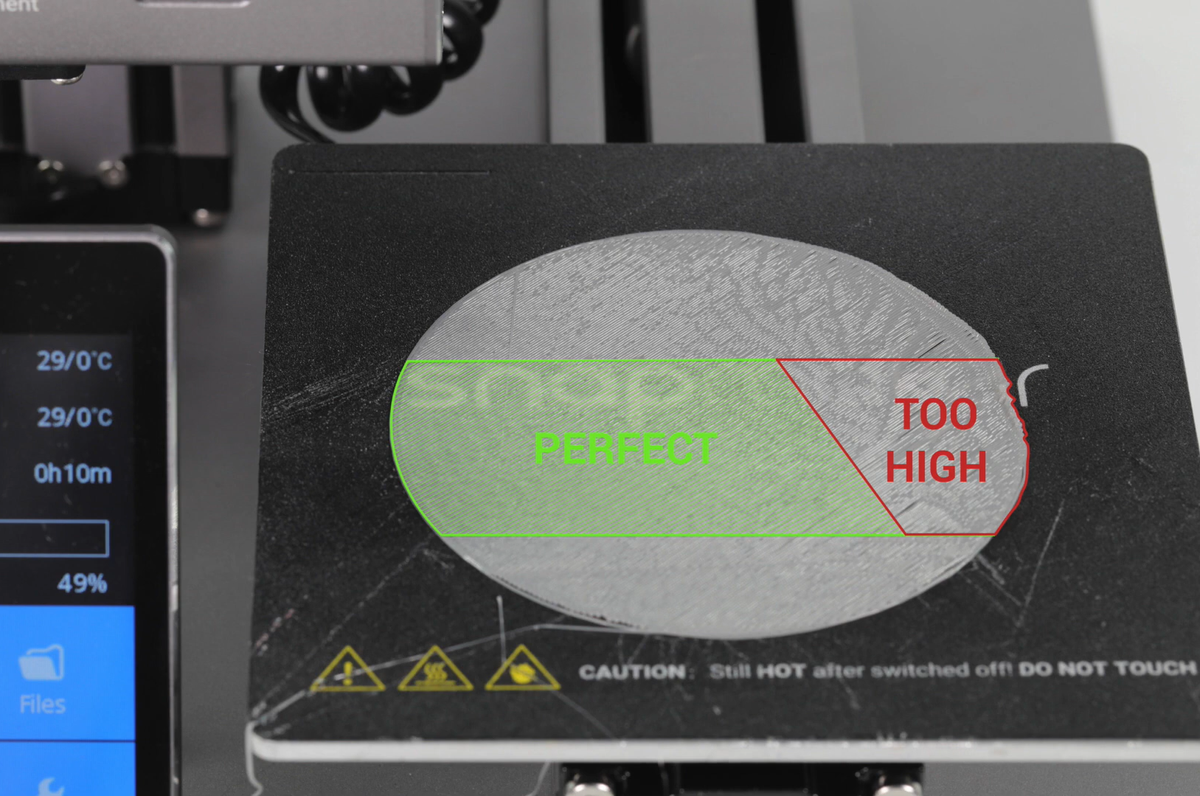
This fine-tunes the distance. You want the nozzle close enough that the filament is pressed into the bed and slightly squished, bonding to the surface and adjacent lines without gaps. If it's too high, the lines will be round with gaps; if it's too low, the nozzle will drag and create ripples or prevent filament flow. Many printers allow adjustment during printing for real-time optimization.
Pro tip: Create a "leveling test print" file that prints a single-layer grid or circles in each corner and center of your build plate. This visual reference helps identify specific areas requiring adjustment without wasting material on larger prints.
3. Ensuring Proper Material Flow
Consistent filament extrusion creates uniform first layers:
E-steps calibration:
This process ensures your extruder motor delivers the exact amount of filament requested. Though somewhat technical, proper calibration provides long-term benefits for print quality.
Flow rate adjustment:
Most slicing software allows modification of flow rate parameters. If gaps persist despite the correct Z-offset, consider increasing first layer flow by 5-10%. Conversely, reduce flow if excess material creates ripples or bumps.
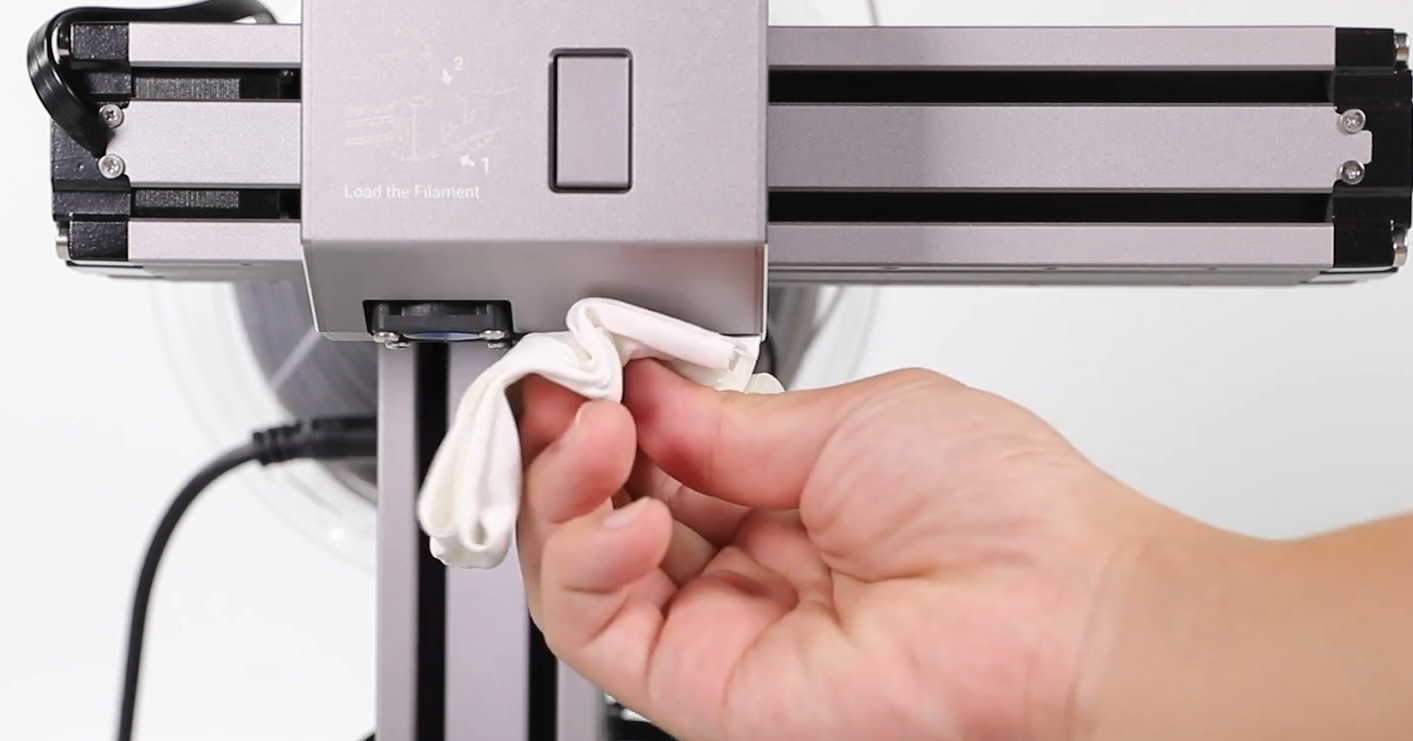
Nozzle maintenance:
Regularly check for partial clogs that can restrict filament flow. Learn to perform "cold pulls" or replace worn nozzles to maintain consistent extrusion.
Pro tip: Keep filament dry with proper storage. Moisture-contaminated filament can cause sporadic extrusion issues that manifest in the first layer. Consider using desiccant packs or dedicated filament storage containers. Read How to Store and Dry 3D Printer Filaments.
4. Optimizing Print Parameters
Some simple yet effective slicer settings for first layer success:
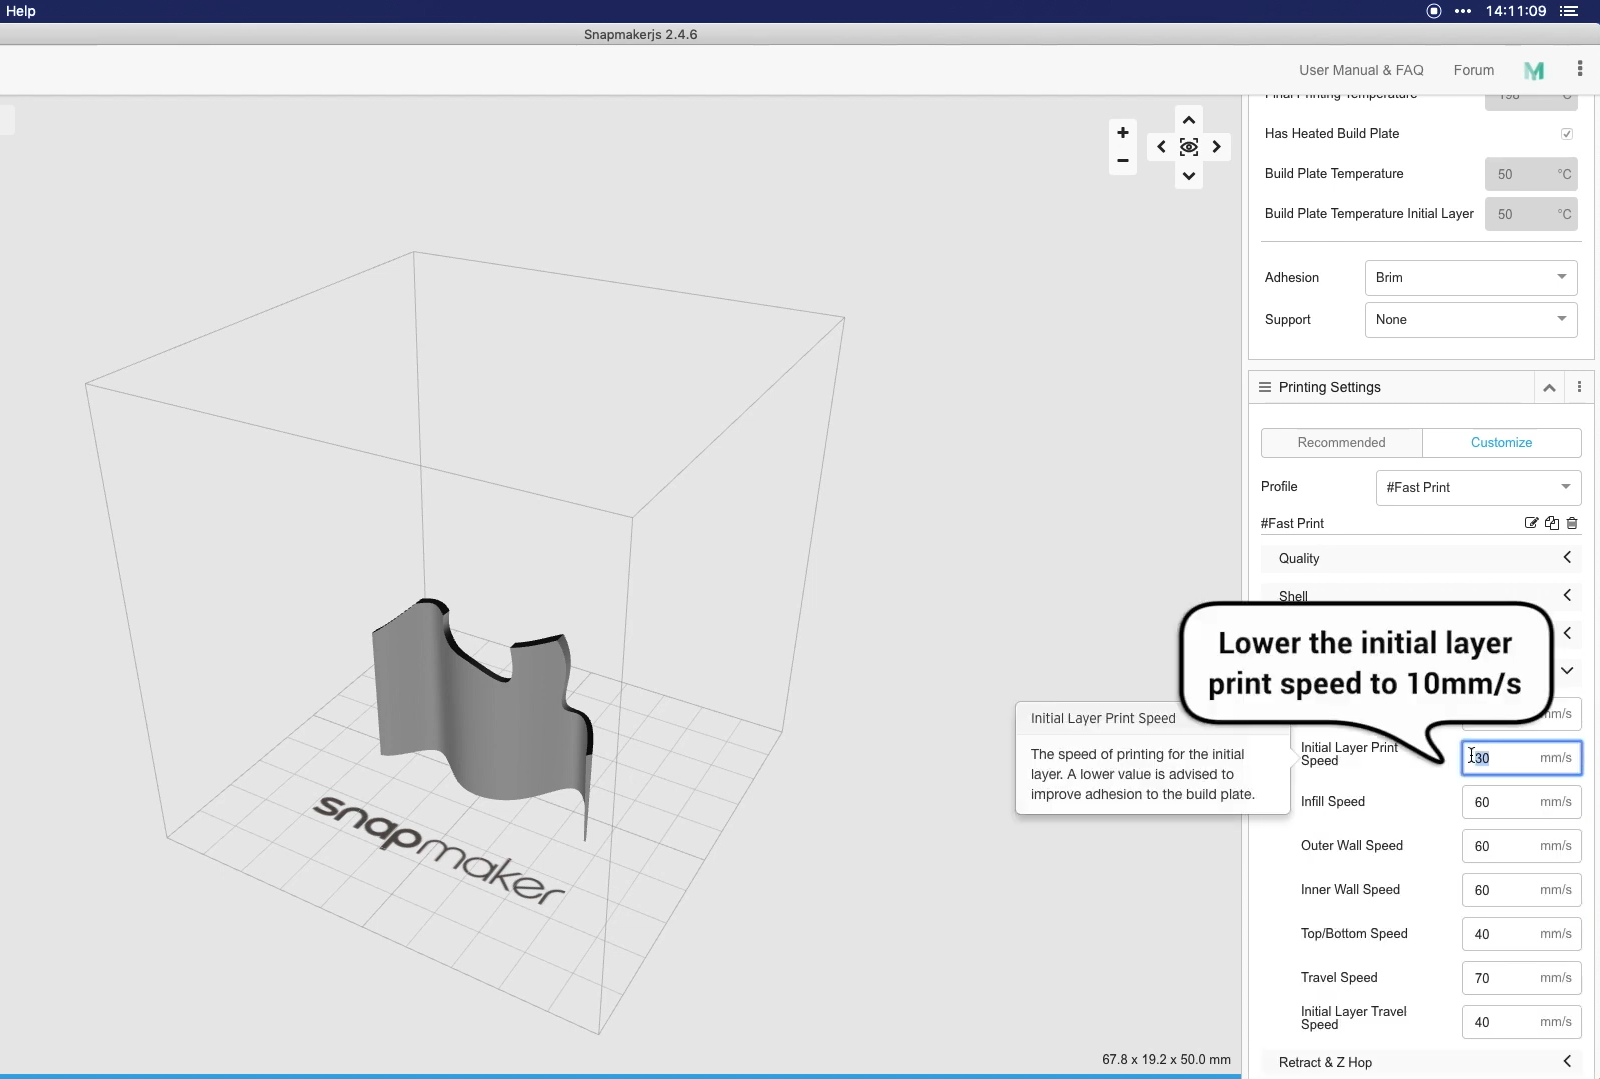
- Reduced speed: Printing the first layer at a significantly slower speed (e.g., 15-30mm/s) gives the plastic more time to bond with the build plate and allows you more time to observe and fine-tune the Z-offset if needed.
- Increased first layer height: Setting your initial layer slightly thicker (e.g., 0.24mm for a 0.2mm print) can help compensate for minor bed leveling imperfections.
- Appropriate first layer width: Many slicers allow adjustment of first layer line width. Increasing to 110-120% of your nozzle diameter can improve adhesion through greater surface contact.
Pro tip: Consider using a brim or raft for models with small footprints. These features increase the contact area with the build plate, improving stability during printing.
Putting It All Together: A Troubleshooting Mindset
When you encounter a first layer problem, don't randomly change settings. Instead, approach it systematically:
- Observe carefully: What exactly does the failed first layer look like? Gaps? Lifting? Ripples?
- Consider fundamentals: Based on the look, which core factor(s) are most likely the culprit? Gaps suggest Z-offset too high or under-extrusion. Lifting suggests poor adhesion or warping. Ripples suggest Z-offset too low or over-extrusion.
- Check the related factors:
- Is the bed clean?
- Is the bed level? What about the Z-offset?
- Are the nozzle and bed temperatures correct for your filament?
- Are you printing the first layer slowly enough?
- Could there be an extrusion issue (clog or calibration)?
- Make incremental changes: Change one setting at a time and print another first layer (you can often stop the print after the first layer to check). This helps you isolate the effect of each change.
- Document successful settings: Keep notes of effective configurations for different filament types and models.
Conclusion
Mastering first layer quality requires understanding the interplay between bed adhesion, nozzle position, and material flow. The process involves patience and methodical testing, but the resulting print quality improvements justify the effort.
Remember that environmental factors like room temperature and humidity can also affect printing results. Maintaining consistent ambient conditions helps achieve reproducible success with your first layers.
As you gain experience, you'll develop an intuitive sense for diagnosing and resolving first layer issues, transforming this initial challenge into a manageable aspect of your 3D printing workflow.