How to 3D Print Clogs: TPU Settings & Project Showcase

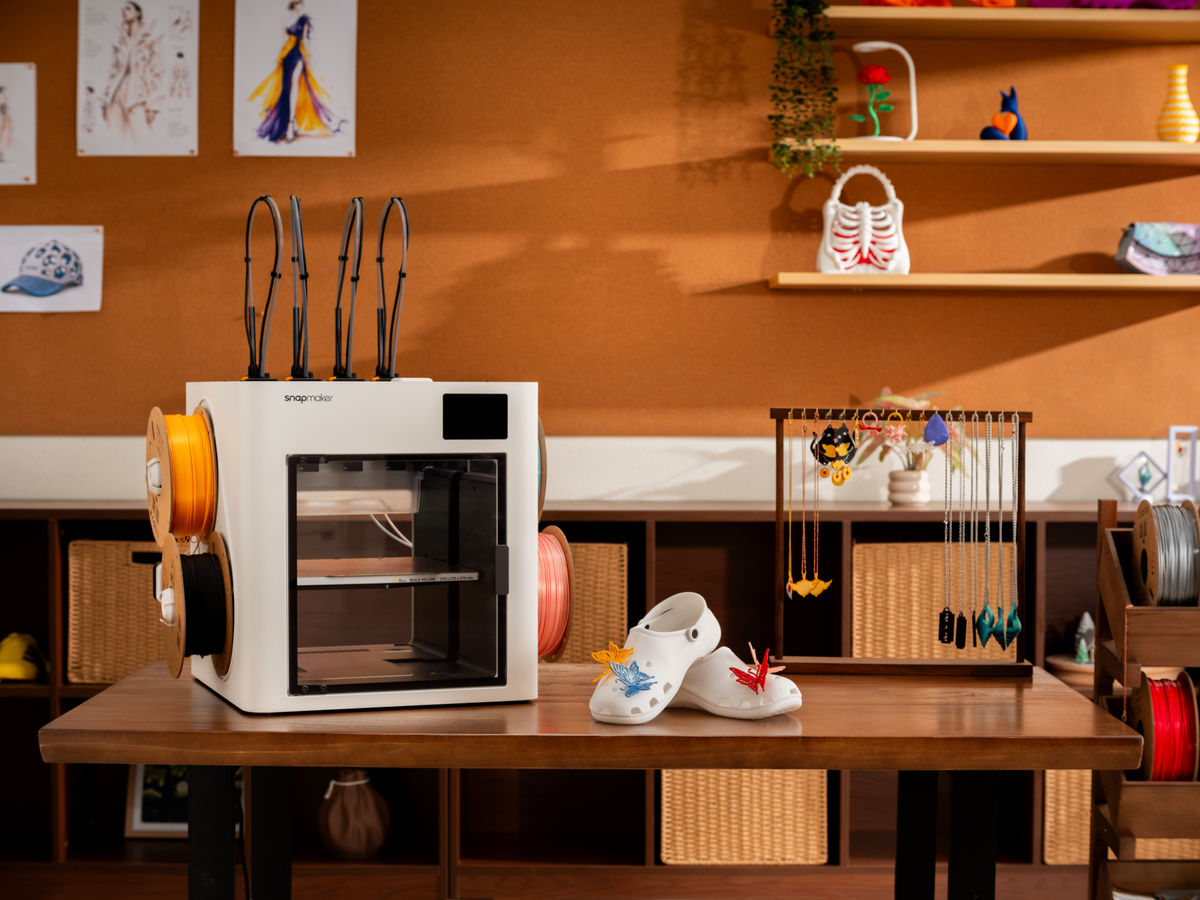
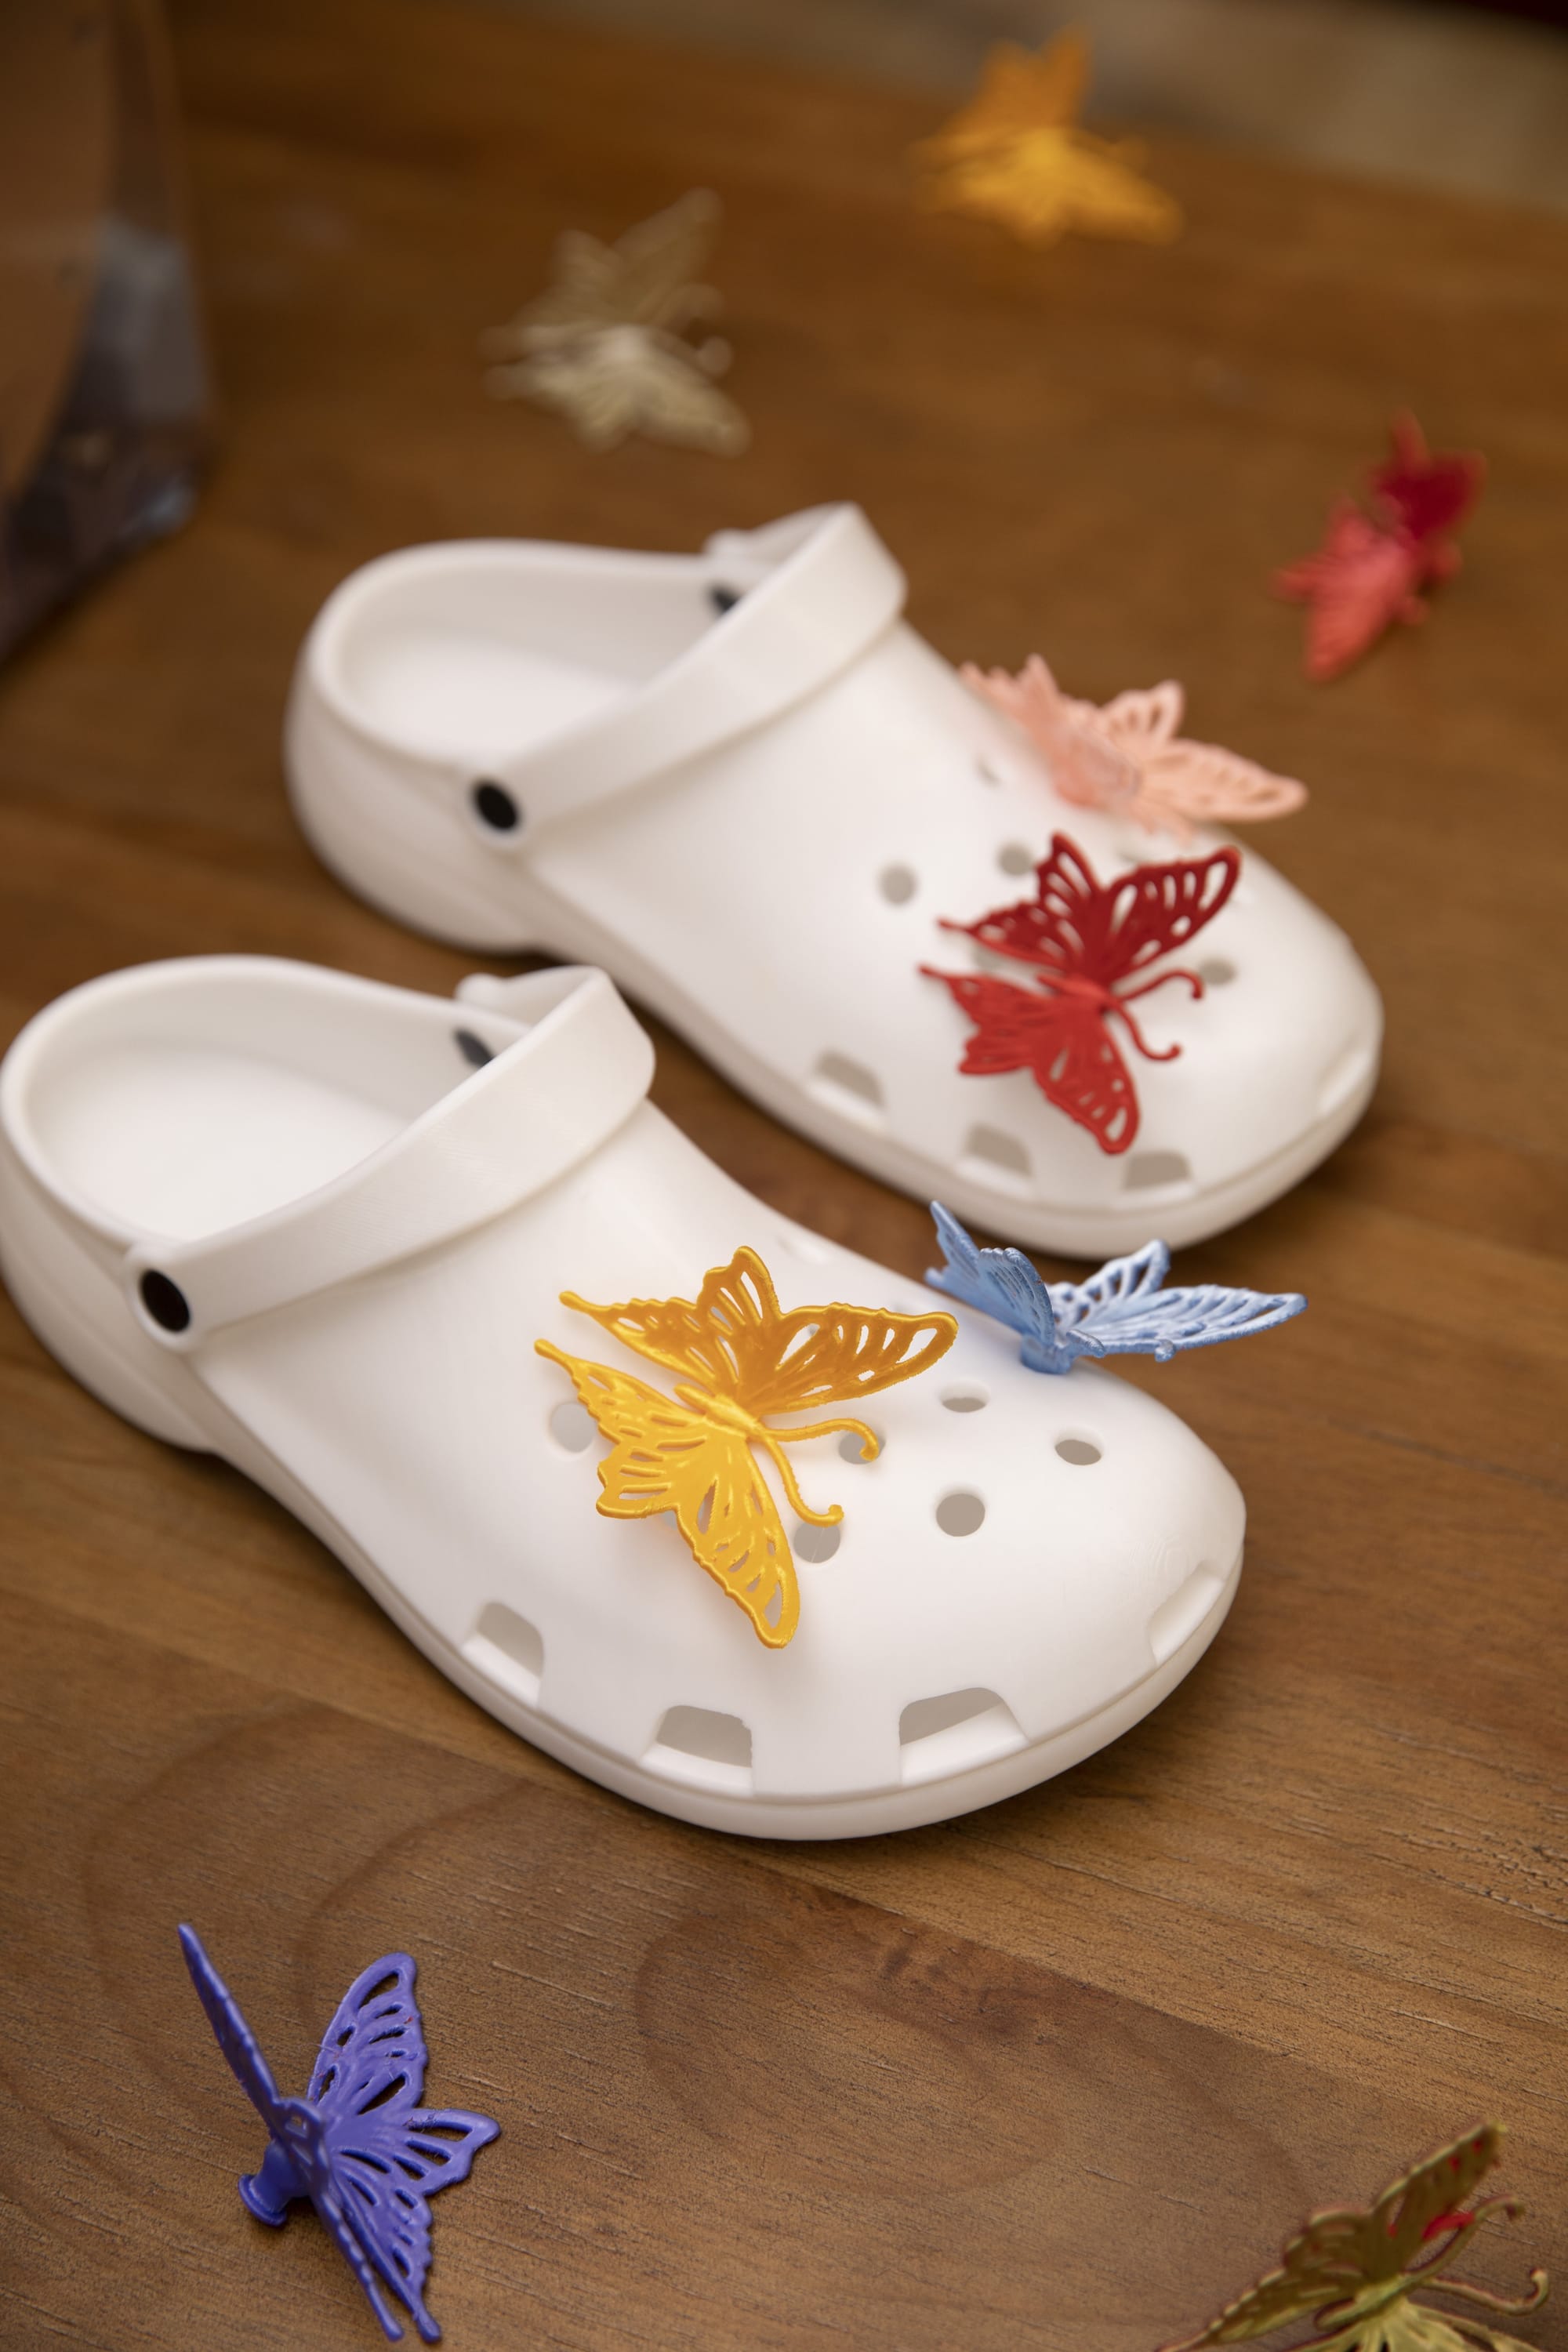
If you have spent any time browsing 3D printing communities lately, you have likely seen the trend: makers bypassing the shoe store and printing their own custom footwear directly from their desktops. It is entirely possible to create beautiful, fully customized clogs complete with vibrant, snap-on charms.
It is a highly rewarding project, but it often comes with a steep learning curve. It can be frustrating to spend days printing a shoe only to end up with a stiff, unwearable block of plastic. Naturally, the internet is full of questions like, “Can Crocs be 3D printed?” and “Are 3D printed shoes actually comfortable?”
The short answer is yes—3D printing comfortable clogs at home is highly achievable. Success generally depends on choosing the right flexible filament, respecting intellectual property guidelines, and dialing in specific preparation and print settings. This guide will walk you through exactly how to do it.
Copyrights: Generic Clogs vs. Branded "Crocs"
Before firing up your slicer software, it helps to understand what you can and cannot legally print.
When people search for "3D printed Crocs," they are often using the brand name as a catch-all term for slip-on, ventilated clogs. However, "Crocs" is a trademarked brand with patented designs that generally cannot be legally replicated or sold.
Fortunately, the 3D printing community thrives on open-source, generic "clog" designs. These models feature similar breathability, aesthetics, and customization options without infringing on intellectual property.
Showcase Resources & What You Need
To provide accurate data and settings for this guide, we tested a clog and accessory set. If you would like to follow along and print the exact setup featured in our showcase, here are the community credits:
- The Shoe Model: "E-yu Shoe" (Clog) by MakerVerse Designs.
- The Accessories: "Butterfly Charms" by 子曰-kevin.
Why Flexible Filaments Like TPU Are Preferred for 3D Printed Shoes
When it comes to footwear, your material choice is the difference between a shoe you love wearing and a failed project.
The Challenges of Using PLA and PETG
Many beginners attempt to print the body of a shoe using standard PLA or PETG. Because these are rigid plastics, they typically create unyielding, uncomfortable blocks that offer virtually no shock absorption. Worse, they are highly prone to cracking under your body weight after just a few steps.
Why TPU Tends to Work Best
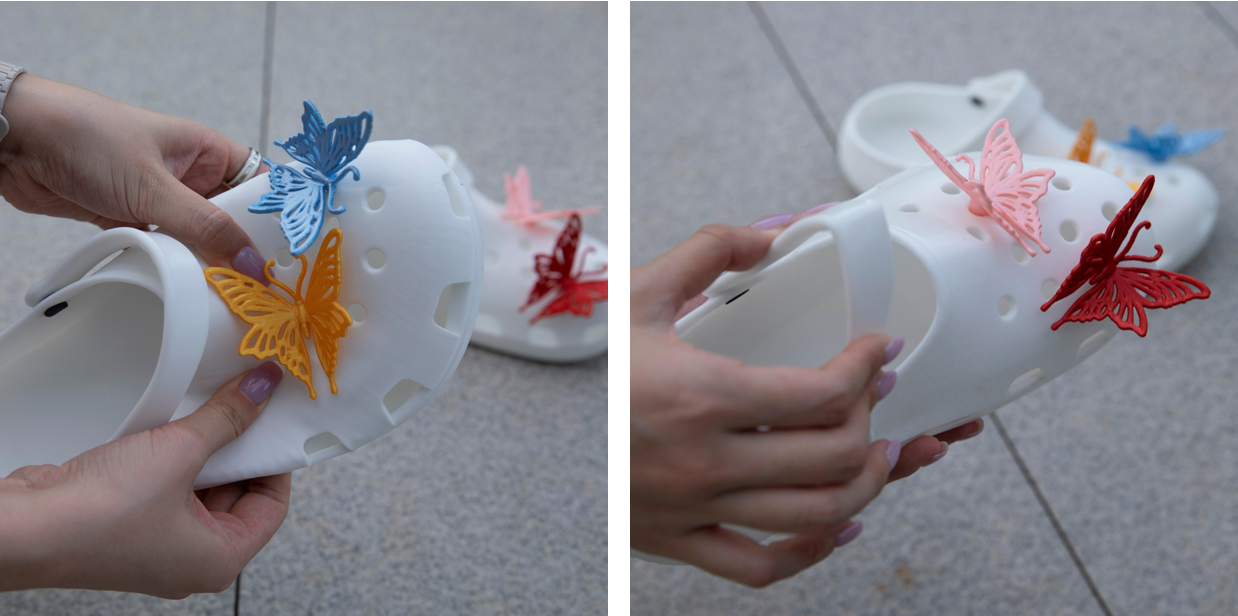
If you are weighing the differences between flexible PLA vs. TPU, Thermoplastic Polyurethane (TPU) is widely considered the most popular and accessible material for 3D printed footwear. For a deep dive into mastering this material, our TPU 3D printing guide covers everything from extrusion basics to advanced settings. It is highly flexible and naturally compresses to absorb energy when you walk.
TPU comes in different "Shore Hardnesses." For a clog that strikes a balance between holding its structural shape and offering a comfortable "squish," TPU 90A—which you can easily find in our collection of 3D printer filaments—tends to be the sweet spot. It provides a cushioned, springy rebound, whereas stiffer variants like 95A might feel a bit too firm for everyday walking.
How to 3D Print Clogs (A Complete Showcase)
Printing with flexible materials requires a bit more care than standard rigid filaments. Using a modern 3D printer like the Snapmaker U1 as our baseline, here is the complete workflow for printing wearable shoes.
🩴 Would you wear 3D printed clogs?
Essential Preparation: Drying and Loading TPU
TPU is incredibly sensitive to moisture and feeding resistance. Handling it correctly before printing prevents heavy stringing and nozzle clogs.
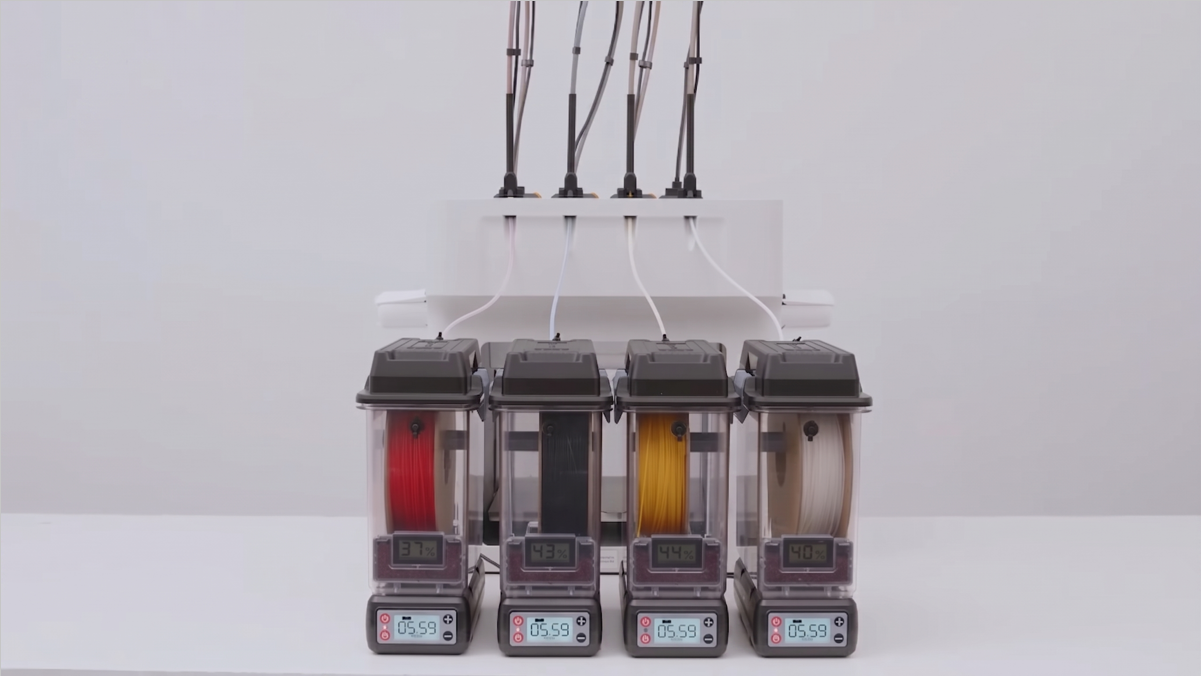
- Drying WHILE Printing: TPU is highly hygroscopic, meaning it absorbs moisture from the air rapidly. Wet TPU will boil inside the nozzle, leading to bubbles and weak layer lines. While pre-drying the filament at 70°C for 6 hours is a great start (learn more about optimal TPU drying temperatures). It is highly recommended to use a filament dryer (like the SnapDryer) or store it in a sealed container with desiccant during the printing process to keep the TPU isolated from room moisture from start to finish.
- Manual Loading AND Unloading: Flexible filaments can easily buckle or bend inside automatic feeding paths. Even if your printer features an automatic filament system, it is crucial to temporarily disable auto-loading for TPU. You should load and unload the filament entirely manually. Trim the filament tip to a 45-degree angle and feed it by hand to ensure proper contact with the extrusion gear.
- Nozzle Selection: Avoid using a 0.2 mm nozzle for flexible filaments, as the backpressure is often too high and leads to clogs. A standard 0.4 mm nozzle is ideal.
Slicing and Print Settings for Optimal Comfort
Achieving the comfortable, cushioned feel requires specific settings in your slicer software, such as Snapmaker Orca.
- Turn OFF Dynamic Flow Calibration: This is a crucial step. Because TPU is soft and compressible, it tends to expand and contract during extrusion. This makes automatic dynamic flow calibration highly unreliable and prone to failing. Ensure this feature is turned off before starting your print job.
- Handling Overhangs and Supports (The Multi-Toolhead Advantage): Clogs have significant overhangs, especially around the toe box, which absolutely require support structures. However, printing these supports with the same TPU material is a nightmare, as the flexible layers tend to fuse together permanently, making removal incredibly difficult and often ruining the surface. This is where a multi-toolhead printer like the Snapmaker U1 truly shines. By assigning TPU to your primary toolhead and a rigid filament (like PLA or PETG) to your secondary toolhead for the supports, you solve the problem. Because TPU and PLA do not adhere well to each other, the rigid supports will effortlessly peel away from the flexible shoe once the print is finished!
- Comfort Settings:
- Infill Density (Hardness): Your infill percentage directly determines how soft or firm the shoe is. A lower density (such as 15%) creates a softer, more cushioned feel underfoot.
- Infill Pattern (Function): Match the pattern to the shoe's functional needs. The Gyroid pattern is ideal for providing multi-directional elasticity, whereas Triangle infill is better suited for areas requiring firmer structural support.
- Layer Height: A 0.2 mm layer height is generally the sweet spot, perfectly balancing print efficiency with fine detail.
- Walls and Shells: These settings depend heavily on the shoe's design. For a solid clog, 2 walls, 3 bottom layers, and 5 top layers provide a safe baseline. However, if you are printing a breathable "mesh" style shoe, you will often set walls, top, and bottom layers to 0 across the main body, applying those solid layers only to structural reinforcement areas like the shoe collar.
- Print Speed: While modern, rigid CoreXY machines are incredibly fast with standard materials like PLA, TPU inherently requires patience. Attempting to push flexible filaments to high speeds will result in immediate feeding failures or poor layer adhesion. For consistent extrusion and high surface quality, you should keep your TPU print speeds between 30 mm/s and 50 mm/s.
Post-Processing and Safe Removal
Unlike rigid plastics, TPU tends to over-stick to PEI build plates. Do not forcefully pull the shoe off the bed, as you risk stretching or tearing the bottom layers. Instead, wait for the bed to cool, gently flex the steel sheet, and spray a bit of isopropyl alcohol directly at the interface between the model and the bed. The alcohol will release the adhesion instantly.
Are 3D Printed Shoes Worth the Investment of Time and Money?
When evaluating the cost and time involved, it helps to set realistic expectations.
The Joy of Making vs. Mass-Produced Value
Candidly, from a purely financial and time-saving perspective, mass-produced shoes generally offer better value for money. You can buy a standard pair of foam clogs at a big-box store quickly and cheaply.
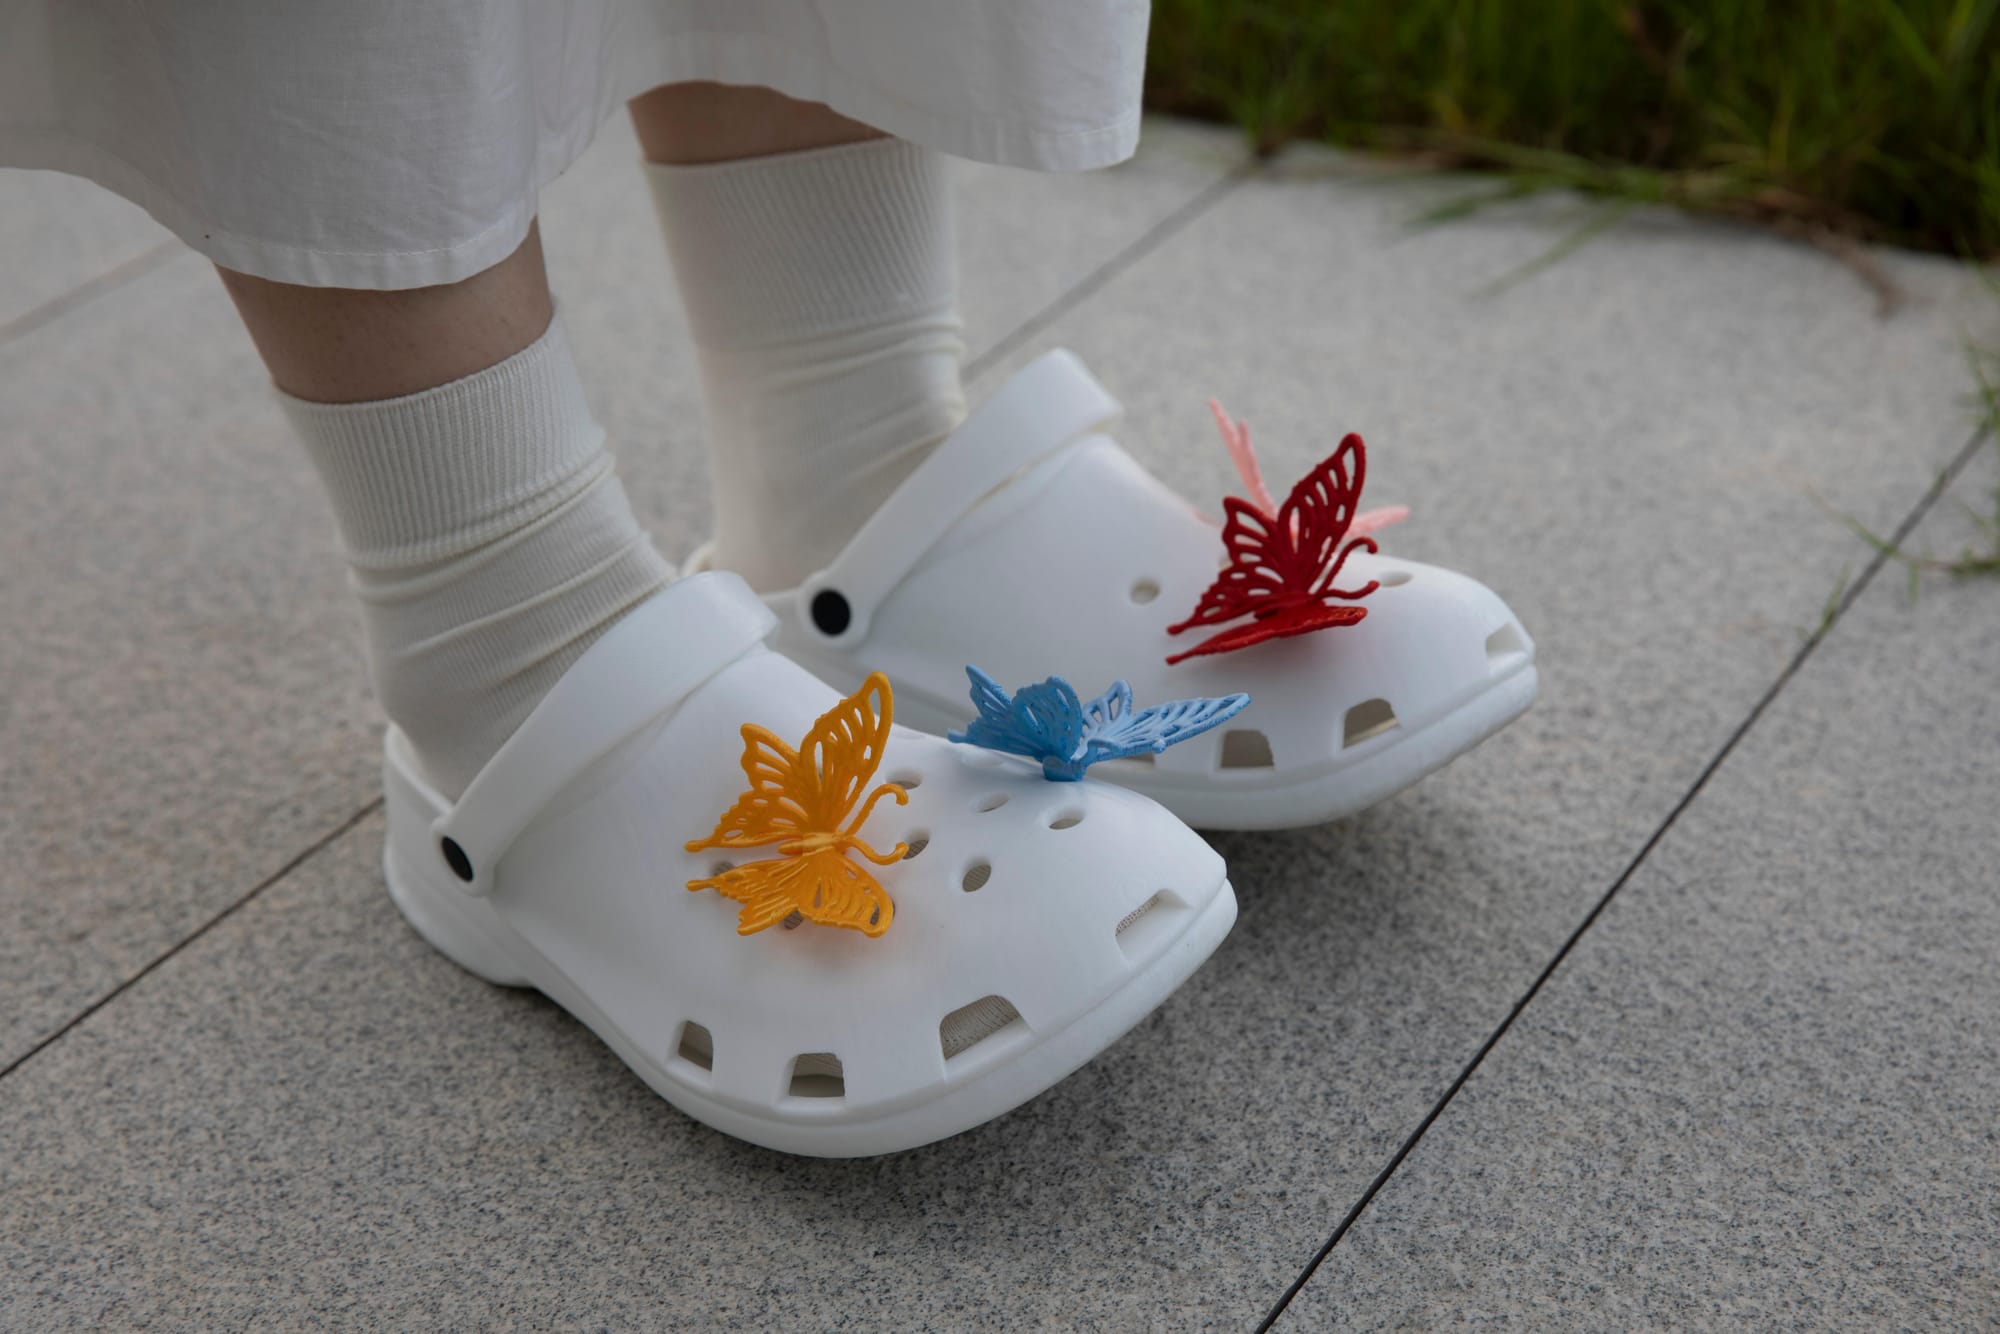
However, the real value of 3D printing shoes lies in the DIY experience. There is immense satisfaction in making something highly customized, dialing in the exact color combinations, and wearing a functional piece of technology that you crafted yourself. The ability to personalize every detail makes the process incredibly rewarding.
Time and Material Cost Expectations
3D printing footwear is a long process, but it uses surprisingly little material. Using our specific showcase as a benchmark, here is the exact data:
- Time: Printing the entire setup (shoes, charms, clips, and the wipe tower) took exactly 2 days, 3 hours, and 50 minutes.
- Material: The total filament used was 790.517 grams. To achieve the vibrant, multi-material look, we utilized a mix of Snapmaker TPU 90A (for the shoe body), alongside Silk PLA, Dual-Color PLA, and SnapSpeed PLA (for the rigid accessories and supports).
Frequently Asked Questions & Troubleshooting
Are 3D printed shoes usually comfortable?
Yes, they can be quite comfortable when printed with flexible filaments like TPU 90A. Using a low-density gyroid infill (around 15%) allows the material to compress and provide a supportive, rubbery cushion underfoot.
Can I print charms for 3D printed clogs?
Yes, rigid materials like Silk PLA or PETG often work perfectly for custom accessories that snap into the ventilation holes. Since they do not need to flex, they are easy to print in vibrant colors. (If you are looking for more ways to use your leftover flexible material instead, check out these creative TPU 3D print ideas).
Why is my TPU model collapsing mid-print?
If the walls or overhangs of your shoe are sagging or collapsing, first ensure your part cooling fan is set to 100%. A great trick is to rotate the model within your slicer software so that the problematic, collapsing area directly faces the cooling fan for enhanced localized cooling.
What should I do if my TPU print won't stick to the bed?
Because TPU generally suffers from over-adhesion, a failure to stick is usually a red flag. Start by checking your heated bed temperature—if the bed sensor is broken, the bed might not be heating up at all. If the temperature is accurate, check your bed leveling and wash the build plate with soap and water or isopropyl alcohol. In rare cases where it still struggles to grip a clean, heated bed, a thin layer of 3D printing glue can help establish that initial bond.
How do I reduce stringing on my TPU prints?
Thoroughly drying the filament (preferably while printing) is the most effective method for reducing TPU stringing. If stringing persists even with dry filament, try increasing your toolchange retraction length, decreasing your travel speed, and—if printing multiple parts at once—reducing the physical distance between the models on the build plate.
Is it safe to wear 3D printed TPU shoes?
Yes, TPU is a highly durable material once the printing process is finished. However, to ensure maximum comfort and avoid any potential irritation from prolonged direct skin contact, it is generally recommended to wear them with socks. If you are printing indoors and have concerns about fumes during the extrusion process, you can read more about whether TPU is toxic to 3D print and how to ensure proper ventilation.