StarMaker | SpaceX Crew Dragon Capsule Model Build | Snapmaker
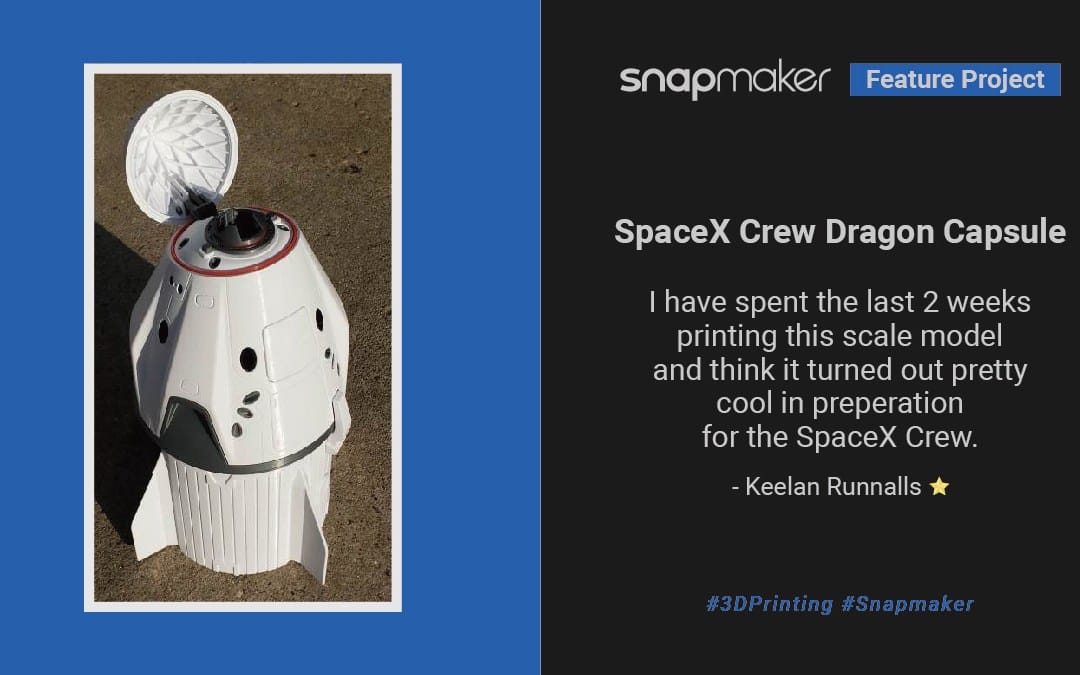

Printed by: Keelan Runnalls (Instagram @brokenbarrelhomestead)
Scale: 1/20
3D printer: Snapmaker A350 in the Enclosure
Dimensions: Fin tip to fin tip: 290mm (11.5in or 1.5 bananas), Trunk Diameter (without fins): 195mm (7.5in or 1 banana), Height (top of Nose Cone to bottom of the Trunk): 405mm (16in or 2 bananas)
Supplies:
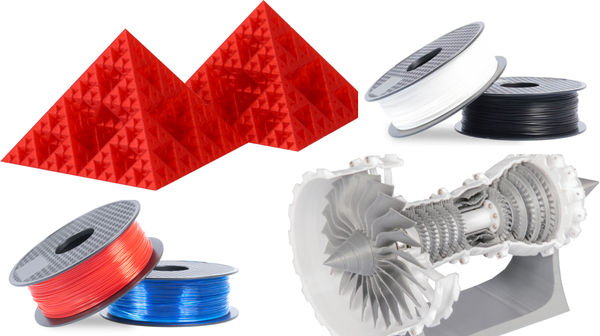
- Snapmaker 3D Printer Filament PLA Black x1
- eSUN PLA PRO (PLA+) Cool White x2
- OVERTURE PLA Space Gray x1
- SUNLU PLA Red x1
- N52 Magnet Dia 5x3 mm Neodymium Disc x28
- N35 Magnet Dia 10x1 mm Neodymium Disc x60
- White 5mm Pre Wired LED 12V 20cm Bulb x1
- 12v battery (size: MN21) x1
- Superglue
Print time: Approximately 300 hours
Total number of 3D printed parts: 69
Printer settings: Slightly modified Fast Print Profile
- Layer height: 0.2 mm (0.08mm on the hinge pieces)
- Inner Wall Speed: 30 mm/s
- Infill: 15% (8% on the large trunk pieces for speed reasons)
- Supports only added when absolutely necessary
STL files: Dragon-MJ from www.Morethan3d.com
Over the past year of working and teaching from home, one of the things that my daughters and I have really enjoyed is watching rockets launch into space. When the SpaceX Demo-2 capsule launched in August of 2020, we spent the entire day watching Doug Hurley and Bob Behnken prepping for launch all the way to the unveiling of the sequined space dinosaur zero-g indicator. When I received the Snapmaker A350 later that month a whole new world was opened. As we continued to watch SpaceX launch more rockets and more astronauts into space, I began printing small things here and there dipping my toes into the world of 3D printing.
When SpaceX started testing their Starship prototypes, I started looking for a model to print to demonstrate the bellyflop landing procedure. While searching for a detailed model I found the MoreThan3D website where creator An Duong has developed some amazing model replicas of the Starship, Raptor Engines, and the Crew Dragon capsule. His files were expensive, and I was nervous that it may be more than what I could handle on the Snapmaker but I really wanted to take our learning to the next level with the upcoming crewed Dragon launch. I was on the fence and with about 2 weeks prior to the next crewed launch in April of 2021, I decided it was “go for launch” and bought the Dragon-MJ plans from www.Morethan3d.com.
Almost immediately after purchasing the plans I began going through and taking estimates as to how much PLA I needed to buy. I started printing the small parts with the black Snapmaker PLA filament that I had on hand and while the first prints began, I quickly ordered the other spools of filament.
After getting the first few pieces printing, I realized that this project was going to push the A350 to the max and that timing was going to be key if I wanted to finish the capsule before the Crew-2 capsule launched. I began making a list of the 69 parts that needed to be printed and organized them by the color they were going to be printed in (to avoid having to swap spools as frequently) and estimated how long each piece was going to take to print (so that longer pieces could print over night while I was sleeping).


Slowly the pieces began to take shape, but the real test of the printer began when I started printing the larger pieces. It took up more of the bed than I had in any of my previous experiences with the A350 and watched as the first few attempts failed because the bed was unlevel. I spent the better part of a day attempting to manually level the bed in a 7x7 pattern and nearly pulling my hair out. (Thank you Tone for the awesome write up on how to level the bed SM2 Bed Leveling 101 .)
Ultimately my problem was solved by updated the firmware, and Luban software. I used the 5x5 auto level and I was back in the game. The first gray heat shields were about 15 hours of printer time, but they quickly ramped up to 50 hours for each of the black and white base pieces and a final 60-hour print for the white outside shell. As the pieces finished printing, I was gluing in the magnets that hold the model together and was overjoyed with how it was beginning to take form.
As my time ticked down, I saw that I was down to the wire with whether I was going to finish. I lucked out when the launch was postponed a day and in the final 12 hours before the Falcon launched Shane Kimbrough, Megan McArthur, Akihiko Hoshide, and Thomas Pesquet to the International Space Station, I finished printing the last of the astronauts to ride aboard my model of the capsule they were about to ride in. I was able to get outside and snap some pictures of the pieces finally together and my girls were totally in shock with the scale it ended up being.


When I shared my pictures of the final build with friends and the community, I heard a lot of, “I wouldn’t even know where to begin.” And to that I say, “The same way you eat a whole cow, at the beginning, one piece at a time.” Sure, it is a giant project with lots of pieces and takes a huge amount of time to print but seeing the look of wonder on my daughter’s faces as we watched the Dragon Capsule dock to the ISS and being able to demonstrate with our own model of the nosecone opening and the Soft Capture System retracting back in and pulling the capsule into a hard capture with the ISS, it was all worth it.
Over that two-week period watching parts build and hearing the singsong of the Snapmaker throughout the house, I came to have an even better grasp of its capabilities, its quirks, and I can’t wait to continue to push it to its limits and see what we can learn next. (I still really want to build the Starship.)
Follow us to see what neat things we are printing next to further my lifelong goal to never stop learning.
DISCLAIMER T
The views expressed in this article do not necessarily reflect the views of Snapmker, and the mentioned sites/links are not related to Snapmaker.
About StarMaker Program
StarMaker Program is a series of long-term plans aiming at stimulating the communication within our community as well as the connection between users and the Snapmaker team. Leading users who contribute to skills teaching, inspiration sharing, product feedback and community maintenance will be awarded star honor and other rewards.
https://blog.snapmaker.com/join-our-starmaker-program-and-get-repaid-for-your-contribution/

