FDM 3D Printer Calibration: A Comprehensive Overview
You’ve bought your 3D printer and now are looking to start printing. Well, before you start, there is something you need to do, and that is 3D printer calibration.
Calibration steps vary between 3D printing machines. If you are wondering how to calibrate a FDM (Fused Deposition Modeling) 3D printer, this guide is for you. This blog attempts to cover all aspects of calibration in a structured approach. Use this guide as a roadmap to fine-tuning your machine to your specific setup!
Why Calibration Matters
Before we dive into the what and how of 3D printer calibration, let's briefly touch on why it's crucial:
Improved print quality
Calibrating your 3D printer can improve print quality as it ensures that every print will turn out the same every time. It guarantees precise layer deposition, accurate detail rendering, and smooth operation of moving parts. Calibration results in professional-looking prints every time.
Increased reliability and consistency
3D printer calibration increases consistency as you get identical prints each time. This makes your prints appear more professional and stunning.
Extended printer lifespan
Calibrating a 3D printer also minimizes wear and tear on the printer's components, extending its lifespan and saving you from costly repairs or replacements. This results in consistent print quality, so each project looks as good as the last one.
Reduced waste of filament and time
Moreover, calibration reduces filament waste and saves time, helping you print massively in a given period. A well-calibrated printer minimizes errors that lead to failed prints, helping you avoid wasting valuable filament. Thus, precious time is saved owing to better printing management and better outputs achieved at the first attempts.
1. Mechanical Calibration
The mechanical assembly is the first factor to improve in a printer and should be attended to before every other calibration. Mechanical calibration means making sure the printer is still functional since the physical aspects of the printer form the basis of all other calibrations. The key elements include:
- Stability and leveling of the frame
- Aligning of the axes
- Proper tensioning of the belts
- All the hardware parts are intact
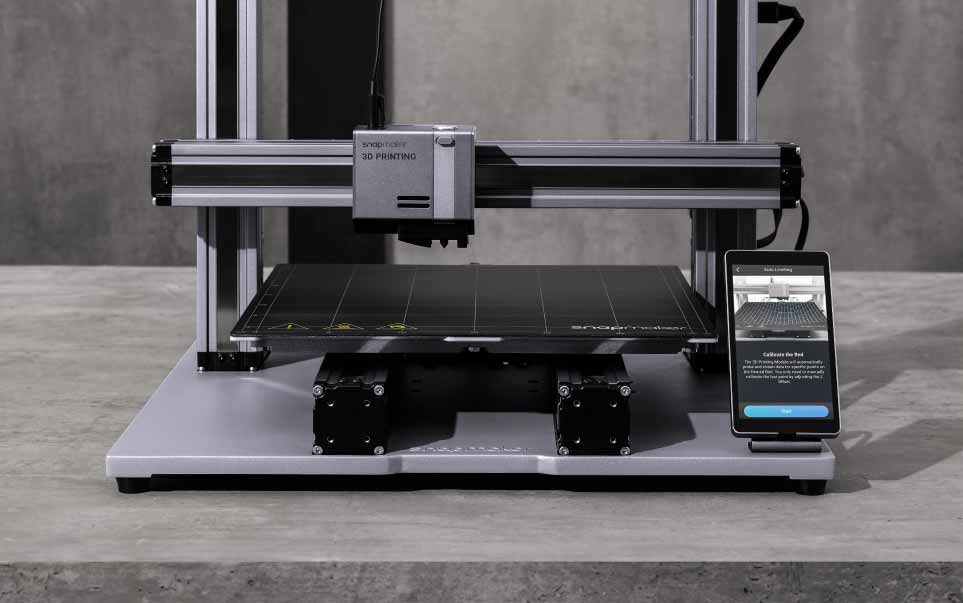
Some manufacturers even have better alternatives with respect to their technical capabilities and specific products. For instance, the Artisan 3D Printer from Snapmaker employed embedded linear guides that facilitate motion while preventing dirt build-up on the guides to reduce maintenance.
2. Print Bed Calibration
A level print bed is crucial for successful first layer adhesion, which is the foundation of every good print. A poorly leveled bed can lead to warping, poor adhesion, and failed prints. This involves:
- Check bed level using a piece of paper or feeler gauges
- Z-offset adjustment
For printers with automatic bed leveling, run the auto-leveling routine. The Snapmaker 2.0 has an automatic purposely leveler that is effective and user-friendly. A proximity sensor detects certain positions on the heated tray, and the apparatus self-corrects for slight errors. Once you perfect this stage, the number of failed prints and issues of adhesion will drastically reduce.
Related guides: How to Clean Your 3D Printer Bed
3. Extrusion System Calibration
The extrusion system of a 3D printer is analogous to the heart of the machinery. It controls the precise amount of filament extruded during printing. The attention on calibration at this stage includes:
- Extruder steps per mm
- Flow rate adjustment
- Retraction settings
Calibration of extrusion is crucial, as accurate extrusion results in consistent layer adhesion, proper dimensions, and overall print quality.
4. Temperature Calibration
Different materials require different printing temperatures. Proper temperature calibration ensures optimal melting and bonding of the filament, and prevents issues like stringing, warping, and poor layer adhesion. Calibration here involves:
- Temperature tuning of the hot end
- Adjustment of the bed temperature
- Temperature stability PID-tuning
Perform temperature tower tests and choose the best-looking temperature for your print. The temperatures have to be correct to make or break your print quality.
5. Motion System Calibration
The motion system controls the precise movement of the print head and bed. Proper calibration ensures accurate positioning and smooth movement, minimizing artifacts like ringing and ghosting. This comprises:
- Stepper motor calibration
- Change acceleration and jerk settings
- Linear advance, if supported by firmware
A well-calibrated motion system will avoid a lot of artifacts and improve your overall print quality.
Related guides: 3D Printing Ghosting: Causes, Fixes, and Prevention Tips
6. Slicer Settings Optimization
Your slicer software translates 3D models into printer instructions (G-code). This is the bridge between your digital design and the physical print. Now, optimizing these settings:
- Layer height
- Print speed
- Cooling
- Infill settings
These are often akin to what most people would call "calibration," although strictly speaking, they run on the calibrated hardware. Slicer settings fine-tune the printing process, allowing you to achieve specific print qualities and optimize for different filaments and models.
7. Advanced Calibration (Optional)
For users seeking the absolute best print quality, advanced calibration techniques can further refine the printing process.
- Pressure advance
- Resonance compensation
- Mesh bed leveling
These techniques will take your prints from great to exceptional.
8. Maintenance and Regular Check-ups
Calibration is something that is never done once and then forgotten. Regular maintenance will be categorized into the following:
- Periodic calibration: re-level the bed every few prints, etc.
- Hardware check: clean the nozzle, check belt tension, etc.
- Firmware updates
Continuous maintenance is expected to help your printer always perform its best.
Related guides: 3D Printer Fire Safety – Causes, Prevention, and Best Practices
Final Thought
Calibration is a fundamental aspect of 3D printing. By following these key calibrations and exploring the linked guides, you'll be well on your way to creating stunning 3D prints.
Ask for help in online communities or forums if you encounter any challenges. Don't be afraid to experiment to find what works best for your specific setup!

