How can you use 3D printing in education with Snapmaker 3D printer?
STEAM education is now getting more popular and widely integrated in all levels of education around the globe since its first discussion in the early 21st century. The idea behind the discussion was to improve the country's technology capabilities by developing citizens' skills in STEM fields, later evolved into STEAM fields, when they were at early educational stages. Thus, nationwide strategies and policies were issued; events and programs emerged to help get the idea off the ground. Such exhibitions as ISTE in the US and BETT in the UK are one of these events that you may have actually participated in.
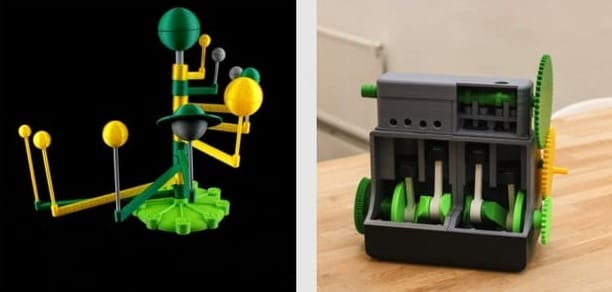
As you may have noticed, 3D printers play an important role in STEAM education. 3D printing technology is one of the emerging technologies that may change the way we design and manufacture in the future. It can also be combined with various subjects in school. That's why 3D printers were introduced to classrooms and many curriculums were designed based on the needs of different education levels. For example, on MyMiniFactory, you can find tens of thousands of models that are categorized based on grade level and subject. Most of them can be further designed into a course that teaches students knowledge of a certain subject and skills to design.

As a 3D printer equipment and solution provider, Snapmaker provides 3-in-1 3D printers that not only develop students' printing knowledge and skills, but also make it easy to learn the knowledge and skills of laser and CNC. The technologies of both additive manufacturing and subtractive manufacturing are all integrated into one machine, opening up more possibilities to combine different subjects in one course and thus helping teachers and parents to better achieve students' holistic development.

Partnered with honored teachers in Nankai University, Snapmaker developed an education guidebook named Becoming a Smart Maker: Digital Technology Introduction. From a beginner's perspective, it aims to help students to establish their understanding of three manufacturing technologies (3D printing, laser engraving and cutting, CNC carving) from the ground up. From mastering basic model design knowledge to experiencing actually making something, it can gradually inspire students' awareness of innovation and help fulfill all-round development.
In the following weeks, we will share three courses in the education guidebook, which use the three functions of the Snapmaker 2.0 AT models respectively. Today, this blog will show you how you can use Snapmaker's 3D printing function for educational purposes. This course's task is to 3D print a terrestrial globe. In the making process, it's recommended that teachers and parents explain relevant geographic knowledge to the students and show them how to design models. In this blog, we will use TinkerCAD as the design tool. You can also use more professional software if needed. If you are also planning to try STEAM education in your classes or at home, this course can be your starter.

To make the terrestrial globe, students need to understand basic information about the Earth before designing. Students can be easily involved and start thinking when teachers or parents guide them through questions:
- Question: Is the Earth a normal sphere?
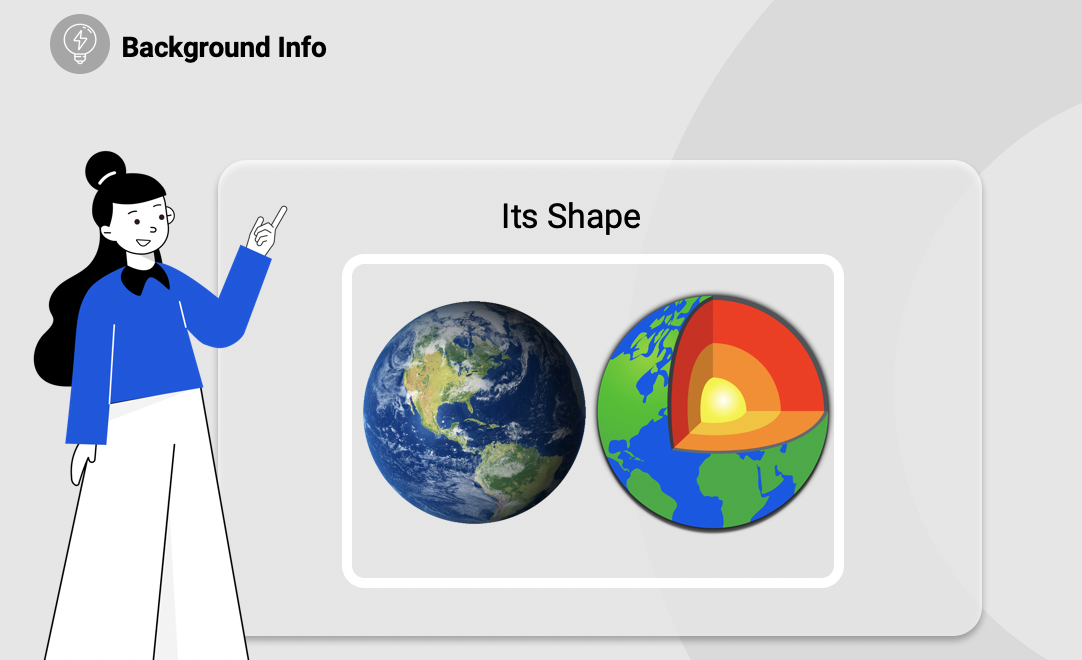
- Answer: We always say that the Earth is a sphere, but the Earth is not a perfect sphere. The Earth is a spheroid slightly flattened at the poles and slightly bulging at the equator. The poles are the North and South poles, the two ends of the Earth and the two points at which the imaginary axis of the Earth intersects the Earth's surface. The equator is the longest circumference on the Earth's surface in the direction of the Earth's rotation.
Other questions that you may consider asking include:
- Do humans know the Earth's shape from the very beginning? By asking this question, you can let students know that humans' understanding of the Earth's shape also experienced a long and difficult process. By telling them the interesting story and history of geocentric theory and heliocentric theory, they are better able to understand and remember these concepts.
- What are the points and lines you should know about the Earth? By asking this question, you can naturally lead to the concept of the North Pole, the South Pole, longitude and latitude. To make sure they understand how these concepts work in daily life, you can even ask them the approximate longitude and latitude of your location.
- What parts do we need to design and print to make the globe? Is the Earth's axis vertical to the surface? By asking these questions, you help them imagine how to substantialize something they cannot see or touch in person. In addition, the relationship of revolution, rotation of the Earth and the four seasons can be explained thoroughly here.
All the above knowledge may be taught in 2 or 3 different courses in usual classes. Now it's easily connected by one project!
After the students figure out all the above questions, we can start the design. The globe can be divided into the following parts. Today we will use the sphere as an example and show you how to teach students to design.

In TinkerCAD, with its basic shapes, you can easily get a sphere by dragging the shape to the workplane. But, is it what we really need? When designing the sphere, what we need to consider includes should the sphere be stuffed or hollow; should we print it as a whole or cut it into two pieces; what the size is; whether there is a design that saves the most time and material.
Some of the questions can be answered after we get familiar with 3D printing. If the sphere is printed as a whole, support is needed when slicing the g-code because of the limited contact area between the model and the 3D printer's build plate and also the deep bridging. Otherwise, you will spend lots of time dealing with print failures and postprocessing the surface. Therefore, printing two half spheres and then gluing them together is a better choice.

Also, to save material and for easy assembly, the sphere is better designed as hollow. The thickness, however, may be best decided by trial and error as it is related to the size of the model. In our course, we use 50 mm as the outer diameter and 5 mm as the thickness. In this case, in TinkerCAD, all we need to do is set the two half spheres to the right size, align them, group them, and copy them. Quick and easy!

When the design is finished, the next step is to learn how a 3D printer works and how to transform design files into G-code files. We have put this in detail in our Quick Start Guides and User Manuals. Remember to check them out when you receive your Snapmaker! After this project, we are sure that students will have a strong sense of achievement. They will also have a new understanding and develop a deeper interest in related subjects.

This is how a project can help students learn knowledge of relevant subjects and design skills. A terrestrial globe may be common in almost every household, but a DIY one made by children is meaningful and unique. Whether STEAM education is beneficial to the country is debatable, but it will be beneficial to those who take advantage of it. So, don't hesitate to take advantage of this blog and start a project with your students or children!
In the next blog, we will share the course using laser engraving. If you want to learn more about our case studies in the education field or you have an idea of 3D printing education to share, feel free to comment below.
A Snapmaker 3-in-1 3D printer is essential to turn the project into reality. Products you may be interested in: Snapmaker 2.0 AT Models, Snapmaker Artisan. US users can also have a look at our new Education Program.

