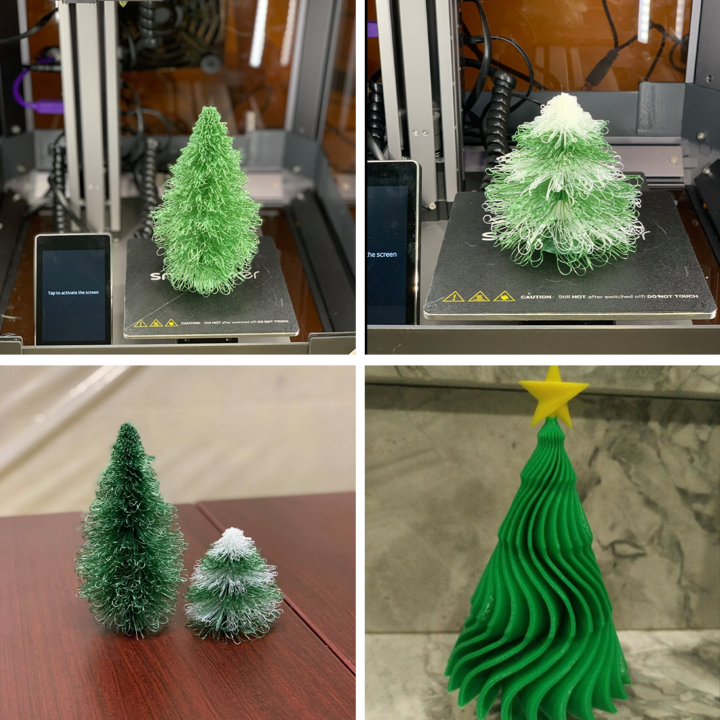
3D Printed Christmas Ornaments Ideas (And CNC/ Laser Engraved)
As Christmas approaches, there’s no better time for hobbyists and 3D printer owners to let their creativity run wild. Create your own holiday decorations to get into the festive spirit. Not only is the process of creating enjoyable, but the finished pieces will also add to the Christmas spirit and bring joy to friends and family.
In this article, you’ll discover inspiring ideas and step-by-step guides for making holiday ornaments.
*The feature image is provided by Dustin Todd.
3D Printed Christmas Decoration Projects
A showcase: Shiny Spiral Sphere

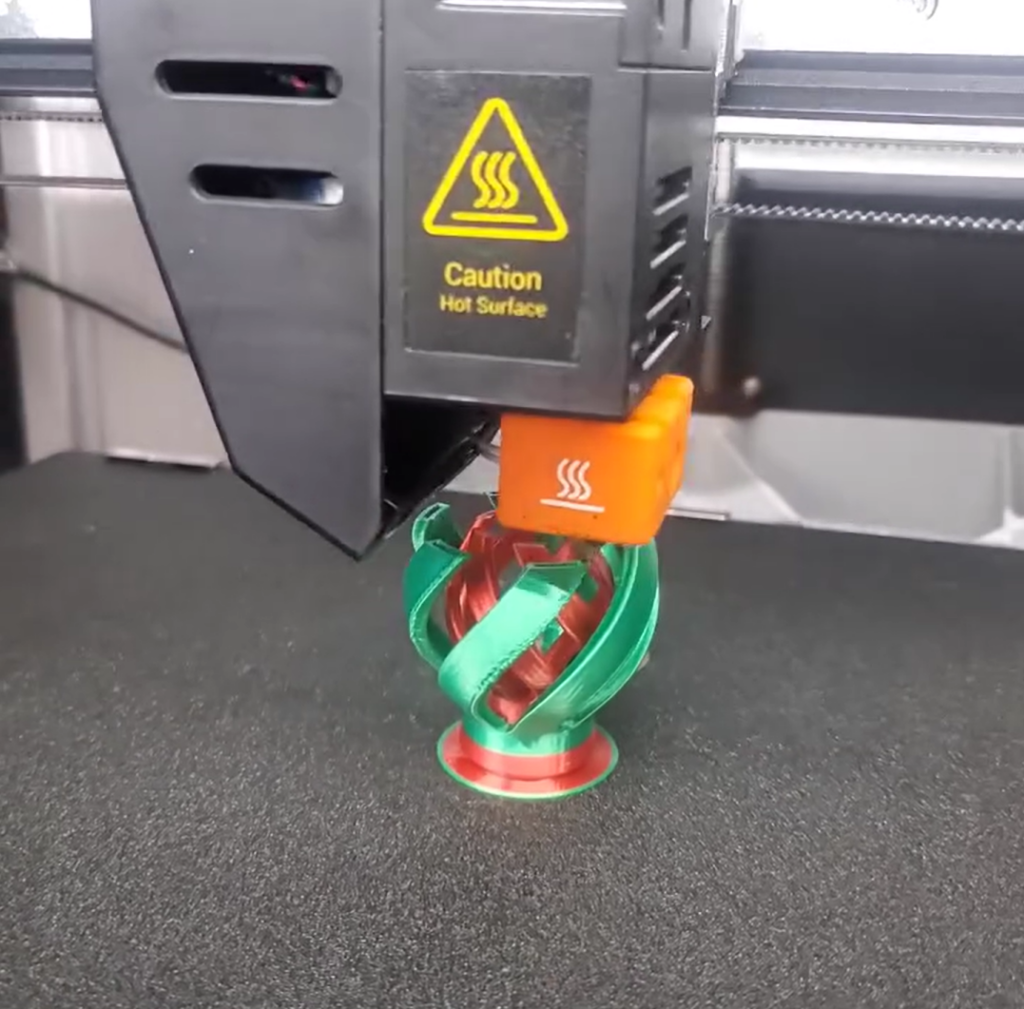
A shiny 3D printed Christmas tree decoration. It has a red and green intertwined, open-spiral design with a festive holiday feel. It’s ready for use once you add an attached ribbon on top.
Materials and Tools:
- Red and green filament (PLA, PETG, or ABS) for the festive colors
- FDM 3D printer
- String or ribbon
Tutorial:
- Get or Create the Model: Look for pre-made 3D models of spiral ornaments on platforms like Thingiverse or Printables. Search for things like “spiral ornament” or “Christmas ornament.” Or you can design your own in CAD software like Tinkercad, Fusion 360, or Blender. Be sure it has a spiral type shape with hollow spaces and a little loop or point of attachment on top to hold the ornament.
- Prepare the File: Import the STL file of the ornament into your slicing software. Configure the slicing parameters for your printer.
- Layer Height: Use 0.2mm for standard quality or 0.1mm for finer details.
- Infill: 10-15% is sufficient as the ornament doesn’t require high strength.
- Supports: Not needed if the design includes self-supporting spirals.
- Multicolor Printing (Optional): If your printer supports multicolor printing, set red and green filament changes in the slicer at specified heights. Alternatively, print the ornament one color and paint it afterward.
- Print the Ornament: Insert the filament selected into the 3D printer. If needed, secure the build plate with an adhesive (e.g., glue stick or painter’s tape). Initiate the print and check the first layer for adhesion.
- Post-Processing: Carefully remove the ornament from the build plate once it cools. Use fine-grit sandpaper to smooth any rough edges. If printed in a single color, you can paint the spirals red and green with acrylic paint.
- Attach a String: Use a ribbon or string and thread it through the top loop for hanging. For a finished look, you can tie a small knot or bow.
More Inspiration for 3D Printed Christmas Projects…
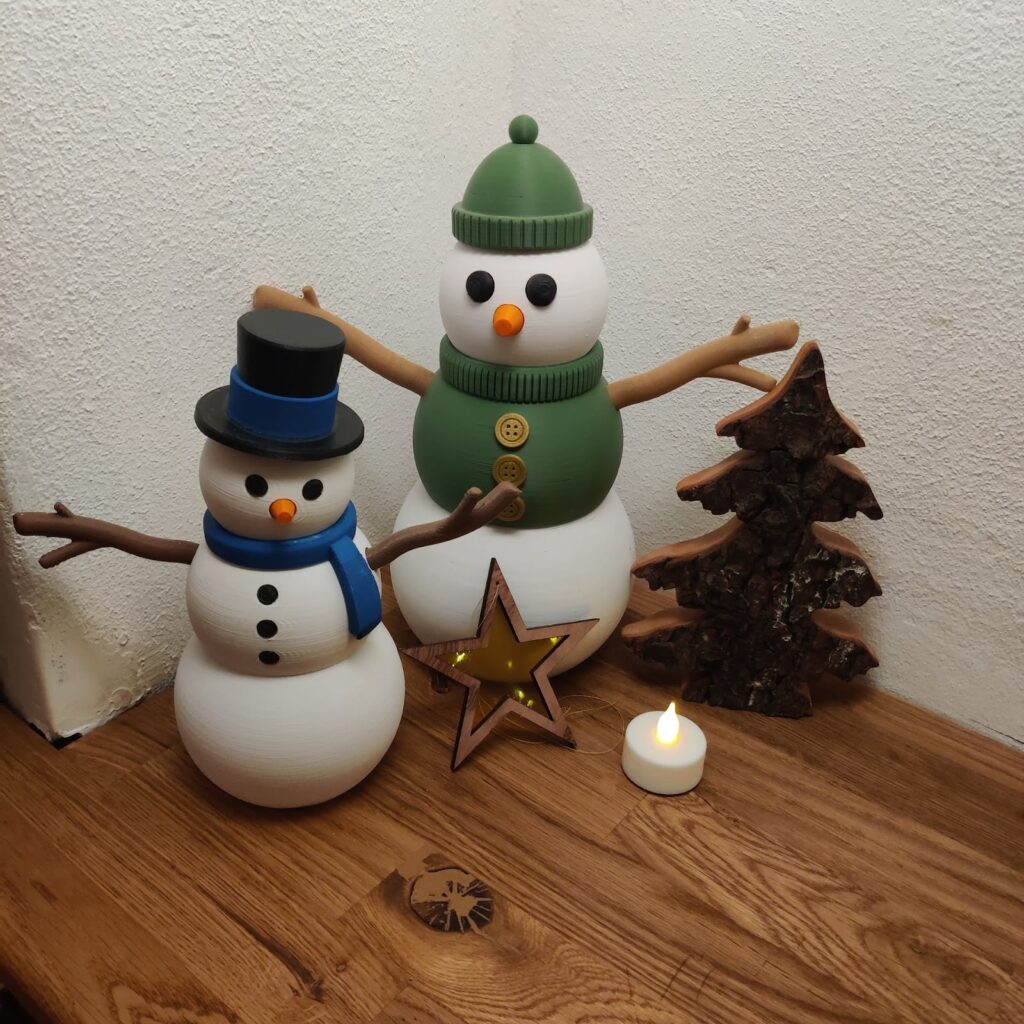
This is a set of snowmen made by 3D printing, showing a warm holiday atmosphere. The two snowmen have a simple structure, composed of three spheres, and are round and cute. They both use branches as arms, one of them wears a blue scarf and a top hat, and the other is equipped with a green woolen hat and buttons, showing their unique personalities.
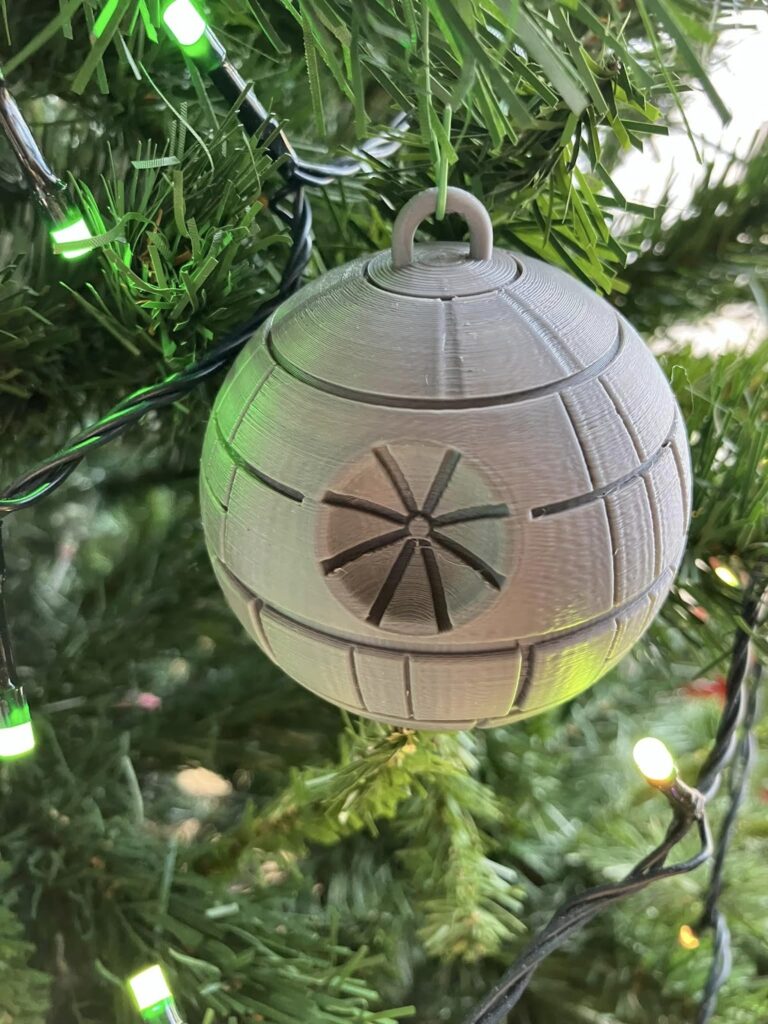
This 3D printed ornament is inspired by the iconic Death Star from the Star Wars franchise. It is spherical in design. It showcases symmetrical geometric lines and hollow structures on the surface. A unique opening detail adds interest to the center, implying the superlaser’s concave emitter dish in the Death Star. It is created using FDM printing technology, highlighting a high-precision, sci-fi-inspired style.

This holiday ornament is intricately designed and showcases the detail that is possible with 3D printing technology. A red sphere’s front opening reveals a miniature winter scene. Inside the sphere, a snowman stands on a snowy base beside a street lamp against a blue starry sky. There is a small loop outside the ball for hanging.

A green Christmas tree with a light and stable structure. It has a multi-layered diamond grid structure, presenting a symmetrical three-dimensional sense. A hollow five-pointed star is placed on the top, adding festive highlights. The Santa Claus on the left has a rounded shape, a layered body structure. He wears a red Santa hat, and is fixed on a chimney-like base. The Christmas monster on the right has a streamlined structure, an exaggerated expression. Its body and base are integrated, with smooth and stable lines.
Laser Engraved Christmas Ornament Ideas
A showcase: Mossy Evergreen Tree

A wooden Christmas tree-shaped frame with hollow design. Green moss or anything you want could be filled in the hollow section. This combination creates a decorative style close to nature, which is suitable as a Christmas theme decoration.
Materials and Tools:
- Wooden sheet (e.g., plywood or MDF, around 3-5mm thick)
- Real or artificial green moss
- Laser engraver
- Sandpaper for smoothing edges
- Wood glue or hot glue gun
Tutorial:
- Design the Ornament: Use a CAD software to create a vector design of a stylized Christmas tree similar to the one in the image. Make sure that the design has hollow parts where the moss can be kept, while the rest needs to be strong.
- Prepare the Laser Engraver File: Convert your vector design into a file format like SVG. Import the file into the laser engraving software like Luban. Adjust the power and speed settings based on the material thickness (e.g., 100% power, 480 mm/min speed for 6 mm walnut using Snapmaker 40W Laser Module)
- Laser Cut the Wooden Frame: Load the prepared file and start the engraving machine. Let the machine engrave the pattern and also cut out the ornament.
- Smooth the Edges: After engraving, sand all edges and surfaces of the wooden ornament with fine-grit sandpaper to remove roughness or splinters.
- Attach the Moss: Apply wood glue or hot glue into the hollow sections of the ornament and gently press in the moss using tweezers. Cut away unnecessary moss if you want a neat appearance.
- Add a Hanging String (Optional)
More Inspiration for Laser Engraved Christmas Projects…
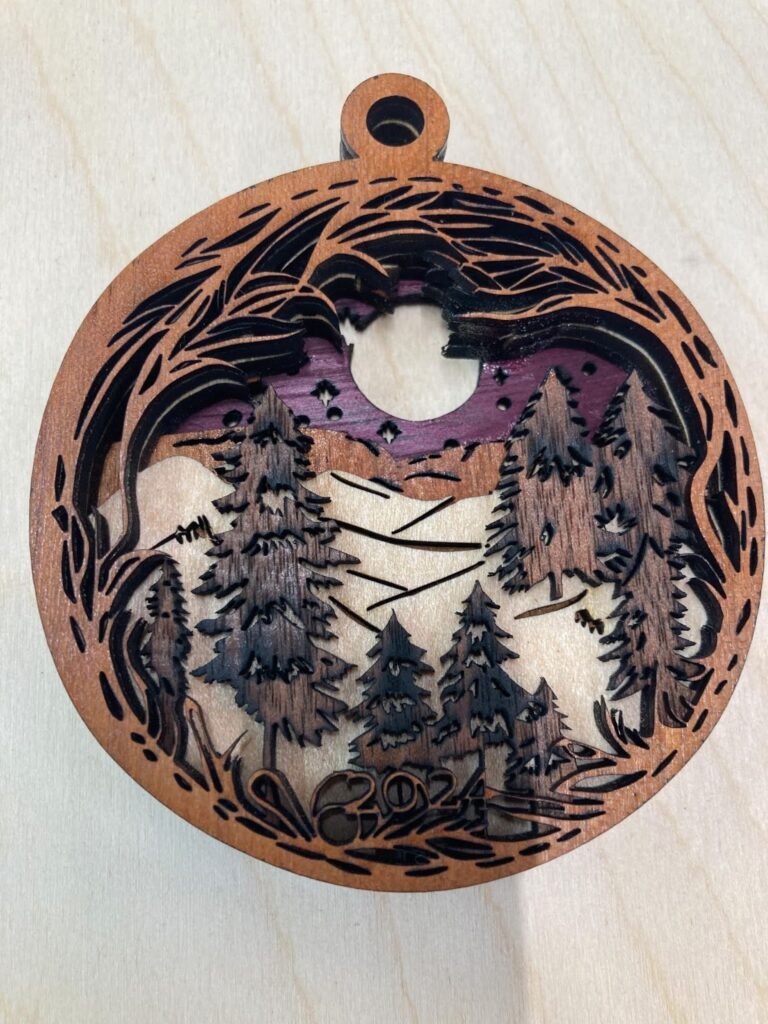
This laser engraved ornament is made of multiple layers of wood. The outer layer of branches frames the landscape in the middle, while the inner layer shows the pine forest, mountains and the moon in different distances, creating a strong sense of space and depth of field. “2024” is engraved on the bottom.
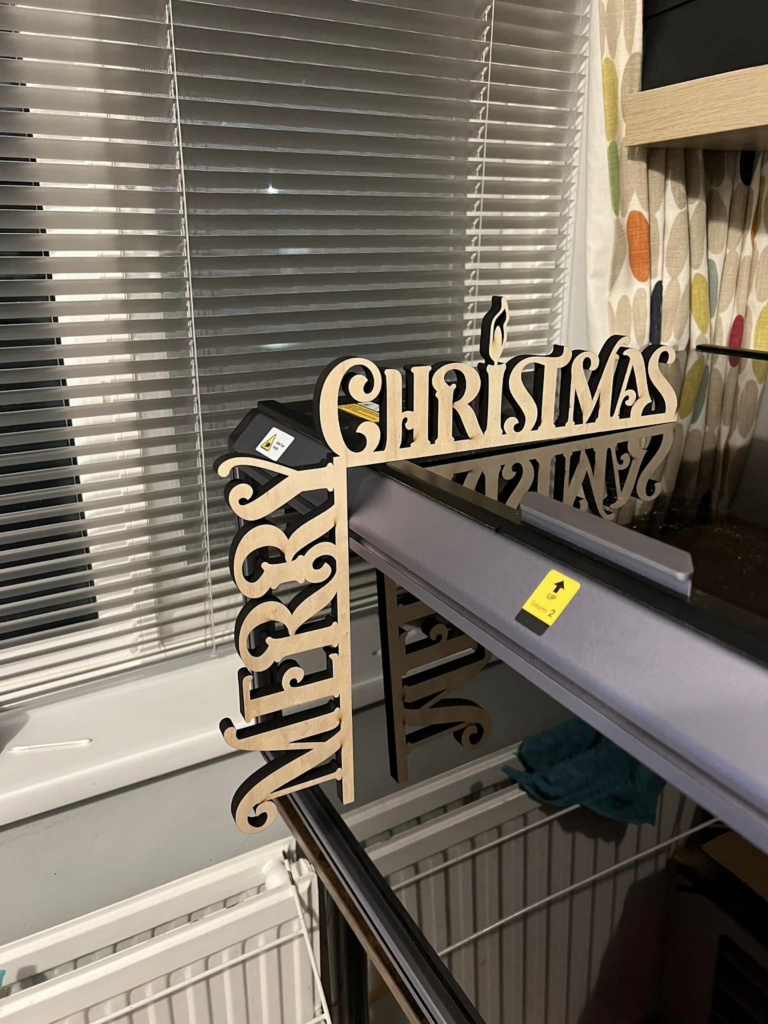
This laser engraved “Merry Christmas” ornament is cut from a single layer of wood and is easy to make. It is highly customizable; you can design fonts and change the copy. Its lightweight design allows for flexible placement. It can be used on windowsills, walls or holiday scenes to add a festive atmosphere.
Machines and Materials for Christmas Projects
3D printers — Always a top choice for Christmas creative projects. They are capable of creating all these decorations and funny gifts.
PLA, one of the most popular filaments for 3D printing, is touted for its ease of use and suitability for complex shapes; on the other hand, PETG offers higher strength and is better for creating long-lasting decorations. You could use ABS material for outdoor decorations where weather resistance is important. Filaments come in rich colors, including traditional red, green, white, and gold, and special materials with glitter or luminous effects.
During the design stage, you can use software such as TinkerCAD or Fusion 360 for modeling, or obtain ready-made models through online resources such as Thingiverse and customize them. Read How Can You Make 3D Printer Models for detailed instructions.
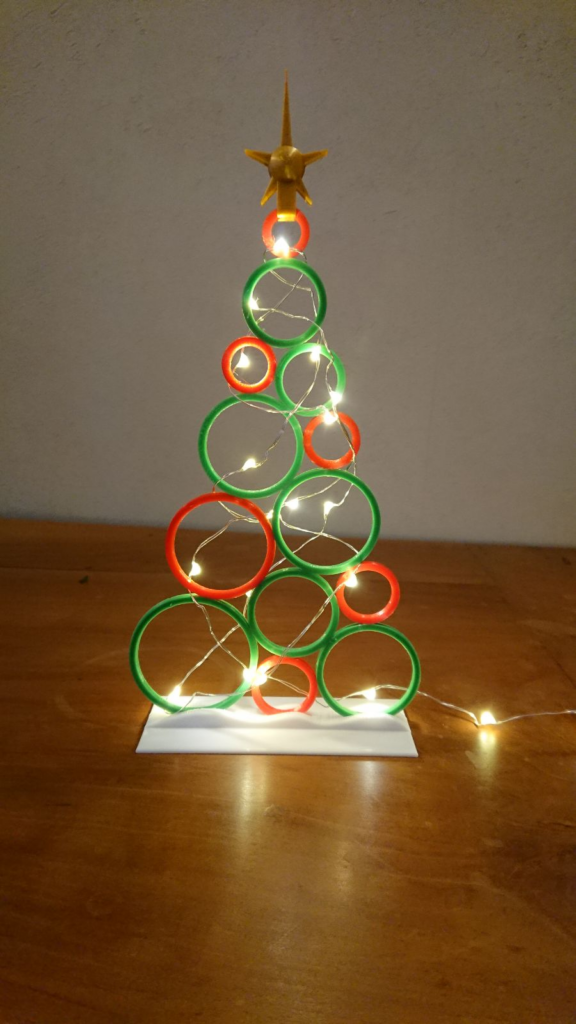
A laser engraver can quickly carve exquisite patterns, text or holiday-themed designs on the surface of materials such as wood, acrylic or metal. It is particularly suitable for making works such as pendants, signs and decorative frames. It can also give unique decorative effects to non-traditional materials such as glass and leather.
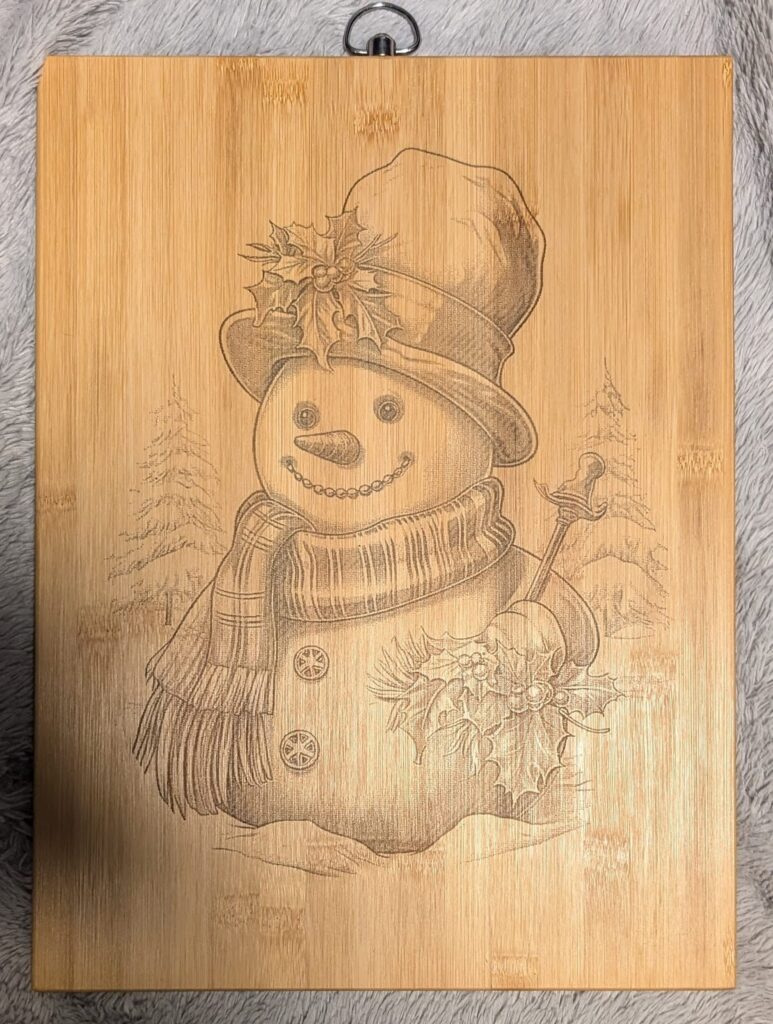
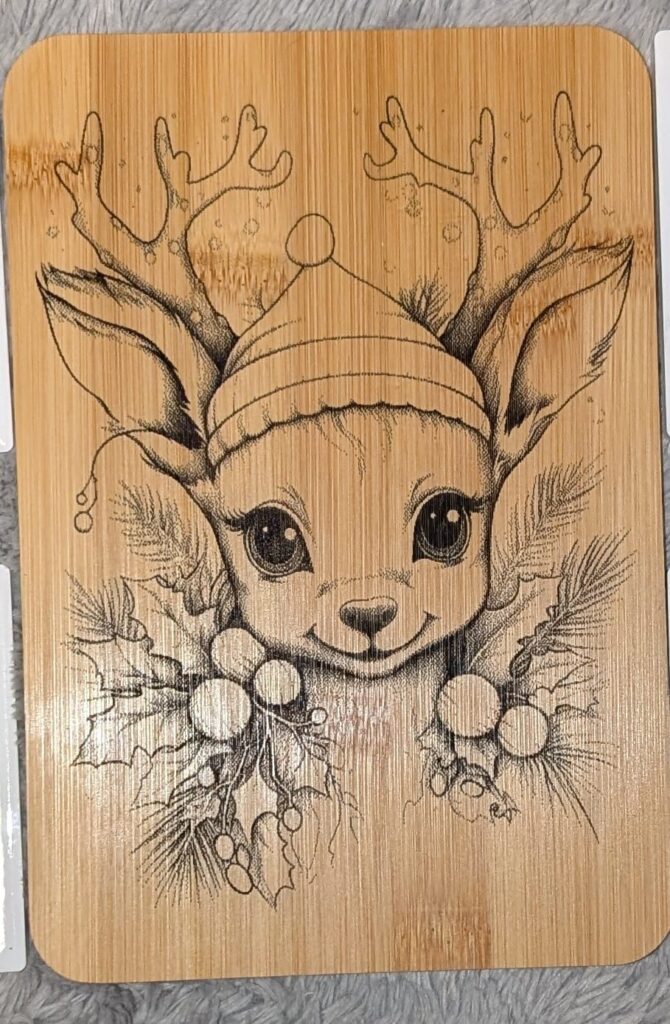
CNC machines are ideal for processing wood or metal materials, and making delicate holiday decorations such as wooden pendants and custom candlesticks. With high-precision cutting and engraving functions, complex patterns and details can be easily achieved, making the work more artistic and personalized.
Here is a CNC project.

This wooden candlestick is carved by CNC and includes a round base, spiral column and candle holder. Its structure is delicate and stable. Its simple design is not only suitable for decoration but also practical. It can be carried with you at night or in dim moments. The flickering candlelight brings a unique experience, as if you were in a medieval castle, adding a unique atmosphere.
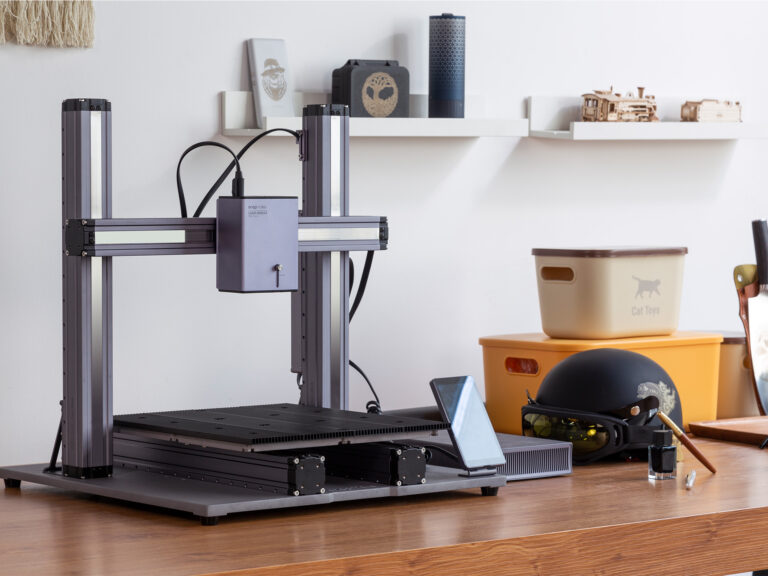
Snapmaker Artisan 3-in-1 machine combines 3D printing, CNC carving and laser engraving functions, making it an ideal choice for creating a variety of Christmas projects. Its high precision and versatility make creation more convenient and efficient.
Conclusion: Boost Holiday Joy With Your 3D Printed & Laser Engraved Decor
Join in on the festive cheer by making your own 3D printed and laser engraved Christmas ornaments! No matter what you decorate, whether you design custom gifts, tree decorations or festive table accents, these projects provide the perfect outlet for creativity and holiday cheer.

