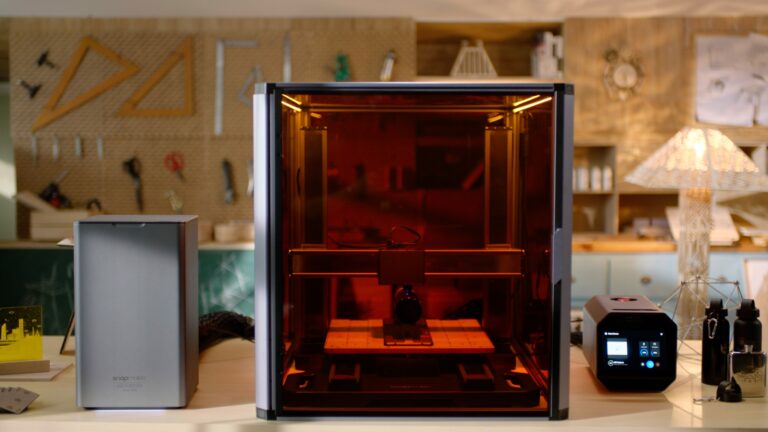
Snapmaker Academy – Printing glowing letters with PETG
Have you ever wondered when or why sometimes PETG is chosen over PLA or ABS for 3D printing? Well, we’ve got an informative tutorial video for you. In our last Snapmaker Academy tutorial (click here for quick review), we compared the differences between PLA and ABS. This time, we will compare PETG to both of them and walk you through the steps of adjusting the settings for the material.
PETG – A great alternative to PLA or ABS
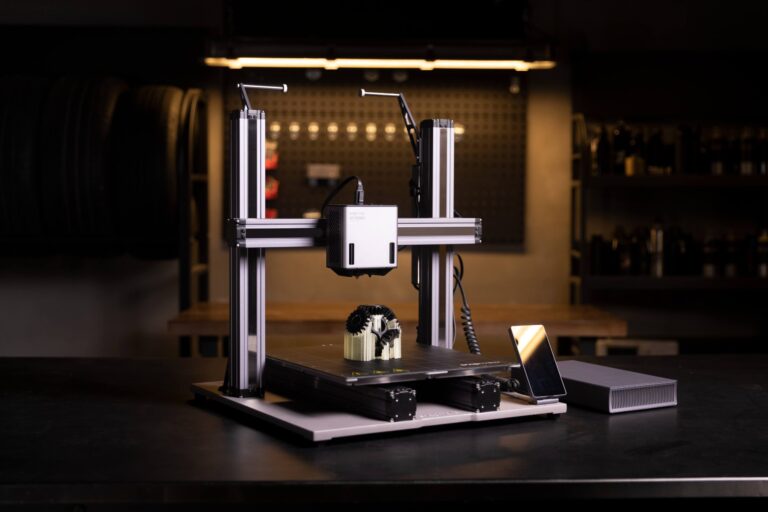
PETG combines the ease of use of PLA and durability of ABS. Moreover, it has excellent transparency and heat resistance. We will demonstrate how to print customized LED letters, “Snapmaker”, using the Snapmaker 2.0 3D printing and laser or CNC cutting functionalities, Fusion 360, and Snapmaker Luban.

Setting up in Fusion 360
Since we are making a “Snapmaker” glowing symbol, we would need a list of materials (listed in the video). The very first step is to create models for the letters. Here are some of the settings you will need to adjust in Fusion 360.
- Extrude: Create solid bodies based on your sketch.
- Project: Copy the contours of the bodies and project them onto another plane.
- Offset: Add a certain offset to the outlines of the bodies.
- Make: Export the model files.
Export the model and move on to the next step.

Adjust printing settings in Snapmaker Luban
As long as your heated bed is large enough, you can print multiple letters at a time. Import the model files you just exported and generate one single G-code file. Arrange the letters as shown in the video and change the settings under “Material” for PETG accordingly.
Pay close attention to “Flow”, as PETG tends to string and ooz more easily than ABS. The optimal printing temperature for PETG is somewhere between 220 °C and 250 °C. As a rule of thumb, you should set your heated bed temperature to somewhere between 60°C and 80 °C. Adjust more settings such as “Layer Height”, “Initial Layer Line Width”, “Wall Thickness”, “Infill density” and more as shown the video. It’s recommended you copy the settings the first time you experiment with PETG and see how it goes. Once you are done, proceed to the next step.

Time to print
Two quick tips for printing with PETG. First, use a release agent like blue tape or 3D printing glue to avoid the situation where the material sticks too well to the heated bed. Second, PETG needs more headroom than ABS, otherwise it will brush off the previous layer and string. Adjust to a larger offset if that happens. If there is minor stringing, simply burn off the strings with a soldering iron or a heat gun. Take extra caution when operating a heat gun. Watch the video tutorial for more detailed explanation.
That’s all for this Snapmaker Academy tutorial. Ready to learn more? Subscribe to our YouTube channel or newsletter for future Snapmaker Academy content!
